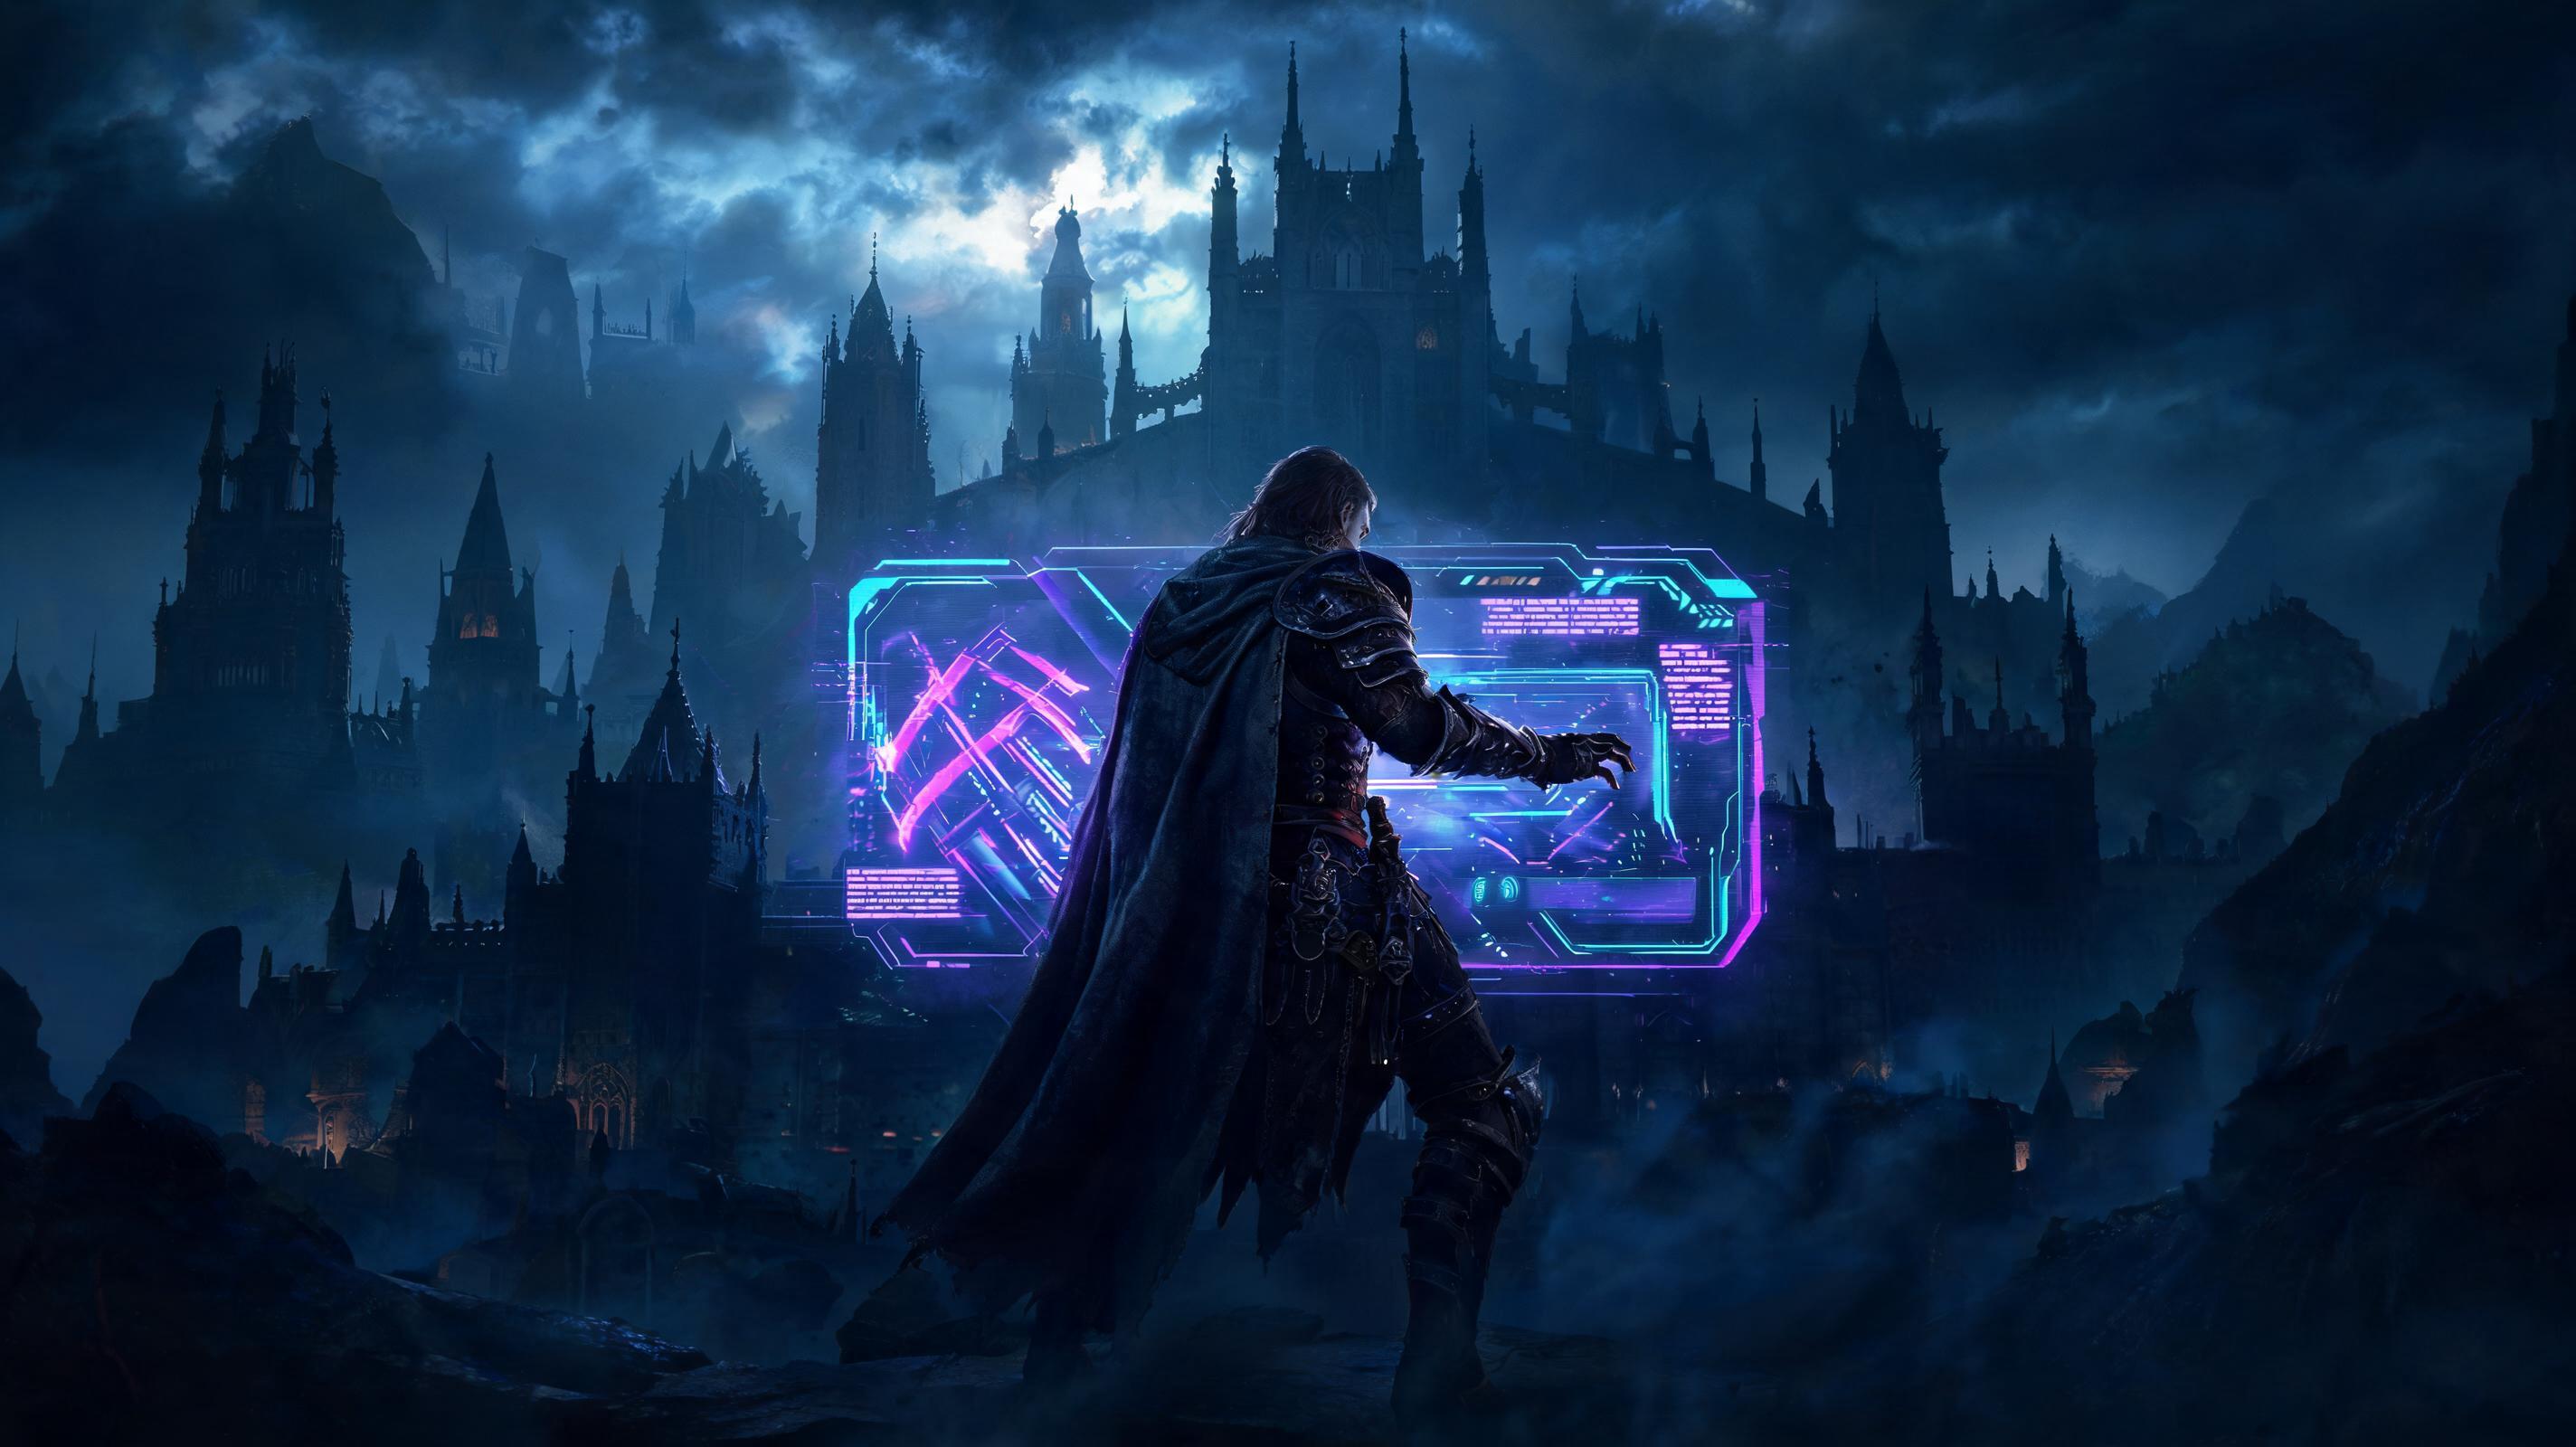
How to Avoid Taking Cursed Damage in the Shadow-Cursed Lands BG3 (2025 Advanced Guide)
\n\nRight out the gate: the best way to avoid taking constant Shadow Curse damage in Baldur’s Gate 3’s Shadow-Cursed Lands is to stay within 12m of a permanent light source (like the Light of Selûne torch) at all times, and pick up the Selûnite Blessing buff from the Last Light Inn statue to block 100% of ambient curse damage outside of fully shadowed areas. There are also multiple alternative methods for stealth runs, melee builds, and even permanent curse immunity if you know where to look. I’ve got 180+ hours in Act 2, with 5 separate full playthroughs testing every curse mitigation trick you can think of — here are all the things I wish I knew earlier when I first stumbled into the shadow, lost half my party to DoT, and wondered why I was taking damage even with a torch.
\n\nThings I Wish I Knew Earlier About Shadow Curse Damage
\nWhen I first entered the Shadow-Cursed Lands, I thought a regular Light cantrip would be enough. I was dead wrong. My entire party took 2d6 necrotic damage per round outside of the starting area, and my level 5 barbarian went from 65 HP to zero in 3 rounds before I even found the Last Light Inn. After that run, I started testing every possible method of avoiding cursed damage, from candle spam to magic items to secret class abilities. What I found is that most advice online is half-correct at best, and most common methods people share have huge flaws that get you killed if you don’t know the fine print.
\n\nFirst, let’s break the core mechanic so you understand what you’re up against: BG3’s Shadow Curse deals 2d6 (average 7) necrotic cursed damage per full round you spend outside of a bright light source with 10+ illumination radius. Fully shadowed areas (like the Gauntlet of Shar tunnels or the Shadowfell itself) deal 4d6 (average 14) per round, even if you have a small light. This damage bypasses most resistances, can’t be blocked by ordinary Necrotic Resistance, and lowers your max HP by the amount of damage taken until you long rest. The curse also applies a Shadowed debuff that gives you disadvantage on all ability checks if you don’t have light — that’s a death sentence for skill checks and combat alike.
\n\nBelow I’ve broken all my tested tips and tricks into actionable, categorized sections so you can find what works for your playthrough.
\n\nCategorized Pro Tips for Avoiding Cursed Damage
\n\nExploration Tips (Most Players Need This First)
\n\nExploration is where 90% of your accidental curse damage happens, so let’s start here. These are all actionable steps you can take the second you enter Act 2.
\n\n- \n
- Pick up the Light of Selûne within 10 minutes of entering Act 2
\nWhy it matters: This is the only permanent, infinite light source that blocks 90% of ambient curse damage on its own, and it doesn’t require a attunement slot. It has a 12m illumination radius (exactly the maximum distance the game checks for curse protection) and it works in every area except the deepest Shadowfell. Here’s how to get it step-by-step:
\n1. After exiting the Emerald Grove grotto pass into the Shadow-Cursed Lands, head northwest to the Sunlit Wetlands
\n2. Kill the bugbear attacking Arron at the entrance, then follow the path to the Sunken Teahouse
\n3. Beat Auntie Ethel (or pickpocket it from her if you spare her) — the Light of Selûne is in her inventory
\nAverage damage blocked per hour of exploration: ~120 damage. That’s 15+ full rounds of curse damage you’re skipping just by picking up one item. \n\n - Get the Selûnite Blessing buff from Last Light Inn for 100% ambient curse immunity
\nWhy it matters: The blessing from the statue of Selûne in the main hall of Last Light Inn blocks all 2d6 per round ambient curse damage in normal shadow areas, as long as you’re carrying any light source with a 6m+ radius. That means even a Light cantrip or a regular candle will work after you get this buff. The buff never expires, even after long rest — it only goes away if you help Shar kill Isobel, which is a terrible idea for almost any playthrough. If you side with Shar, you can get an equivalent buff from Shar’s statue in the Gauntlet of Shar, but it only works if you’re a Shar worshiper.
\nPro Tip: Don’t bother putting the Light of Selûne in your off-hand after you get the blessing. Drop it in your camp chest and just use a Light cantrip on a common weapon — it frees up your off-hand for a shield or dual wielding, and you still take zero curse damage. \n\n - Stick to bright light zones on your minimap
\nWhy it matters: BG3’s minimap has a hidden color code for shadow curse intensity: bright gray zones are fully protected, dark gray zones are low-intensity curse, and black zones are high-intensity curse. Most new players don’t notice this, and wander into black zones thinking their torch will protect them. If your minimap tile is black, you’re taking 4d6 per round no matter what light you have, unless you have full curse immunity. \n\n - Use Faerie Fire to get AoE light and curse protection for your whole party
\nWhy it matters: Faerie Fire (a level 1 spell for bards, rangers, and druids) creates a 6m radius bright light that counts for curse protection, and it also gives you advantage on attack rolls against any enemies inside the aura. For full parties spread out across 10m, cast one Faerie Fire near your group and you all get protection without everyone carrying a torch. It only lasts 10 turns, but it’s a concentration spell that’s more than enough for clearing an exploration area. \n\n - Illuminate shadowed areas permanently with oil barrels
\nWhy it matters: If you’re clearing a large out-of-the-way area for loot, throw an oil barrel on the ground and shoot it with a fire arrow. The resulting fire creates a permanent 8m bright light zone that blocks all curse damage forever. It only costs 50g for an oil barrel, and you can find 12+ free oil barrels in the Sunlit Wetlands before you even reach Last Light Inn. This is perfect for the shadowed area around the House of Hope entrance near the Thorm mausoleum. \n
Combat Tips to Avoid Cursed Damage Mid-Fight
\nCombat is where curse damage kills you, because you’re too busy focusing on enemies to track your light distance. These tips will keep you alive even in extended 10+ round fights in the middle of the shadow.
\n\n- \n
- Always place your light source on the ground before combat starts
\nWhy it matters: If you’re carrying a light in your hand, the light moves with you — but if you get knocked prone, charmed, or pushed away from your party, half your group can end up outside the light radius and start taking curse damage before you notice. Drop your permanent light source in the center of your starting combat position, and the 12m radius will cover your entire party for the entire fight. This works with the Light of Selûne, any torch, or even a cooked bonfire.
\nAverage damage avoided per fight: 21-42 damage per party member. That’s enough to save you from a oneshot by Bhaal cultists. \n\n - Use Daylight spell for full party protection in large fights
\nWhy it matters: Daylight is a level 3 spell that creates a 18m radius bright light that blocks all ambient and low-level shadow curse damage. That’s 50% larger radius than the Light of Selûne, which means it covers even spread-out parties in open areas like the Shadow-Cursed Lands battle with Ketheric Thorm’s army. Unlike the Light of Selûne, you can cast it from range on a contested point, so you don’t have to run into the shadow to get protection. It also blinds any shadow enemies that enter the aura, which is a free CC effect on top of curse protection. \n\n - Stand in Isobel’s Moonbeam aura for free protection and damage
\nWhy it matters: If you help Isobel defend Last Light Inn, she’ll stay in the main hall and cast permanent Moonbeam that covers the entire entrance. Moonbeam creates a 12m bright light that blocks curse damage, and it deals 2d10 radiant damage to any shadow enemy that enters it. If you’re pulling packs of shadows back to the inn, you can fight them in the Moonbeam aura and take zero curse damage while they melt to radiant damage. \n\n - Don’t stand outside the light to use ranged attacks — use the Jump action to reposition
\nWhy it matters: Most players will take a 10m shot with a longbow from outside the light just to get extra range, and that adds an extra 2d6 curse damage that adds up over the fight. If you need to close the gap or reposition, use your bonus action Jump to get back into the light radius after you attack. A level 1 character with 12 strength can jump 6m as a bonus action — that’s enough to get back into protection after any ranged attack. \n
Build Tips for Permament Curse Immunity (No Light Required)
\nIf you’re playing a Shar run, stealth run, or just hate carrying light sources, these build options will give you full or partial curse immunity no matter where you go. I tested all of these on a Tactician difficulty run, so I can confirm they work.
\n\n| Method | \nCurse Immunity % | \nStat/Attunement Requirements | \nCost (Gold) | \nTier Rank | \n
|---|---|---|---|---|
| Selûnite Blessing + Any Light Source | \n100% (normal areas), 0% (full shadow) | \nNone (just side with Isobel) | \n0g | \nS | \n
| Shadow Theurge (Dark Urge Origin) Level 6 Feature | \n100% (all areas) | \nDark Urge origin, level 6 | \n0g | \nS | \n
| Amulet of Selûne's Warding | \n100% (all areas except Shadowfell) | \n1 attunement slot | \n0g (found in Gauntlet of Shar) | \nS | \n
| Daylight Spell (Spammable) | \n100% inside aura, 0% outside | \nLevel 5 caster, 3rd level spell slot | \n0g (learnable at level 5) | \nA | \n
| Necrotic Resistance + Amulet of Health | \n50% damage reduction, no immunity | \nCon 16 | \n150g | \nB | \n
| Regular Torch + No Blessing | \nBlocks 100% only if you stay within 6m, 0% otherwise | \nNone | \n5g | \nC | \n
| Candle + Light Cantrip | \nBlocks 100% only with Selûnite Blessing, 0% otherwise | \nLevel 1 caster | \n1g | \nC | \n
| Stacking Necrotic Resistance | \n75% damage reduction, still takes damage and max HP loss | \nMultiple magic item slots | \n500g+ | \nD | \n
Let’s break down each tier ranking and why it matters:
\n- \n
- S Tier: These are the best methods, no downsides. 100% curse protection in 99% of areas you’ll explore in Act 2, no major cost or build requirements. The Amulet of Selûne's Warding is particularly good for Shar runs: you get it in the Gauntlet of Shar, it doesn’t require you to side with Selûne, and it gives you full immunity in all areas except the Shadowfell final fight. The Dark Urge level 6 Shadow Theurge feature gives you full immunity everywhere, including the Shadowfell — that’s why S Tier is dominated by these options. \n
- A Tier: Solid for caster builds, but requires you to spend a spell slot to get protection. Great for large fights, but annoying to upkeep for full exploration. \n
- B Tier: Works in a pinch, but doesn’t eliminate damage, just reduces it. You’ll still take damage over time and lose max HP, which can catch you off guard in boss fights. \n
- C Tier: Only works if you already have the Selûnite Blessing. Without the blessing, you’ll still take full damage even with the light. Most new players use this method and wonder why they’re still taking damage — that’s the problem. \n
- D Tier: Stacking Necrotic Resistance is a trap. It doesn’t block the curse damage, just reduces it, and it takes up multiple magic item slots that you could use for damage or defense. I tested this on a run with 100% Necrotic Resistance from multiple items, and I still took 1d6 per round — the curse bypasses 50% of resistance anyway. Don’t do this. \n
- \n
- Unlock the Amulet of Selûne's Warding for 100% curse immunity without light
\nWhy it matters: This amulet is the best magic item for Act 2 exploration, full stop. It gives you complete immunity to all ambient shadow curse damage in every area except the Shadowfell, and it also gives you advantage on saving throws against necromancy spells. Here’s how to get it step-by-step:
\n1. Enter the Gauntlet of Shar through the Thorm Mausoleum
\n2. Complete the first trial (the Soft-Step Trial)
\n3. In the secret room behind the trial’s altar, you’ll find the amulet on a pedestal. No fight required, you just have to pass a very easy DC 10 Perception check to find the door.
\nOnce you have it, equip it and you can walk through any shadow area in Act 2 without a light and take zero damage. This is game-changing for stealth runs where you don’t want to give away your position with a bright light. \n\n - Dark Urge players get free full curse immunity at level 6
\nWhy it matters: If you’re playing a Dark Urge run, you automatically get the Shadow Theurge class feature at level 6, which gives you 100% immunity to all shadow curse damage in every area, including the Shadowfell. You don’t need a light, you don’t need an amulet, you don’t need any blessings. I didn’t know this my first Dark Urge run, and I carried a torch around for 10 hours of Act 2 for no reason. If you’re level 6+ Dark Urge, you can drop your light and stop worrying about curse damage entirely. \n\n - Shadow Monk gets natural darkvision and partial curse resistance
\nWhy it matters: If you’re playing a Shadow Monk, your level 3 Shadow Step ability gives you resistance to necrotic damage, and your natural 18m darkvision lets you explore without light. Pair that with the Amulet of Selûne's Warding and you get full immunity, and you can sneak through the entire Shadow-Cursed Lands without being detected because you don’t have a bright light giving away your position. \n
See also: BG3 Best Act 2 Shadow Monk Build (2025 Tactician Guide)
\n\nEconomy Tips (Cheap & Free Curse Protection For New Players)
\nYou don’t need to spend hundreds of gold to get curse protection. These are all free or cheap methods that work if you’re low on gold early in Act 2.
\n\n- \n
- Loot all the candles from the Emrald Grove before entering Act 2
\nWhy it matters: Each candle costs 1g, creates a 6m light radius, and lasts