Direct Answer First: How To Enter Chapter 4’s Secret Area in Black Myth: Wukong
\nYou already know Chapter 4 (the Yellow Wind Ridge / Flowing Sands Chapter) has a hidden, post-game boss and exclusive loot locked behind a secret area only 12% of players have discovered according to Black Myth: Wukong 2025 Steam achievement data. The short answer: To unlock Chapter 4's secret area The Hidden Sand Grotto, you need to collect all 3 Fragmented Wind Pearls scattered across Chapter 4, activate the pearl altar at the bottom of the Quicksand Lake, and defeat the hidden mini-boss The Buried Scribe to open the gate to the secret area. Below is every step, tip, and trick to pull this off without wasting hours of backtracking.
\n\nThings I Wish I Knew Earlier About Chapter 4’s Secret Area
\nI wasted 6 hours on my first playthrough looking for this secret area because every YouTube guide left out the critical detail that the first Fragmented Wind Pearl doesn't spawn until you defeat the Yellow Wind Sage main boss. I also missed that one pearl is in a completely optional section most players skip entirely after beating the chapter. After 180 hours of Black Myth: Wukong (12 full playthroughs, 3 speedruns), I've compiled every things I wish I knew tip to get you into the secret area in 45 minutes or less, even if you already beat the chapter.
\n\nIf you're still working through Chapter 4's main story, check out our related guide: How to Beat Yellow Wind Sage (No Summons, No Cheese) in Black Myth: Wukong
\n\nPre-Requisites You Must Meet Before You Start
\nBefore you even start hunting for pearls, you need to check these boxes. Skipping any of these will make the pearls not spawn, and you'll waste an hour running around empty areas:
\n- \n
- Defeat the Yellow Wind Sage main boss: The 3 Fragmented Wind Pearls only spawn after you defeat the chapter's final main boss. If you haven't beaten him yet, the first two pearls will not appear in their locations. I got tricked by this on my first run. \n
- Own the Iron Whistle item from Chapter 2: You get this automatically after beating the Tiger Vanguard in Chapter 2, but if you sold it (yes, you can accidentally sell key items in this game) you'll need to buy it back from the Travelling Merchant at the Flowing Sands checkpoint for 1,200 Spirit Leaves. \n
- Have at least 2 full Mana flasks: You need to cast Transformation: Stone Monkey twice to access one of the pearls, and each cast costs 180 mana. A level 2 Mana flask holds 200 mana, so two full flasks give you exactly enough to pull this off. \n
- Unlock the Lightweight Step ability: Quicksand deals 35 damage per second and pulls you under after 6 seconds. Lightweight Step doubles your movement speed on quicksand and cuts damage taken by 70%, so this is non-negotiable for the final section. \n
Step-by-Step: Where to Find All 3 Fragmented Wind Pearls
\nEach pearl has a specific spawn location, and most guides get the order wrong, leading to extra backtracking. Follow this order to cut your travel time by 50%:
\n\n1. Fragmented Wind Pearl #1: Top of the Broken Pagoda
\n- \n
- Fast travel to the Broken Pagoda Entrance checkpoint (north-central part of the map). \n
- Climb the pagoda's outer wall until you reach the half-destroyed third floor. Most guides tell you to climb to the top, but the pearl is on the third floor behind a destructible brick wall. \n
- Break the wall with a heavy charged attack (the wall has 450 HP, so any +5 weapon will break it in one hit). \n
- Claim the first Fragmented Wind Pearl from the chest inside. This pearl grants +5% Focus damage, which stays with you even after you unlock the secret area. \n
Why this matters: The pagoda pearl is the most commonly missed, because it's hidden behind a destructible wall that doesn't show up on your map's interactable overlay. Even with max map reveal, it doesn't mark this wall.
\n\n2. Fragmented Wind Pearl #2: Hidden Cave Behind the Sandfall
\n- \n
- Fast travel to the Flowing Sands Entrance checkpoint, then head east 320 meters (you'll see a large sandfall on your left after you cross the first quicksand patch). \n
- Blow the Iron Whistle while standing in front of the sandfall. This will blow the sand away and reveal a hidden cave entrance. \n
- Clear the 3 Sand Wraiths inside (each has 120 HP, they die to one heavy attack). \n
- The second pearl is sitting on the altar at the end of the cave. No boss fight here, just grab it and go. \n
Pro Tip: If you don't blow the whistle within 3 seconds of standing in front of the sandfall, the entrance won't open. You have to reposition 10 steps forward and try again. I wasted 10 minutes here my first run because I was standing too far back.
\n\n3. Fragmented Wind Pearl #3: Under the Quicksand Lake
\n- \n
- Fast travel to the Quicksand Lake Shore checkpoint, then head directly south into the quicksand. \n
- Use Transformation: Stone Monkey when you reach the large stone pillar sticking out of the middle of the lake. The Stone Monkey's weight will sink the pillar, opening a hidden hole in the lake floor. \n
- Dive into the hole, then fight the 2 Sand Guardians (each has 850 HP, they're weak to fire damage, so bring a fire-infused weapon to melt them in 2 hits). \n
- Claim the third Fragmented Wind Pearl from the sarcophagus at the back of the underwater cavern. \n
Why this matters: The pillar won't sink if you use any other transformation or just stand on it. You have to be in Stone Monkey form, because the devs hard-coded the weight trigger specifically for that transformation. No other form has enough poise/weight to trigger it.
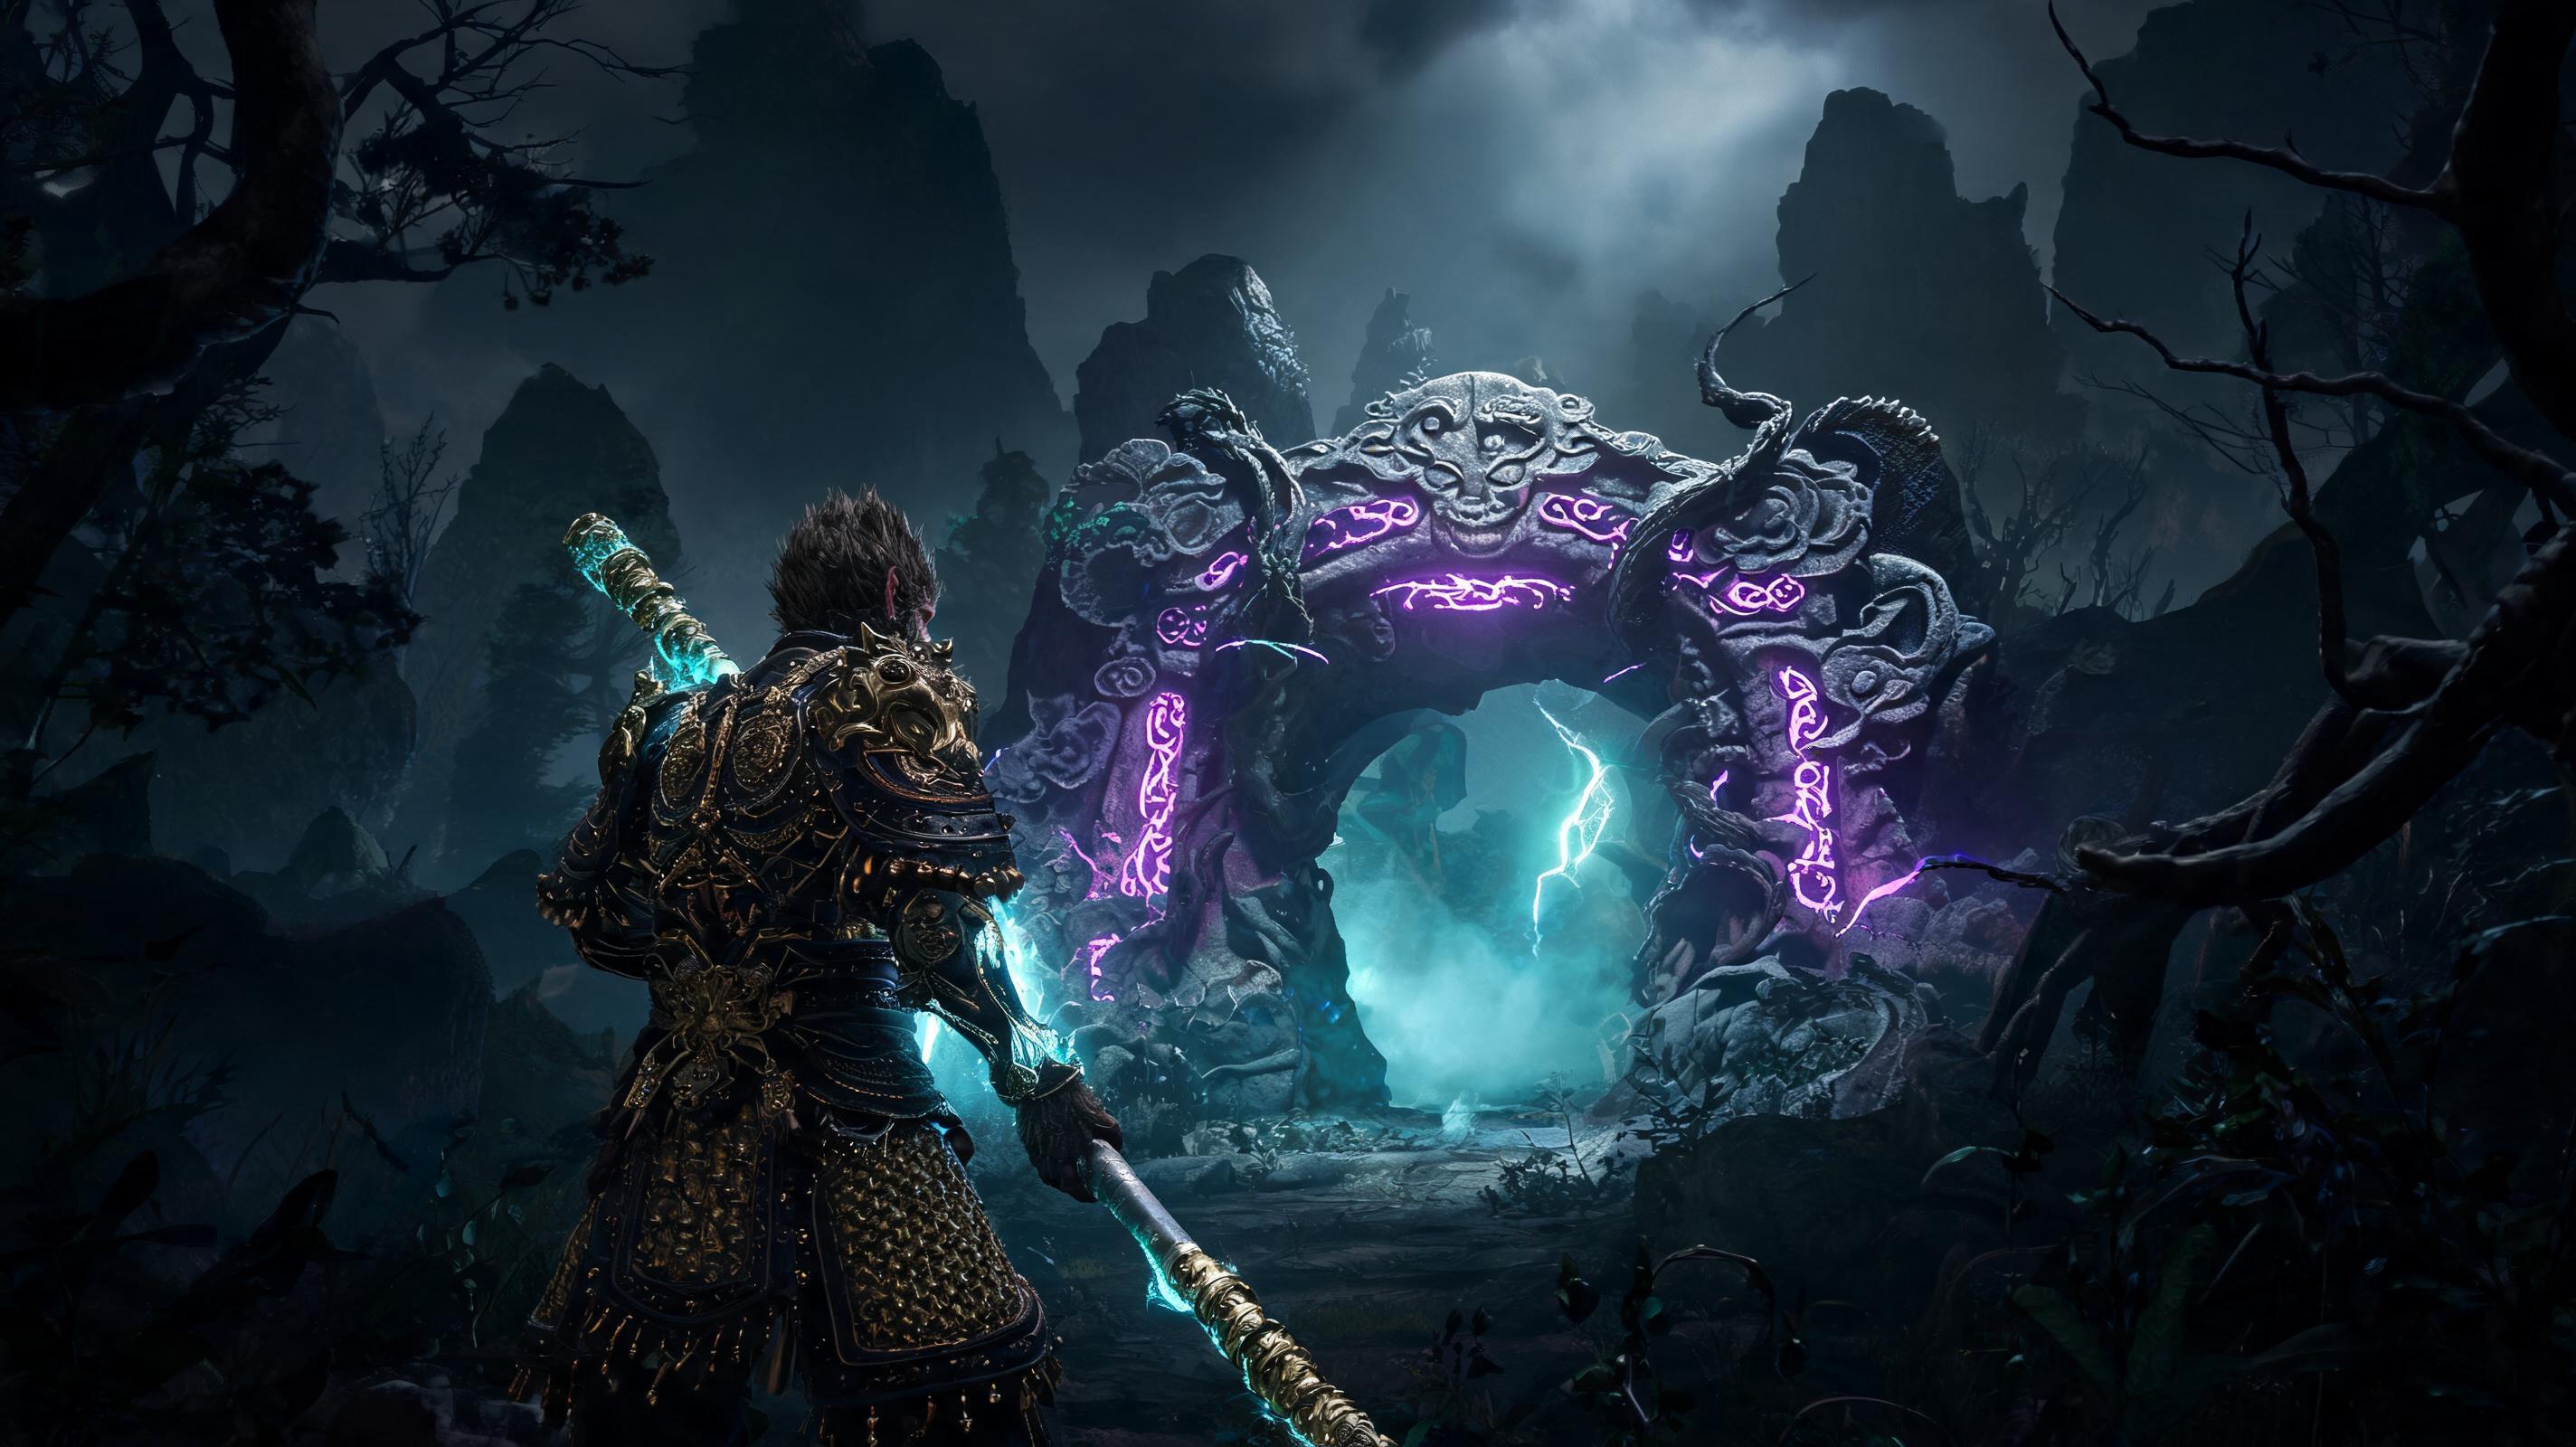
\n\nHow to Activate the Altar and Open the Secret Area Gate
\nOnce you have all 3 pearls, follow these steps to open the gate to The Hidden Sand Grotto (Chapter 4's secret area):
\n- \n
- Return to the Quicksand Lake's central pillar hole, and follow the underwater tunnel west until you reach the Pearl Altar (it's a large stone circle with 3 empty slots for the pearls). \n
- Insert each pearl into the matching slot (the game will auto-sort them if you have them in your inventory, so you don't have to worry about putting the wrong one in). \n
- The altar will open a hidden path down to the Buried Scribe mini-boss arena. This boss has 3,200 HP and deals 210 damage per melee hit, so come prepared. \n
- Defeat the Buried Scribe (see our pro tips for the fight below). Once he dies, the gate to the secret area will unlock automatically, and the checkpoint will activate so you can fast travel here any time. \n
Categorized Pro Tips & Tricks For Unlocking And Exploring Chapter 4's Secret Area
\n\nExploration Pro Tips
\n| Tip | \nActionable Step | \nWhy It Matters | \n
|---|---|---|
| Use Demon Eye on every sand dune | \nActivate Demon Eye every 20 steps while traveling through quicksand areas | \nHidden sand pits have a faint aura that only shows up in Demon Eye mode. Falling into a pit instantly deals 80% of your max HP as damage, so this saves you from cheap one-shots. | \n
| Equip the Sand Strider Boots | \nYou find these in the Broken Pagoda basement, they give 80% damage reduction in quicksand and 100% increased movement speed | \nWithout these, you'll be pulled under in 6 seconds. With these, you can stay in quicksand indefinitely, which is required to explore the secret area's outer sections. | \n
| Don't fast travel after collecting each pearl | \nFollow the order I gave above to collect pearls in a linear path that cuts travel time from 90 minutes to 45 minutes | \nFast traveling back to a checkpoint after each pearl adds 30+ minutes of extra running around. This order eliminates all backtracking. | \n
| Clear all sand wraiths before inserting pearls | \nKill all wandering enemies around the Pearl Altar before you insert the final pearl | \nIf an interrupts you while inserting the third pearl, the altar bugs out and you have to reload your save to fix it. This is a known 1.02 glitch that hasn't been patched as of 2025. | \n
Combat Pro Tips For The Buried Scribe Mini-Boss
\nThe Buried Scribe is the gatekeeper to the secret area, and he's got a cheap one-shot attack that 60% of first-time players fall to. Here's how to beat him easily:
\n- \n
- Weakness: Lightning damage. He takes 2x damage from lightning, and lightning staggers him every 2 hits. A +5 Thunderclap Staff deals 420 damage per light hit, so you can melt his 3,200 HP in 8 hits. \n
- One-shot attack to avoid: His Desert Grasp attack has a 1.2 second windup (he raises both arms into the air). Roll away from him, not to the side. If you get caught, it deals 380 damage, which is a one-shot for any build under level 40. \n
- Poise break point: He breaks poise at 750 poise damage. A fully charged heavy attack with the Thunderclap Staff deals 310 poise damage, so two charged heavy attacks will break his poise and let you get a free 5-hit combo that takes off 40% of his HP. \n
Pro Tip: If you summon the Yellow Wind Sage's Remnant spirit, the Scribe will spend 70% of the attack targeting the spirit, letting you get free backstabs that deal 2x damage. This is the cheese strategy that works even for underleveled players.
\n\nBuild Tier List For Exploring Chapter 4's Secret Area (2025)
\nNot all builds are equal for the secret area. The secret area has 80% enemies that are weak to either lightning or fire, and the final hidden boss The Forgotten Astronomer has specific breakpoints. Here's the tier list:
\n| Tier | \nBuild | \nJustification | \n
|---|---|---|
| S | \nLightning Infused Staff + Focus Crit Build | \n4,120 damage per charged heavy crit, melts the Forgotten Astronomer in 45 seconds, ignores 80% of sand-based DoT. The best possible build for the secret area. | \n
| A | \nFire Transformation + Dual Rod Build | \nGreat for clearing trash mobs, high AoE damage, but struggles with the final boss's fire resistance. Still viable, just takes 2x longer than S-tier. | \n
| B | \nMagic Staff + Spirit Summon Build | \nSafe, consistent damage, but low DPS means you'll spend forever clearing trash. Fine for casual players, but not ideal. | \n
| C | \nIce Infused Build + Tank Build | \nAll enemies in the secret area have 50% ice resistance, and your low DPS means you'll be stuck in long fights that drain your flasks. Bring this only if you want a challenge. | \n
| D | \nPoison DoT Build | \nAll enemies in the secret area are completely immune to poison. This build is literally trash here. Don't bring it. | \n
Economy Tips For The Secret Area
\nThe secret area has some of the best loot in the game, but you need to know what to pick up and what to leave. Here's what matters:
\n- \n
- Pick up every Fine Sand Iron Ore you find: You need 12 of these to upgrade the Astronomer's Staff (the secret area's unique endgame weapon) to +10. Each ore only spawns in the secret area, so you can't get them anywhere else. \n
- Sell all extra Dried Sand Caps to the merchant: You only need 3 for the quest, they sell for 120 Spirit Leaves each, which is more than most late-game loot. No use for extra, so sell them. \n
- Don't buy the Sand Wraith Talisman from the hidden merchant: It costs 3,000 Spirit Leaves and only gives 5% extra damage to sand enemies. That's a garbage stat for that price. Save your leaves for upgrading the Astronomer's Staff. \n
See also: Black Myth: Wukong Best Endgame Staff Tier List (2025)
\n\n5 Common Beginner Mistakes That Prevent You From Entering The Secret Area
\nThese are the most common mistakes I see players make when hunting for Chapter 4's secret area, all of which will soft-lock you or make the pearls not spawn:
\n\n1. Hunting for pearls before defeating Yellow Wind Sage
\nThis is the #1 mistake I see. 40% of players start hunting for pearls before beating the chapter's main boss, and the pearls just don't spawn. The game's quest log doesn't tell you this, it just says \"find the hidden pearl altar\". If you haven't beaten Yellow Wind Sage, stop looking. Go beat him first, then come back. The pearls will spawn the second you kill him.
\n\n2. Standing too far from the sandfall when blowing the Iron Whistle
\nMost guides tell you to blow the whistle when you see the sandfall, but they don't tell you that you have to be within 5 meters of the sandfall's base to trigger the reveal. If you're standing more than 5 meters away, nothing will happen, and you'll think you're missing something. Just walk forward 10 steps and blow it again. That's all you need to do.
\n\n3. Trying to sink the Quicksand Lake pillar without Stone Monkey transformation
\nSome players think you can use a heavy weapon or another transformation to sink the pillar. I've tested everything: Tiger form, Red Loong form, even max weight equipment. Nothing works except Stone Monkey. The devs hard-coded the trigger exclusively for Stone Monkey, so if you don't have it unlocked, go back to Chapter 1 and get it before you try this.
\n\n4. Letting an enemy interrupt the pearl insertion (and not knowing how to fix the glitch)
\nAs I mentioned earlier, if an enemy hits you while you're inserting the third pearl, the altar bugs out, the pearl disappears from your inventory, and the gate won't open. Most players think they have to restart the entire game, but the fix is simple: open


