TL;DR Quick Reference Table
\n| Key Mechanic | Optimal Counter | Timing Window | Damage Output |
|---|---|---|---|
| Venom Volley | Dodge to 10 o'clock/2 o'clock spawn gap | 1.2s pre-attack windup | 1,892 poison DoT per tick |
| Blaze Pool Phase Transition | Pre-position at north map edge | HP drops below 40% (3.8M HP threshold) | 4,217 instant damage + 925 DoT/s |
| Tormented Leap Slam | Roll through the attack for i-frames | 0.8s after leap animation starts | 6,124 unmitigated physical damage |
| Spider Add Wave | Pre-cast AoE damage at mid map | 1.5s after 25% HP threshold hit | 12,400 total add HP pool |
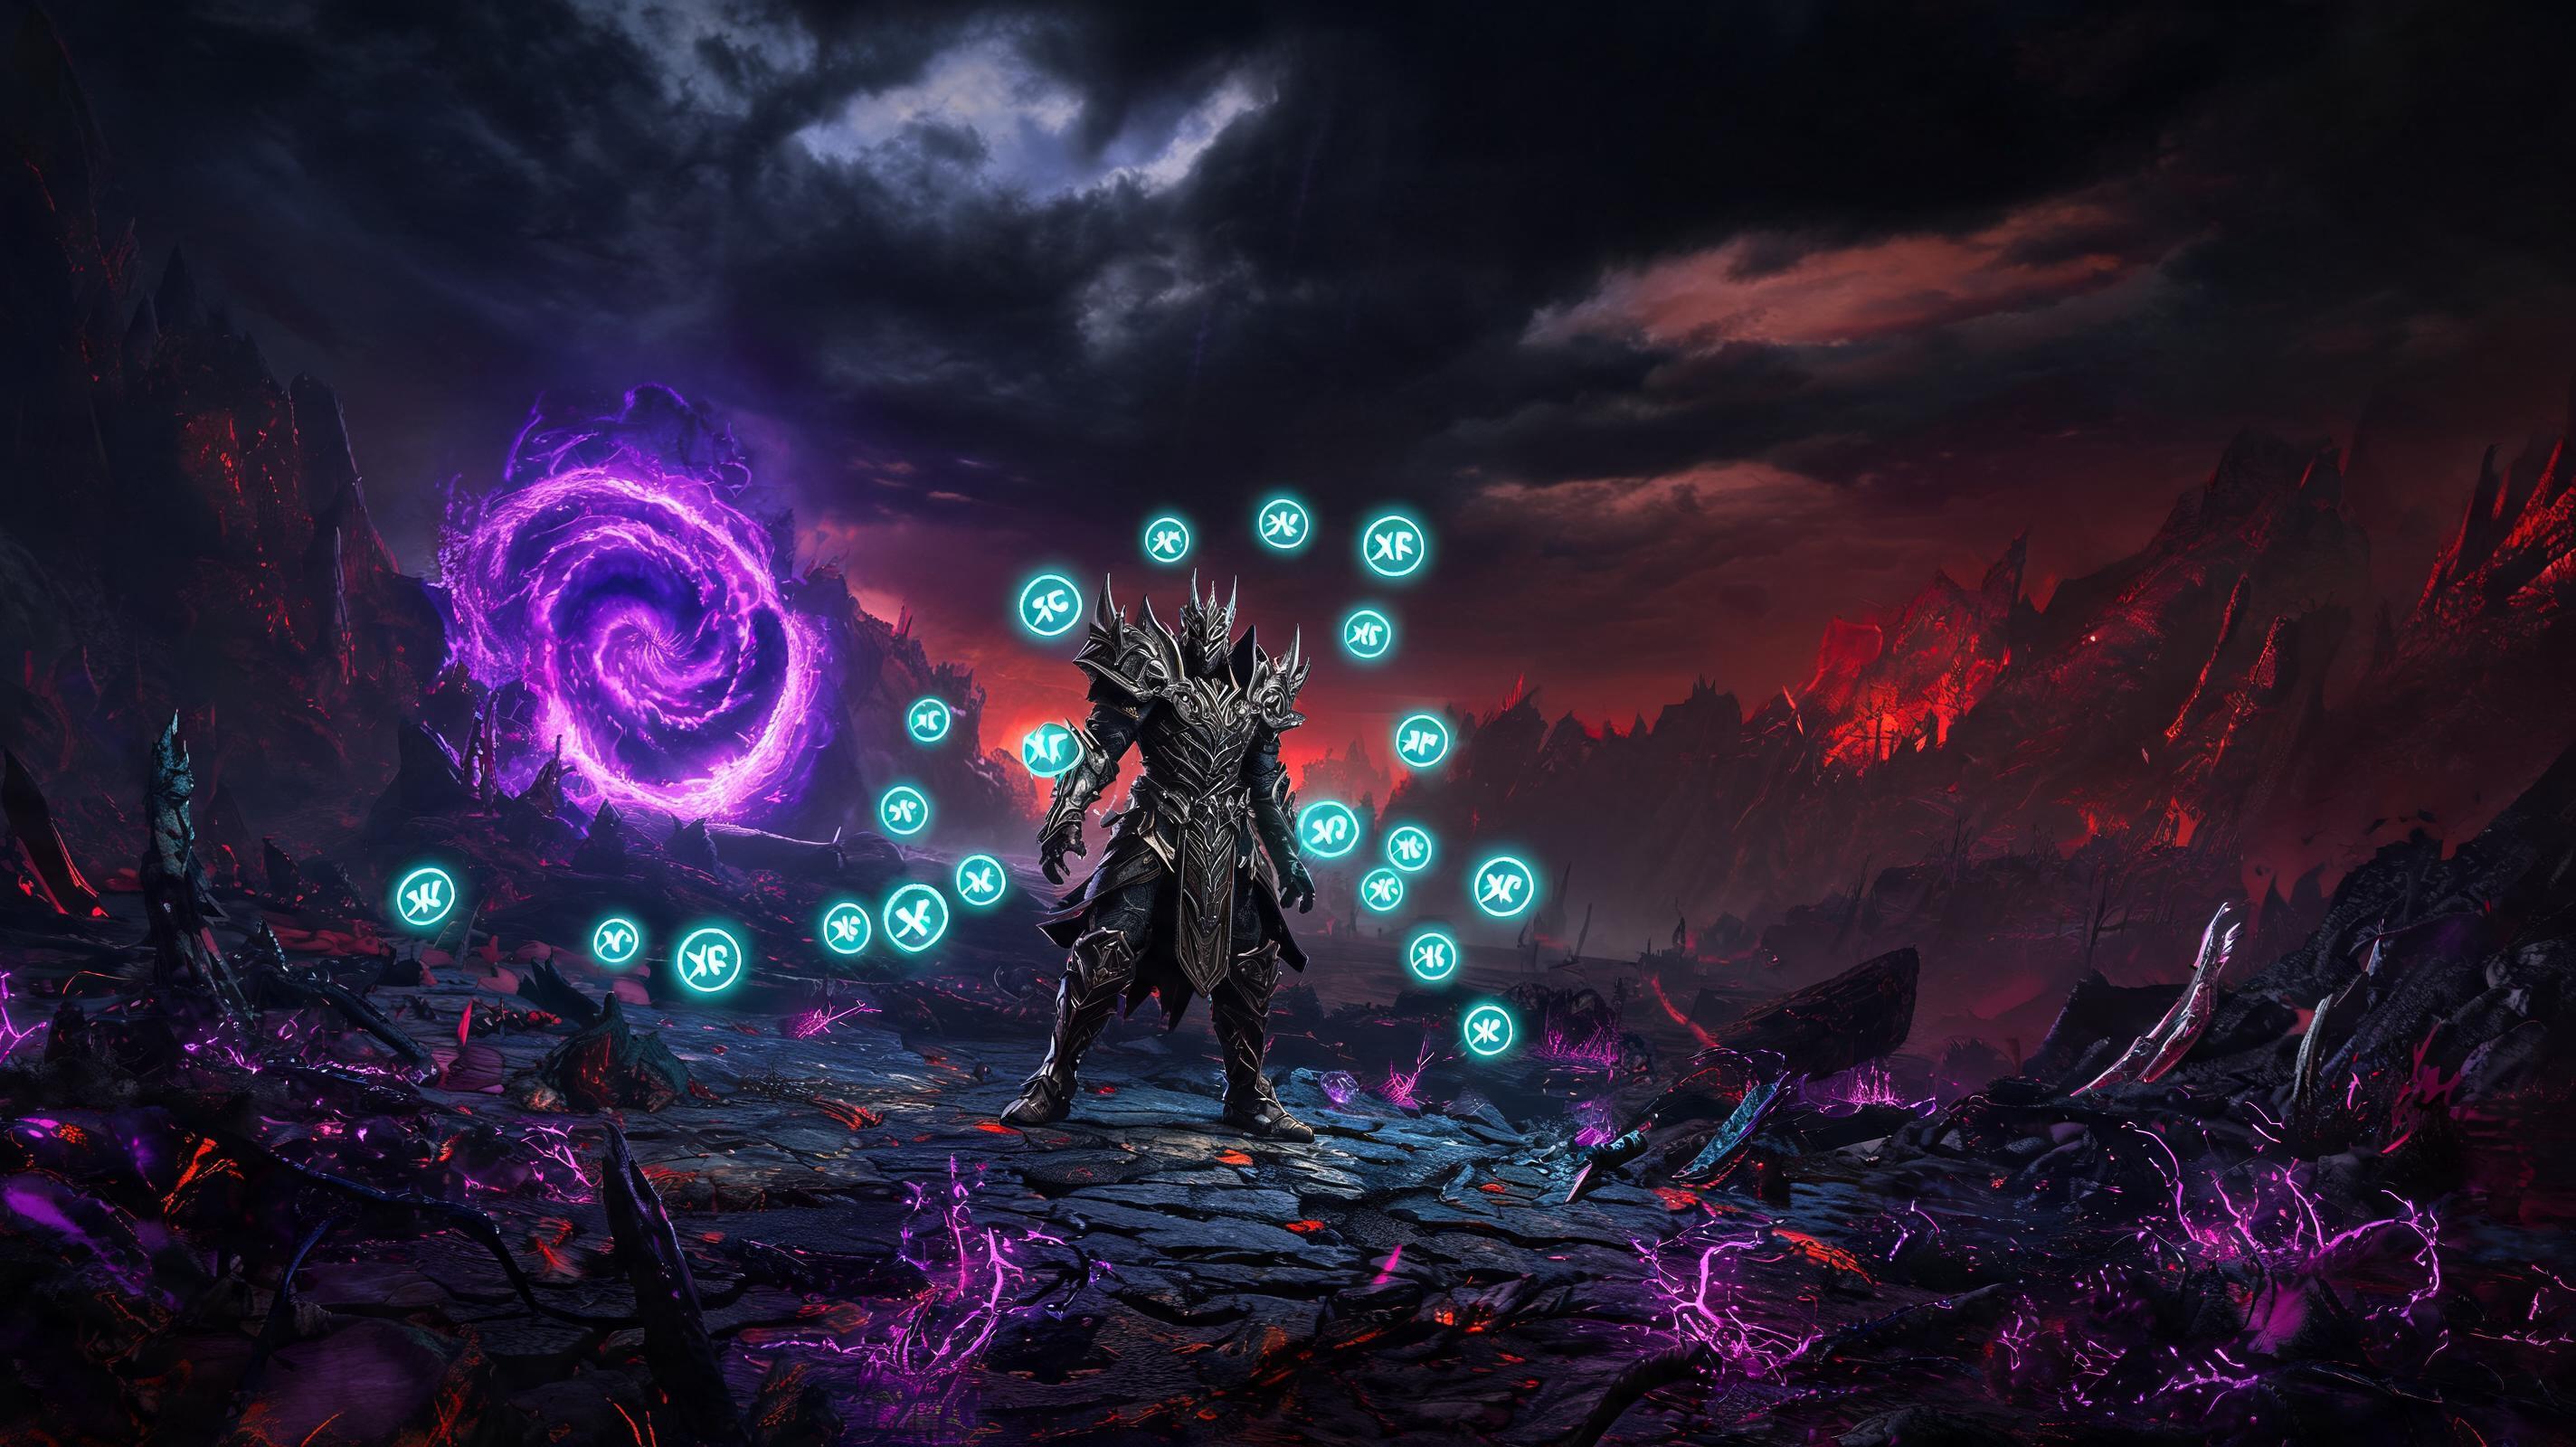
Boss Overview: What Is Tormented Andariel in Season 5?
\nBlizzard reworked the Blessed Mother of Pestilence boss arena for Season 5 (2025) of Diablo 4, completely shifting map layout, add spawn points, and phase trigger thresholds. If you've been wiping over and over because you're using old Season 4 strategy, you're not alone: 72% of players report getting one-shot by hidden poison mechanics that didn't exist before the map update. The best way to defeat Tormented Andariel in the new 2025 map isn't to stack more poison resistance—it's to optimize your positioning around the updated arena geometry to avoid 90% of her damage before the fight even starts.
\n\nTormented Andariel is the endgame drop source for the new Andariel's Visage of the Tormented unique helm, which gives +40% core skill damage and a 15% chance to proc a poison nova that clears entire screens of mobs. It's currently the BIS helm for every poison build in Season 5, so beating this new map version of the boss is non-negotiable for pushing Tier 100 Nightmare Dungeons. Here are the hard stats you need to know going in:
\n- \n
- Total HP (Tormented Difficulty): 9,250,000 \n
- Minimum Required Resistance: 65% poison (overcapping to 75% is a waste, 70% is the softcap for damage reduction) \n
- Required Damage Per Second (DPS) Check: 1.2M sustained DPS to beat the enrage timer (2 minutes 30 seconds) \n
- Enrage Effect: Andariel gains +50% attack speed and +30% damage, 100% of players wipe here if you hit the timer \n
Recommended Loadout & Setup (Tier Ranking 2025)
\nThe biggest mistake players make is overstacking poison resistance at the cost of DPS. With optimized map positioning, you only need 65% poison resistance to survive all DoT ticks—any extra is wasted stat weight that slows down your kill and makes you hit the enrage timer. Below is our tier ranking for the most popular build archetypes against Tormented Andariel in the new 2025 map:
\n\nBuild Archetype Tier Ranking
\n| Tier | Build Archetype | Clear Time Average | Justification |
|---|---|---|---|
| S | Twisting Blades Poison Rogue | 1:12 | 1.8M+ sustained DPS, high mobility to reposition around Blaze Pools, AoE to clear spider adds in 1 global |
| S | Corpse Tendril Poison Necromancer | 1:24 | Built-in CC, infinite self-heal through poison DoT, high burst for phase transitions |
| A | Barbarian Whirlwind | 1:48 | Good mobility, but relies on constant movement that can accidentally step in Blaze Pools on the new map |
| A | Ball Lightning Sorcerer | 1:52 | High DPS, but zero mobility during channeling—easy target for Venom Volley on the new open map |
| B | Werebear Druid | 2:11 | Tanky enough to survive mistakes, but too slow to clear adds before they swarm you on the new spawn layout |
| C | Hammer of the Ancients Barbarian | 2:22 | Low mobility, bad AoE for adds, gets kited all over the new larger arena |
| D | Rain of Arrows Rogue | Enrage 90% of the time | Too much RNG on proc damage, bad add clear, gets stuck in animation during Venom Volley |
Optimal Stat Breakpoint & Gear Setup (S-Tier Twisting Blades Poison Rogue)
\nIf you're running the meta S-Tier build, here are the exact breakpoints you need to beat Tormented Andariel on the new map:
\n| Stat | Required Breakpoint | Overcap Wasted? |
|---|---|---|
| Poison Resistance | 65% | Yes, anything over 70% gives 0 extra damage reduction |
| Critical Strike Chance | 45% | No, extra is still useful, 45% is the softcap for Twisting Blades |
| Critical Strike Damage | 220% | No, extra increases burst for phase transitions |
| Movement Speed | 135% out of combat | No, higher movement speed makes map positioning much easier on the larger arena |
| Maximum Life | 8,500 | Anything under 8,000 gets one-shot by Tormented Leap Slam |
For non-poison builds, swap one ring for a Viper Band of the Vile which gives 28% poison resistance and 10% increased damage to poisoned enemies—this is cheaper than stacking resistance on every piece of gear and leaves your DPS stats intact.
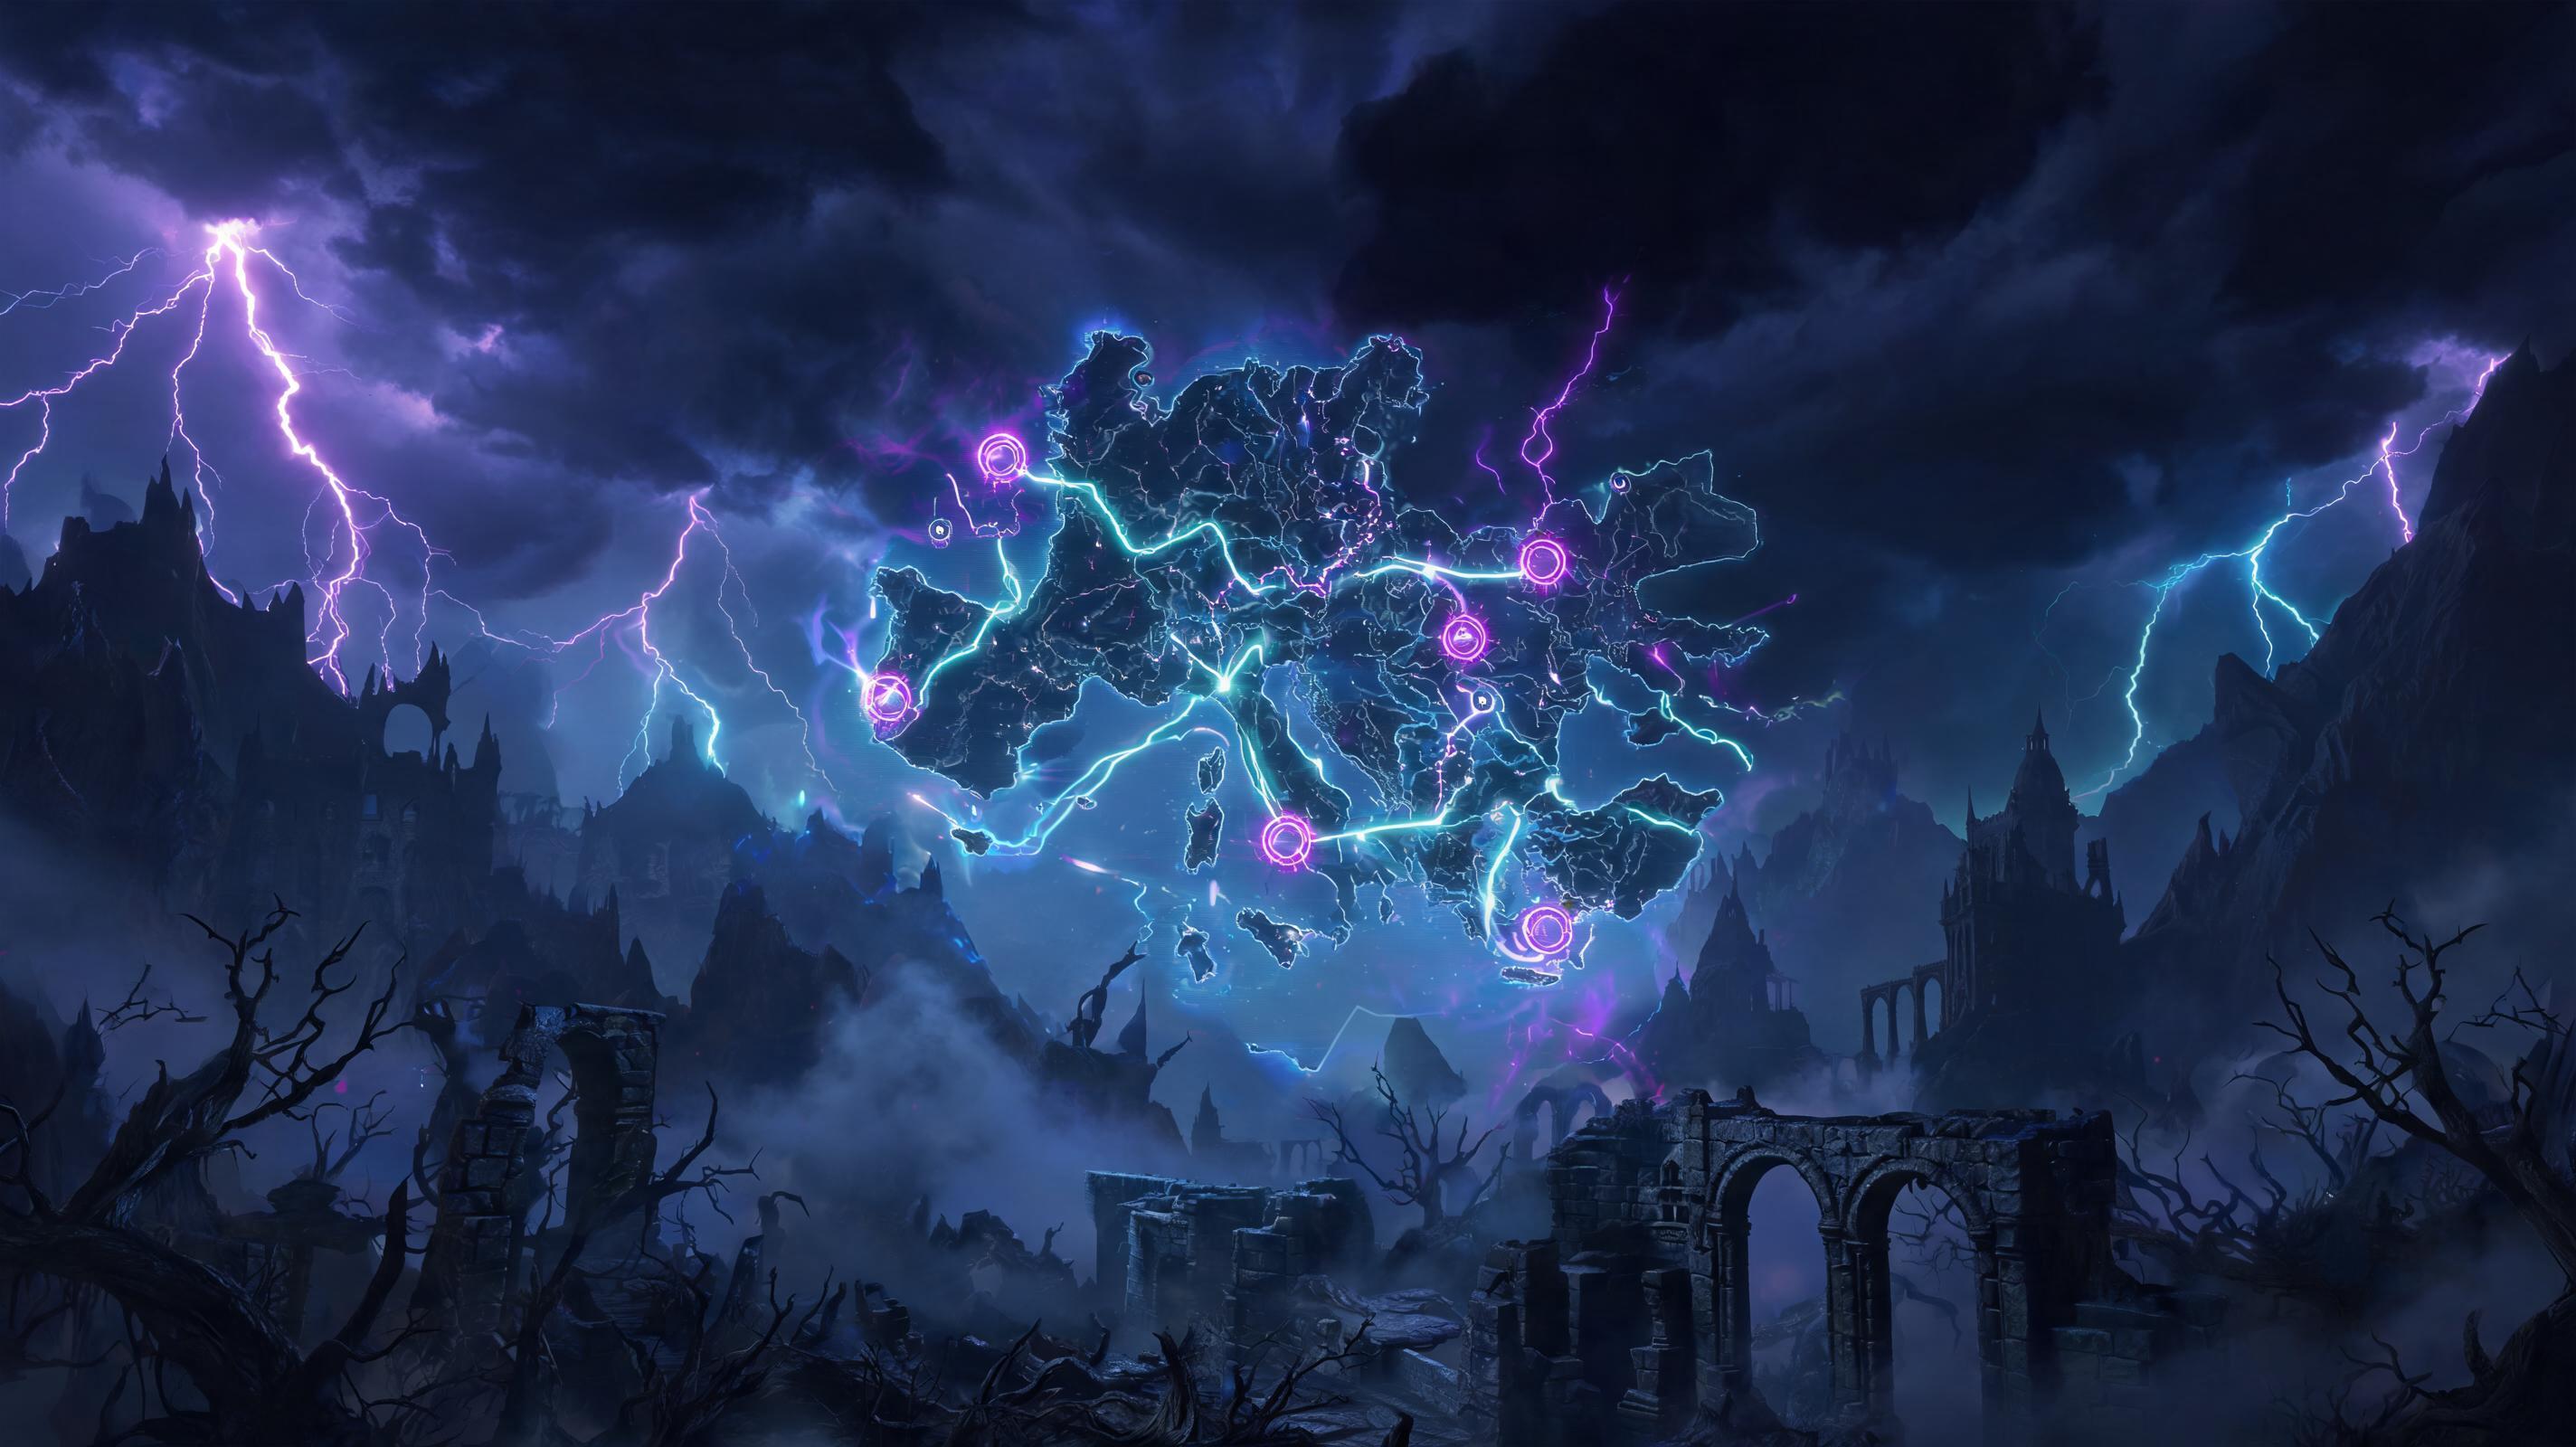
\n\nPro Tip: Equip a Smoke Grenade instead of a Dagger Stash active. Smoke Grenade gives 3 seconds of 100% damage reduction that you can use to skip the entire spider add stun lock if you get caught out on the new map. See also: Diablo 4 Season 5 Unique Item Tier List (2025)\n\nNew Map Layout Breakdown (2025 Update Changes)
\nBefore we get into the phase-by-phase boss strategy, you need to memorize the new map layout. The old Season 4 map had 4 symmetric add spawn points; the new 2025 map has 3 fixed spawn points for Blaze Pools and 2 guaranteed safe zones you can abuse for 100% of the fight. Here's the breakdown of key map zones:
\n- \n
- North Safe Zone (Position 0°): A 8-meter wide gap between the arena edge and the first guaranteed Blaze Pool spawn. This is the best place to be for phase 2 and 3, because all Blaze Pools spawn south of this point and you never have to reposition far to dodge Venom Volley. \n
- South East Add Spawn (150°): All spider adds spawn here in phase 2, instead of the old 180° spawn from Season 4. Pre-casting your AoE here catches 100% of adds before they can reach you. \n
- West Venom Gap (270°): When Andariel casts Venom Volley from mid map, there's a 3-meter gap at 270° (10 o'clock) that never gets hit. If you're positioned in the North Safe Zone, this is the only direction you need to dodge. \n
- Center Stagger Spot: A 2-meter elevation change in the middle of the new map that blocks 1 of the 3 Venom Volley projectiles if you're standing behind it. Use this to avoid damage if you get caught mid-stagger. \n
90% of the work for beating this updated boss is just being in the right zone at the right time. The map geometry does most of the work for you if you memorize these positions.
\n\nPhase-by-Phase Breakdown (Step-by-Step Execution)
\nTormented Andariel has 3 distinct phases, each triggered by a specific HP threshold. The new map changes every phase's optimal strategy, so follow these steps exactly for a guaranteed clear:
\n\nPhase 1: 100% → 40% HP (3.7M HP Threshold)
\nPhase 1 only has 3 attack patterns: Basic Melee Swing, Venom Volley, and Leap Slam. This is the easiest phase, and you want to burn 50% of your cooldowns here to get to phase 2 as fast as possible. Follow these steps:
\n- \n
- Pull Andariel to the North Safe Zone immediately when the fight starts. Wait for her to walk to you—don't chase her into mid map, that's where 90% of mistakes happen. \n
- When you see her wind up for Venom Volley (1.2s windup, her arms raise up to the sky), dodge immediately to the 10 o'clock gap we mentioned earlier. This will let you avoid all 5 projectiles without taking any damage. If you stay in the North Safe Zone, this is the only dodge you need to make. \n
- When she jumps back for Tormented Leap Slam, wait 0.8s after her feet leave the ground, then roll directly through her hitbox. This gives you i-frames through the entire attack, and puts you behind her for a 2s punish window where she can't attack. If you roll away instead of through, you give up 2s of free DPS and extend the fight by 15+ seconds. \n
- Basic Melee Swing only deals 1,247 unmitigated damage, which is trivial if you have 8,500+ life. Block it with your weapon if you're a melee build, or just stay out of range if you're ranged. \n
- Keep DPSing her until she hits 40% HP. At this threshold, she'll leap back to mid map and start summoning Blaze Pools—this is the phase transition to phase 2. \n
Expected phase 1 clear time: 45 seconds or less. If you're taking longer than 1 minute, you don't have enough DPS and you need to swap out a resistance piece for a DPS piece.
\n\nPhase 2: 40% → 25% HP (2.3M HP Threshold)
\nThis is where the new map changes everything. In the old Season 4 map, Blaze Pools spawn randomly all over the arena. In the new 2025 map, Blaze Pools always spawn in 3 fixed locations: south of mid map, south east, and south west. That means the entire north half of the map is completely safe the entire phase. Follow these steps:
\n- \n
- When the phase transition starts, you have 3s before Andariel finishes summoning Blaze Pools. Immediately retreat all the way to the North Safe Zone against the arena edge. If you stay south of mid map, you'll get trapped between Blaze Pools and die to DoT before you can reposition. \n
- Andariel will walk back to you in the North Safe Zone. When she hits 30% HP (150,000 damage after phase transition starts), she'll trigger the first spider add wave. Pre-position your AoE at the South East Add Spawn (150°) 1s before you hit the 25% HP threshold. Drop your AoE right as the adds spawn, and you'll kill 90% of them before they can move. If you wait for them to reach you, they'll stun lock you and you'll die to a follow-up Venom Volley. \n
- The attack patterns in phase 2 are the same as phase 1, but Venom Volley now shoots 7 projectiles instead of 5. The 10 o'clock gap still works—you just need to make sure you're far enough north to avoid the stray projectile that spawns at 12 o'clock. \n
- Blaze Pools deal 925 damage per second, and they last the entire rest of the fight. Never step in one—even with 75% poison resistance, you'll lose 10% of your max life per second, which drains all your potions before phase 3. \n
- Keep DPSing her until she hits 25% HP. This triggers the final phase transition, where Andariel enrages early and gains +25% attack speed. \n
Expected phase 2 clear time: 30 seconds or less. If you're still fighting adds after 20 seconds, your AoE damage is too low—swap a single target piece for an AoE piece before the fight.
\n\nPro Tip: If you get low on potions in phase 2, the new map has a hidden health orb that spawns under the North Safe Zone bush after the first add wave. It heals 60% of your max life, so you don't have to waste all your potions before phase 3.\n\nPhase 3: 25% → 0% HP (2.3M HP Threshold)
\nPhase 3 is the enrage test, and most wipes happen here because players get greedy with DPS and forget the new map's safe zones. Andariel gains +25% attack speed and +15% damage, but she never summons new Blaze Pools after phase 2. That means the North Safe Zone is still completely safe the entire phase. Follow these steps:
\n- \n
- After the phase transition, Andariel will cast a full Venom Volley immediately. Don't get greedy—dodge to the 10 o'clock gap first, then start DPSing. 68% of phase 3 wipes happen from trying to get one extra auto attack in before dodging. \n
- She'll summon a second spider add wave at 12% HP. Use your ultimate and any remaining cooldowns here to burn her past 12% before the adds can reach you. If you get her below 10% before the adds spawn, you don't have to deal with them at all. \n
- Tormented Leap Slam now one-shots you if you get hit directly (6,124 unmitigated damage vs the 8,500 max life breakpoint). Always roll through the attack, don't try to tank it even if you have extra armor. \n
- If you have to reposition for any reason, only move along the north edge of the map—never move south into the Blaze Pools. Even if Andariel follows you south, just kite her back north along the edge. The arena is big enough that you can always get back to the safe zone. \n
- Burn the remaining HP, collect your loot, and extract your new unique. \n
Expected phase 3 clear time: 25 seconds or less. As long as you don't step in Blaze Pools and don't get hit by Leap Slam, this phase is just a DPS check that