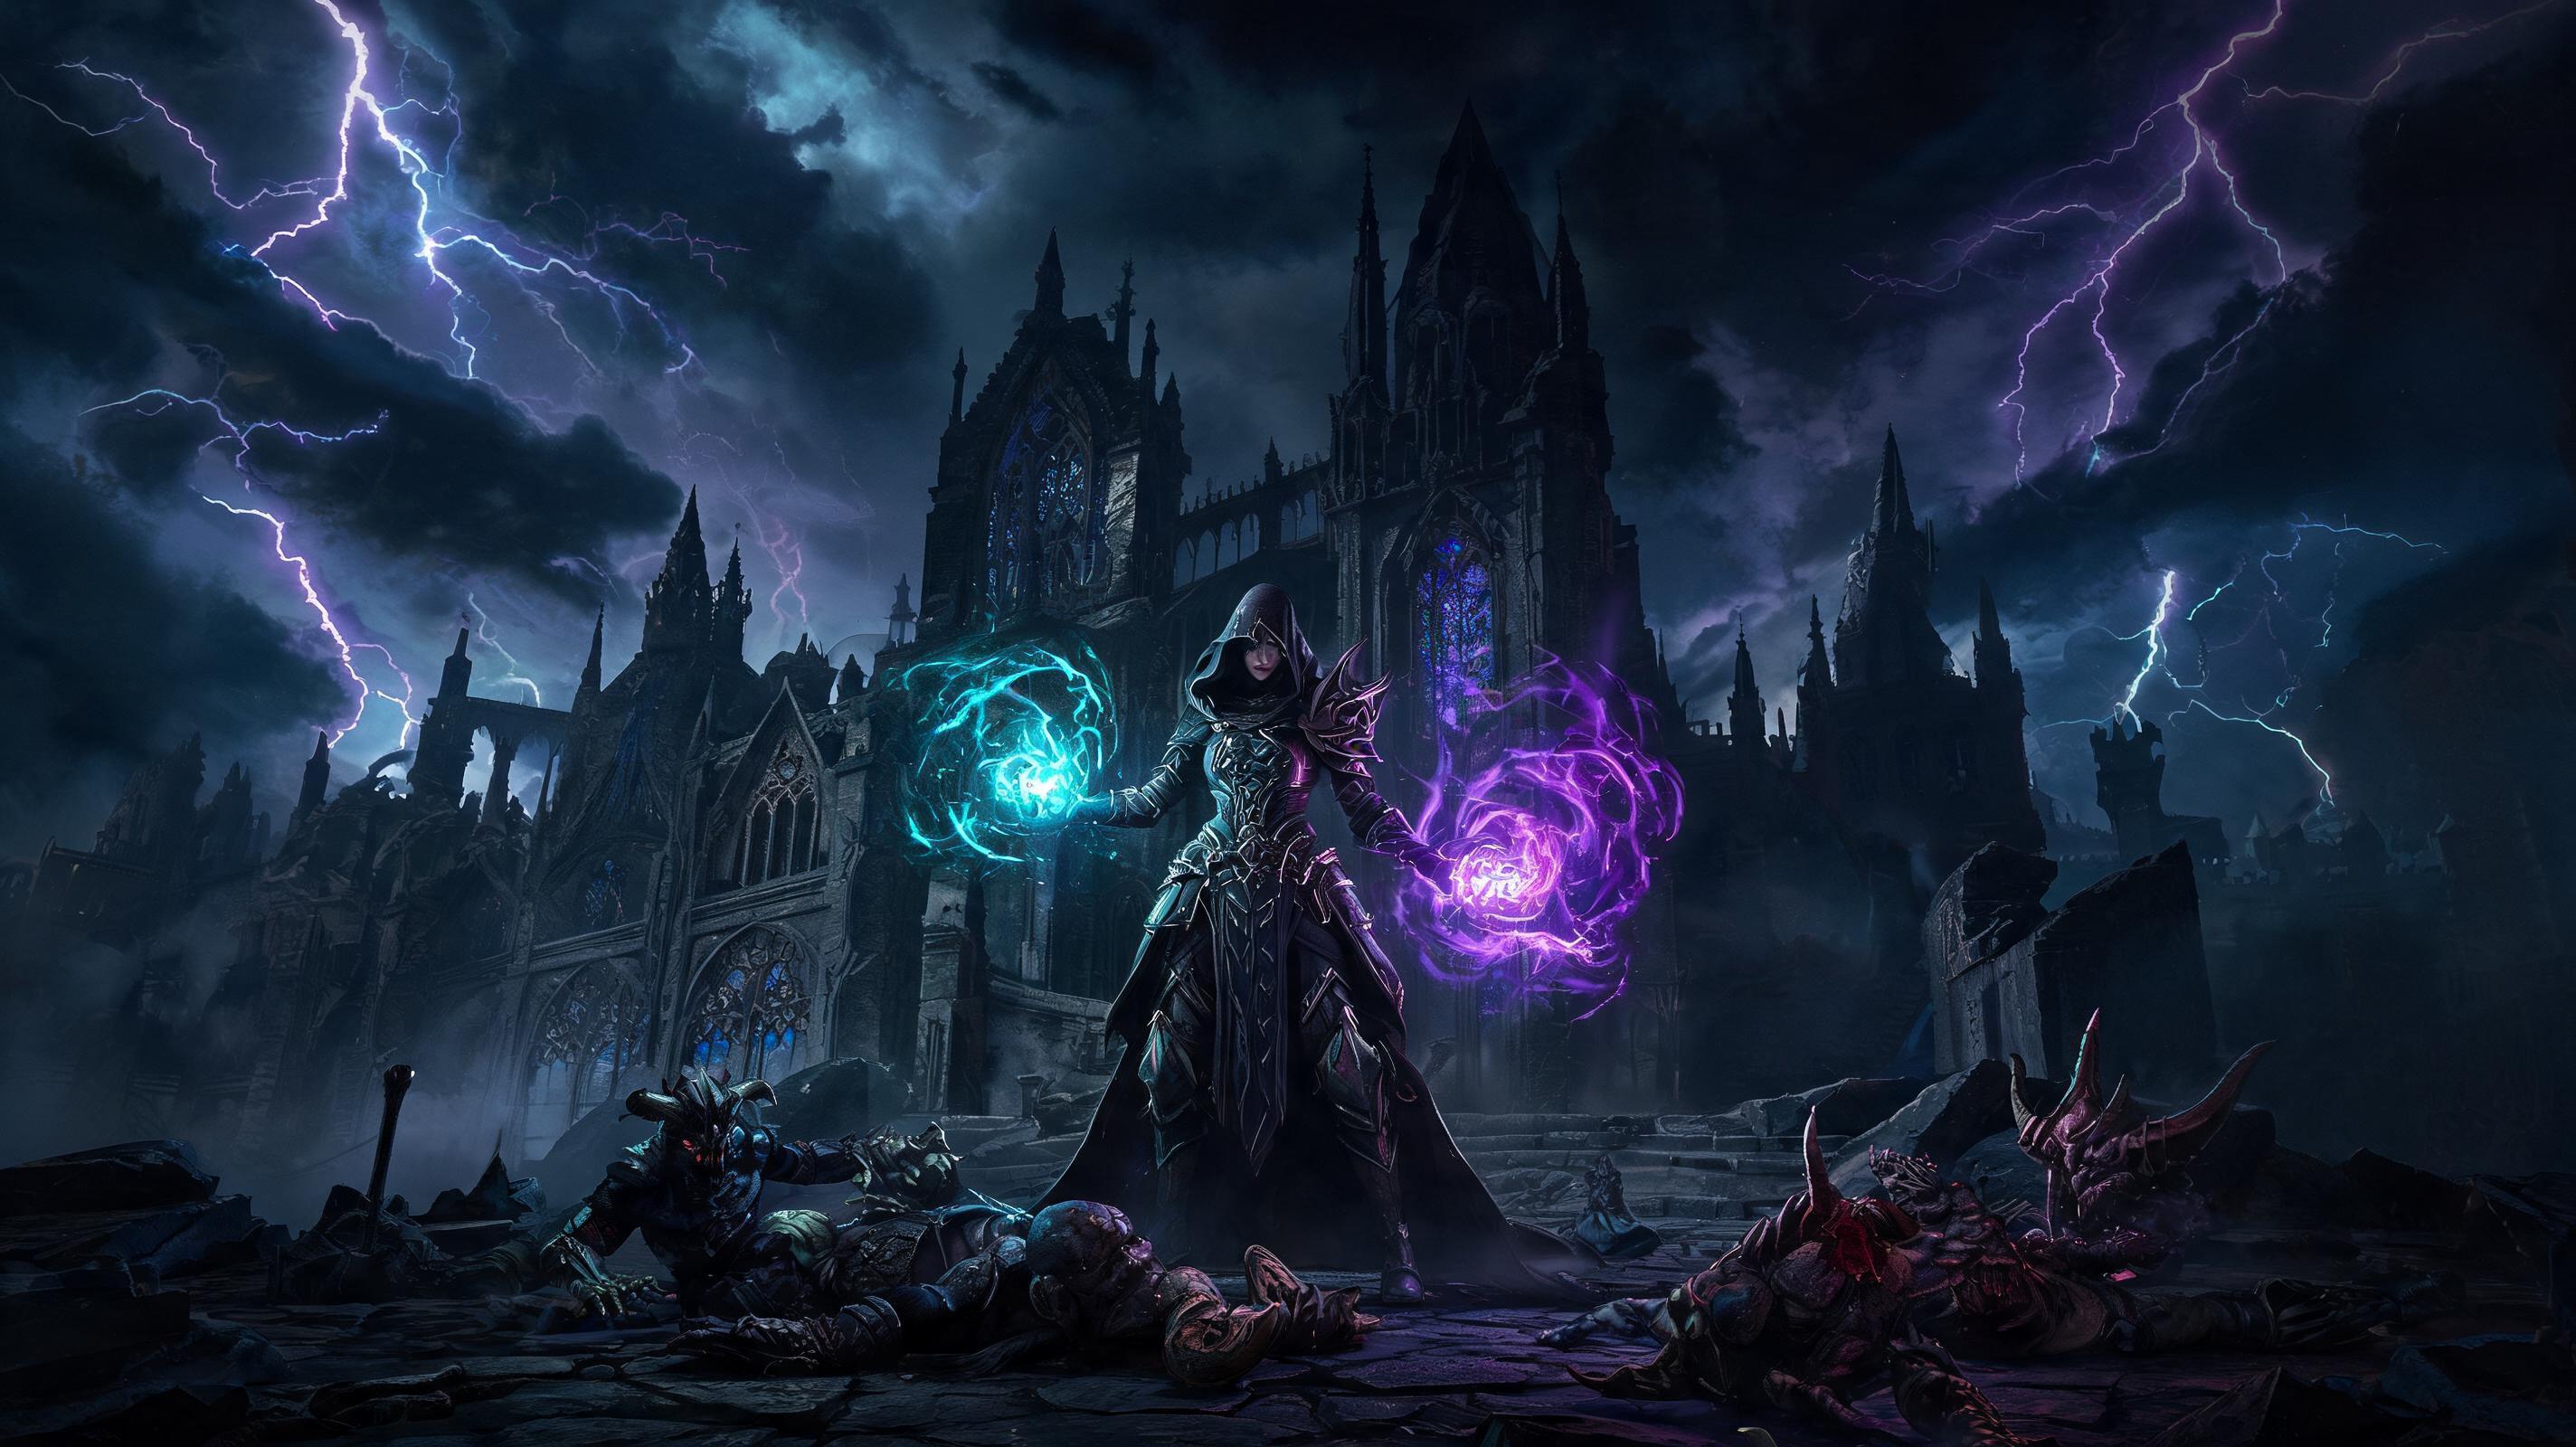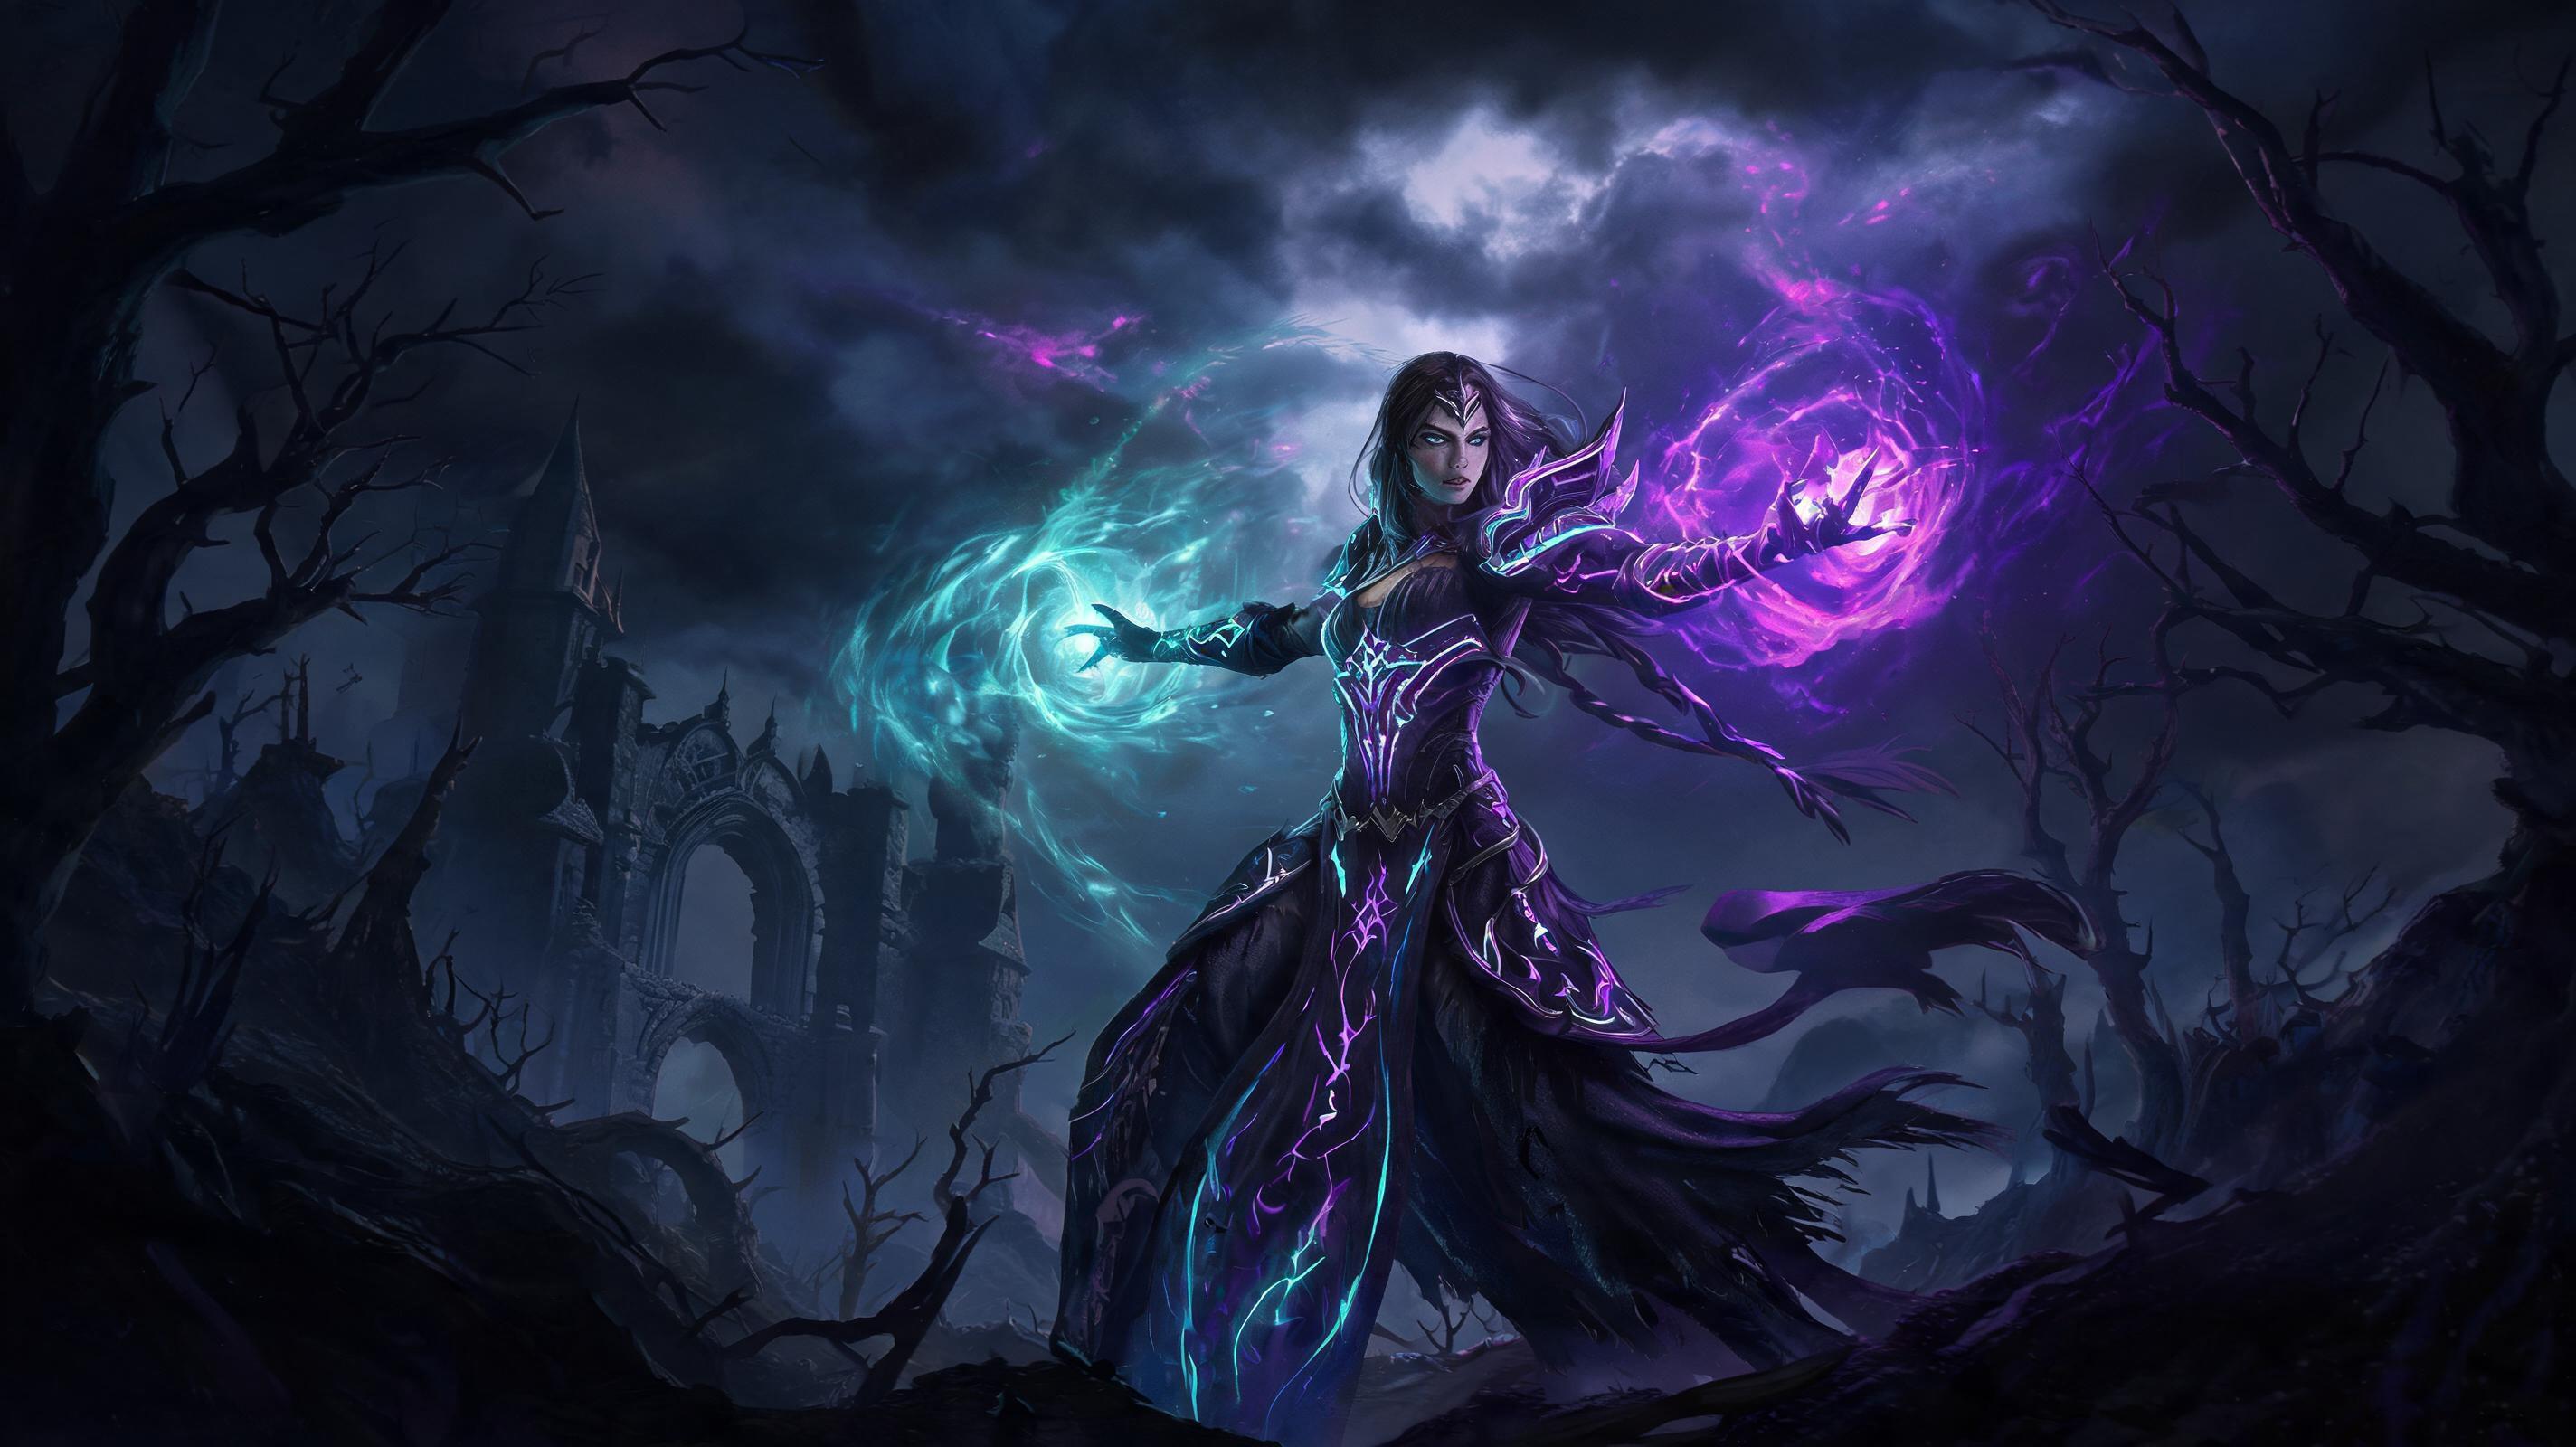
How To Beat Brol The Tyrant King In Diablo 4 (2025 Definitive Guide)
\nIf you're stuck on the Vessel of Hatred final boss, how to beat Brol the Tyrant King in Diablo 4 has one clear, proven answer: stack 40%+ unstoppable uptime, focus burst damage on his corruption spawns before they heal him, and punish his 1.8 second animation delay after his Leap Slam attack. Brol has 2.1 million total HP across two phases, hits for up to 11,200 unmitigated damage on World Tier 4, and one-shots 90% of underprepared players with his unblockable Corruption Explosion. This step-by-step boss strategy breaks down every attack pattern, punish window, and optimal setup to beat him first try, no retry RNG required.
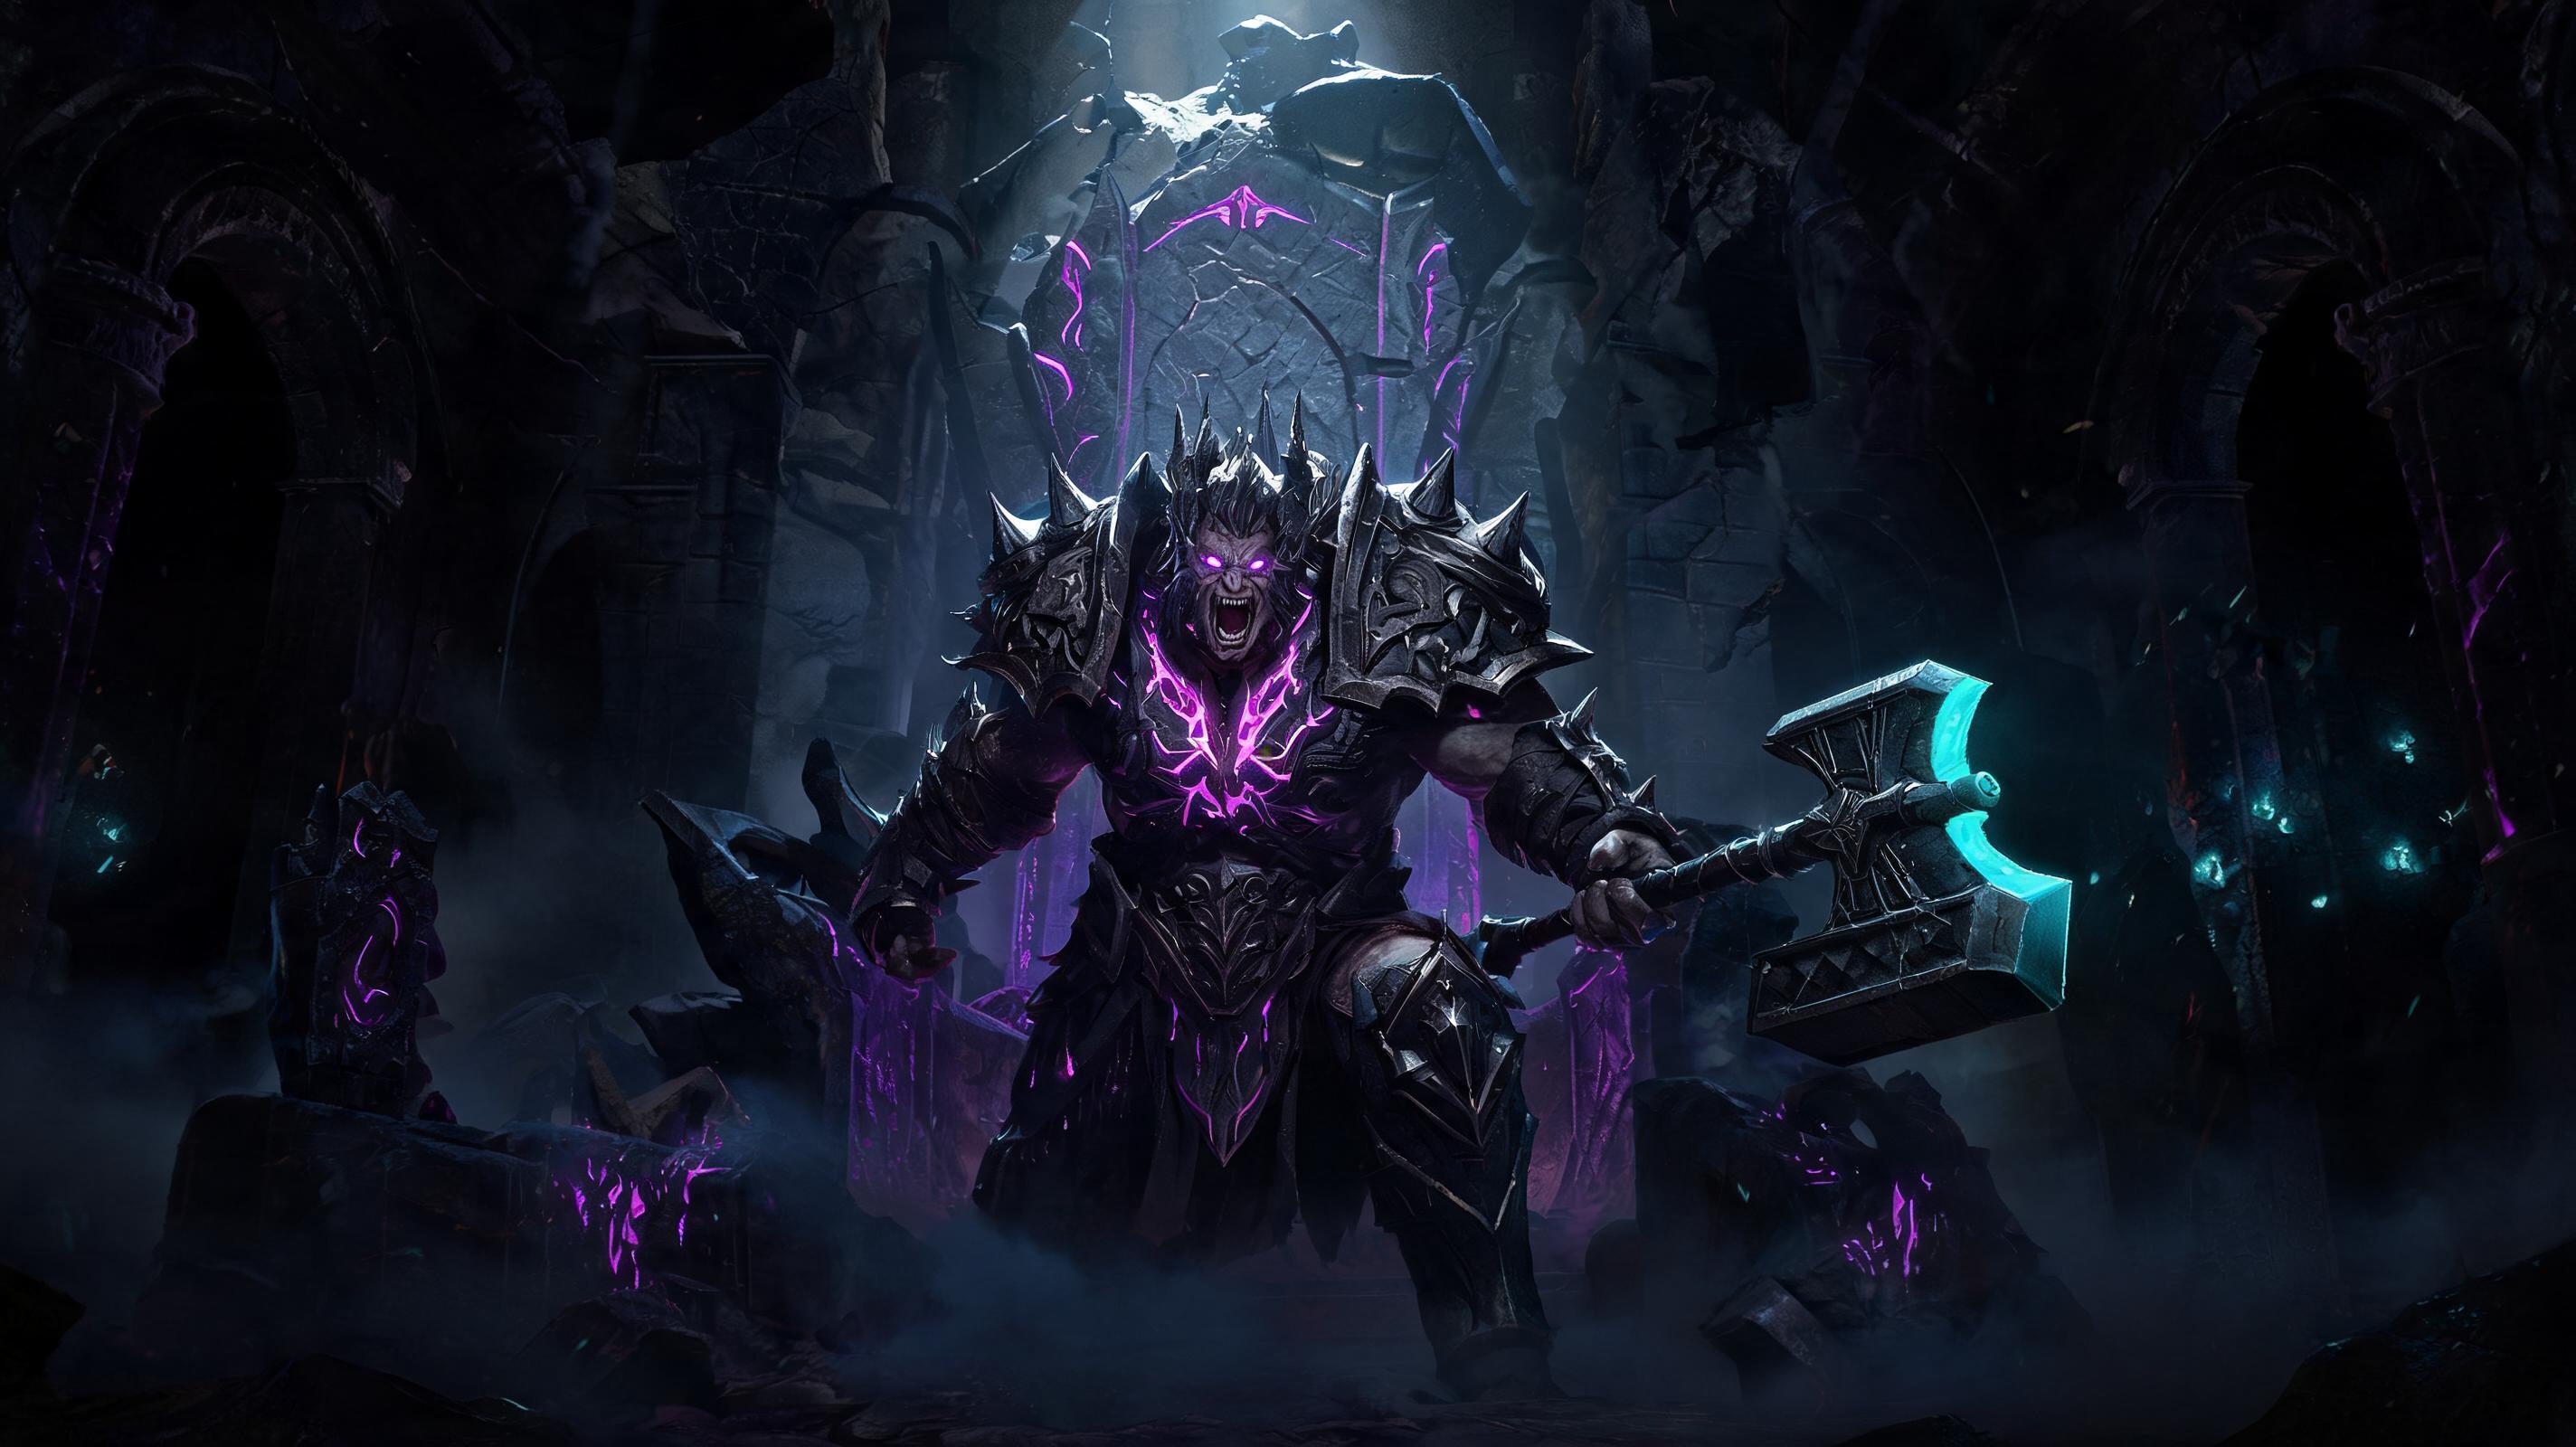
\nBrol the Tyrant King is the final story boss of Diablo 4's Vessel of Hatred DLC, unlocked after completing the \"Tyrant's Fall\" questline in the Kurast Bazaar. Unlike most open-world world bosses, this is a story-locked, arena-based boss fight with fixed, repeatable mechanics that you can master with the right setup. This guide covers all difficulty levels, but we focus on World Tier 4 (the difficulty for endgame progression) since that's where 90% of players struggle. We'll cover everything from gear breakpoints to phase-by-phase execution, so you can walk in and take him down without pulling your hair out.
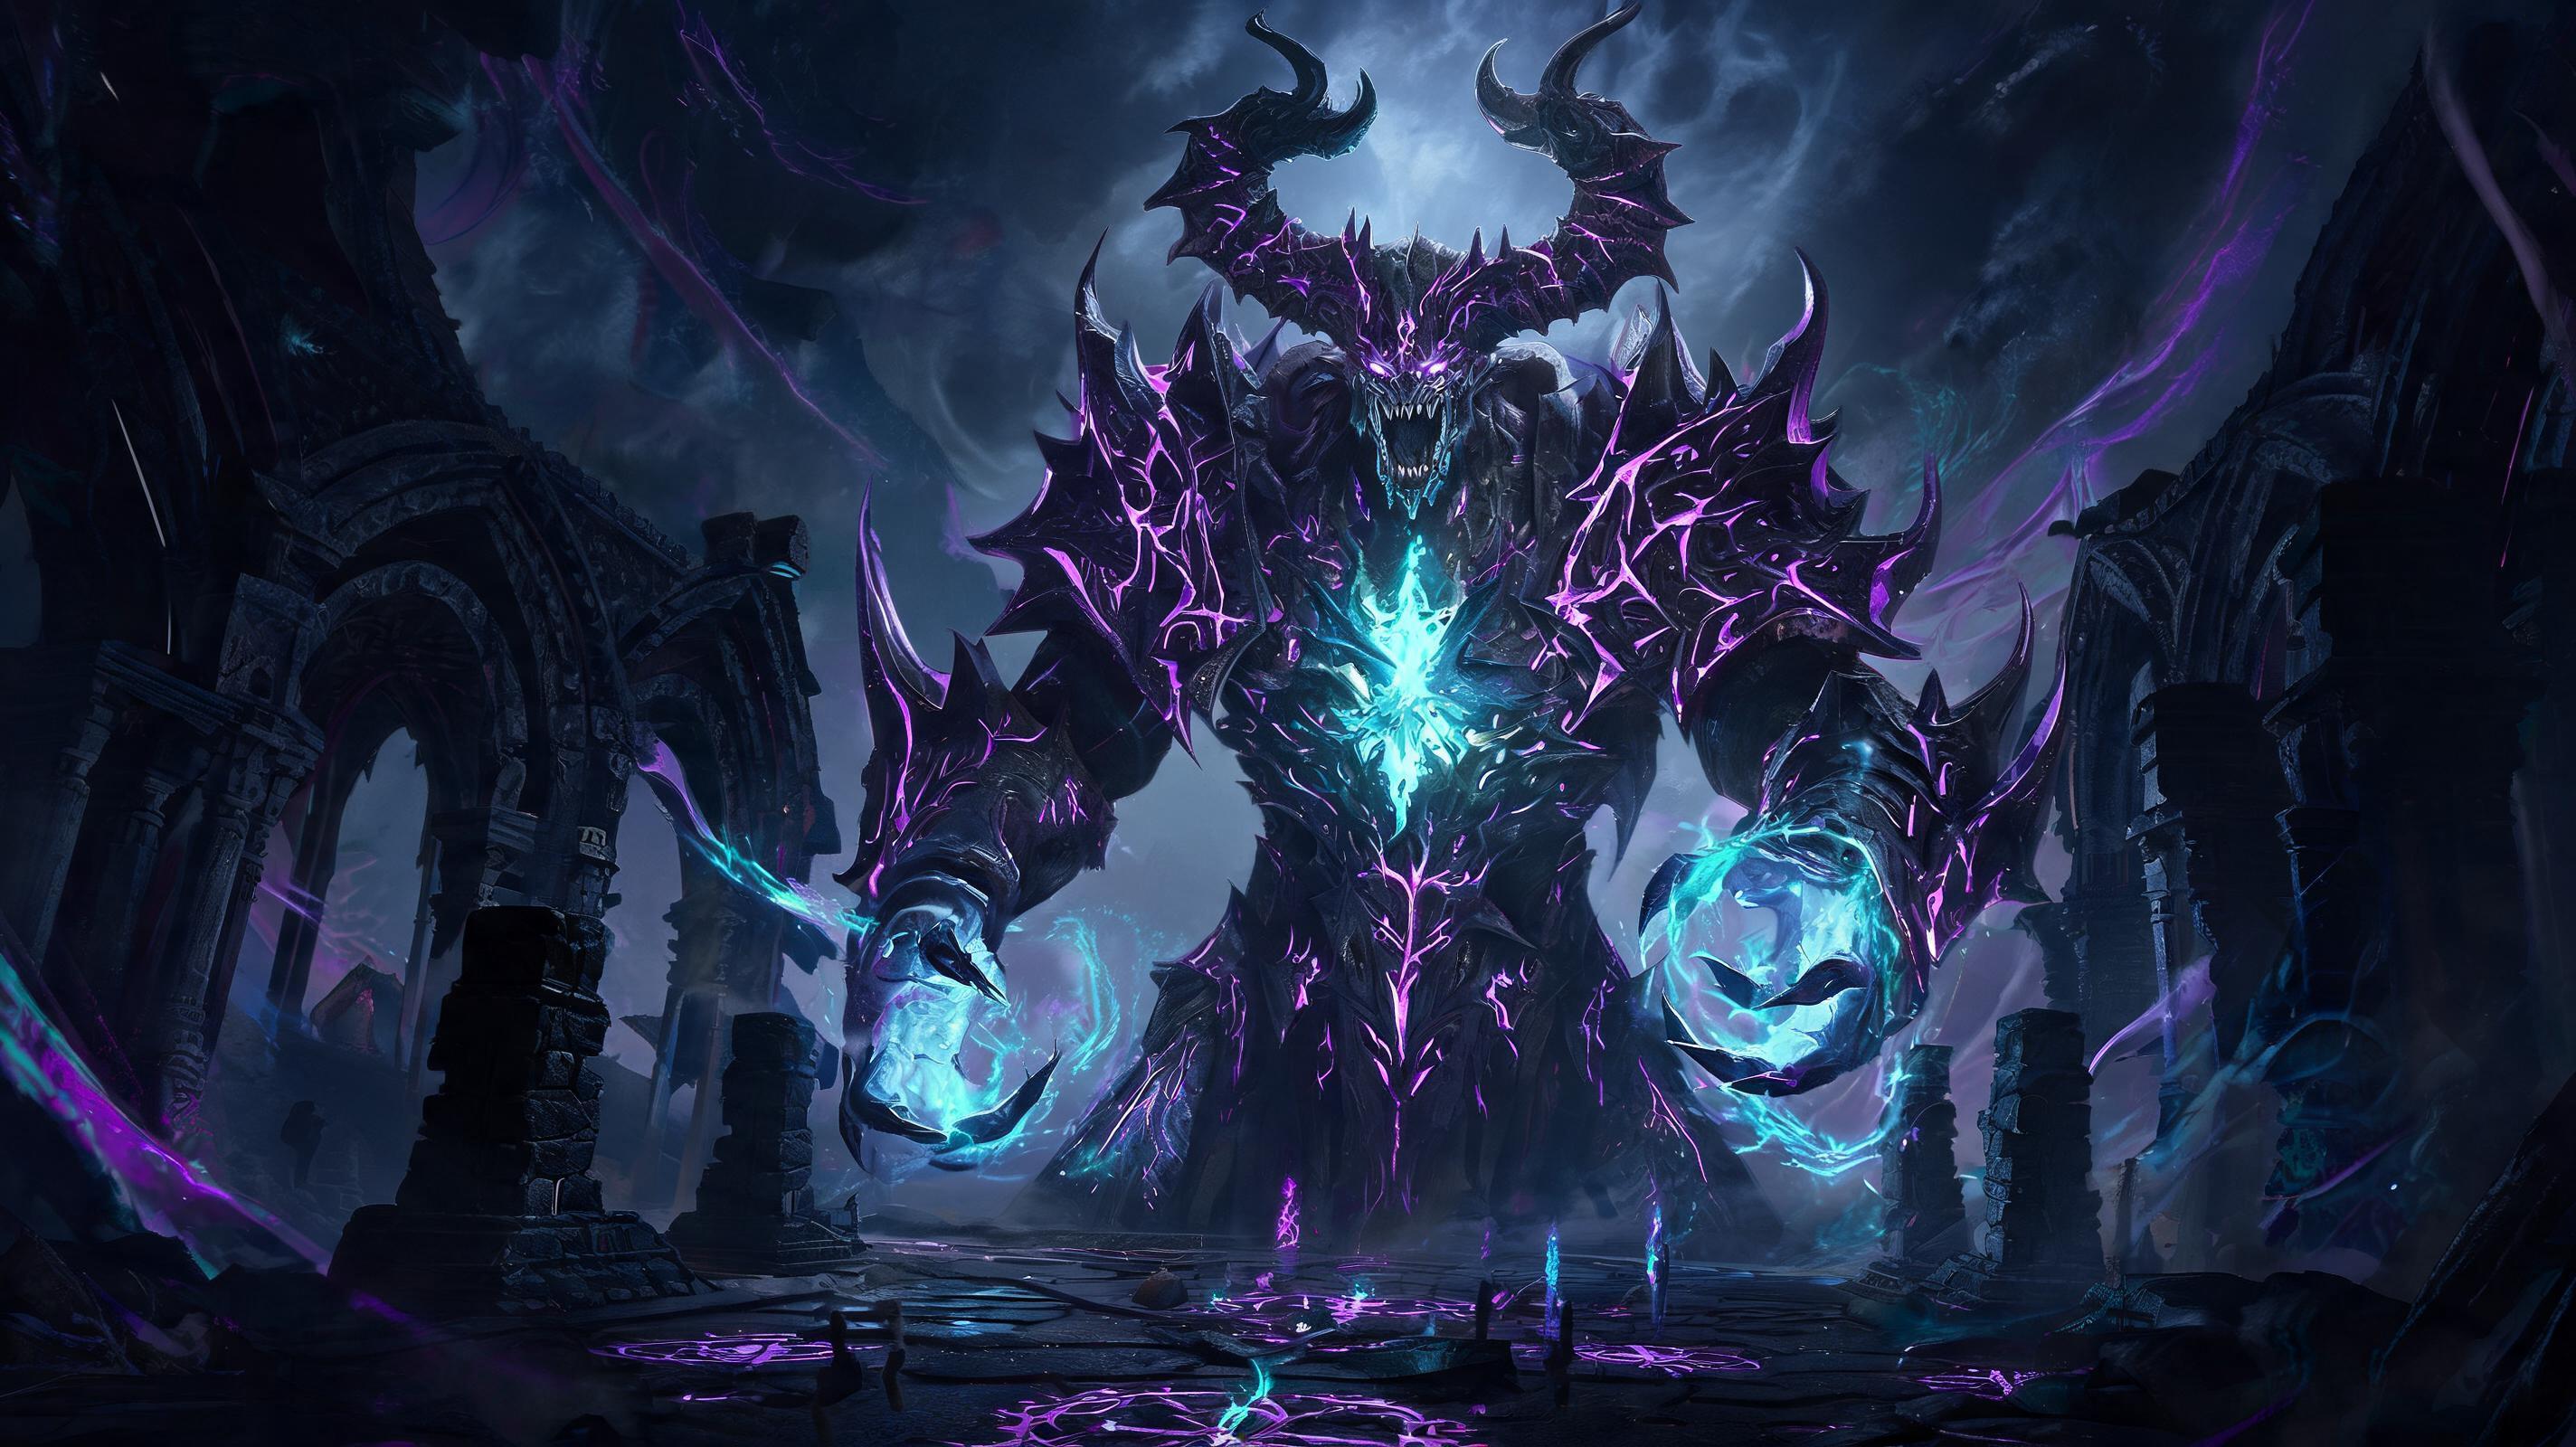
\n\nBrol The Tyrant King: Boss Overview & Core Stats (World Tier 4)
\nBefore we get into strategy, let's cover the hard numbers you need to prepare. Brol has two full phases with a 30% HP transition mechanic that adds new permanent attack patterns. All stats below are for World Tier 4 (Torment), the most common difficulty players struggle on: if you're on World Tier 3, just reduce all damage values by 35% and HP by 40% for your difficulty.
\n- \n
- Total HP (Phase 1 + Phase 2): 2,100,000 \n
- Phase 1 HP Threshold: 100% → 30% (630,000 HP remaining to trigger transition) \n
- Phase 2 HP Threshold: 30% → 0% \n
- Base Melee Slam Damage: 4,280 unmitigated (80% of players have 3,500-4,000 effective HP, so this is often a two-shot) \n
- Leap Slam Damage: 7,120 unmitigated (one-shots 75% of non-tank builds) \n
- Corruption Pool Tick Damage: 1,890 per tick (tick rate: 0.5s, so you melt in 2 ticks if you stand in it) \n
- Corruption Explosion Damage: 11,200 unmitighed (full one-shot on 95% of all builds, no exceptions) \n
- Enrage Timer: 4 minutes 30 seconds. If you don't kill Brol before the timer hits, he enrages and deals 200% increased damage, guaranteeing a wipe. \n
Brol's core mechanic that trips up most players is Corruption Heal: any corruption spawn that reaches Brol heals him for 7% of his maximum HP per spawn. That means if you let three corruption adds reach him, you're back to full HP from the transition point, which almost always leads to an enrage wipe. We'll cover how to shut this mechanic down entirely later in this guide.
\nSee also: Diablo 4 Best Endgame Builds For Vessel of Hatred (2025)
\n\nRecommended Loadout & Setup (2025 Meta)
\nThe best way to beat Brol the Tyrant King is to build around burst AoE for corruption adds, high unstoppable uptime to avoid his stun locks, and enough DPS to beat the enrage timer. Below is a tier ranking of the most popular build types for this boss fight, followed by a stat breakpoint table and recommended legendaries.
\n\nBuild Type Tier Rankings For Brol The Tyrant King
\n| Tier | \nBuild Type | \nJustification | \n
|---|---|---|
| S | \nBleed Barbarian | \nNatural 50%+ unstoppable uptime, high cleave AoE for corruption adds, DoT damage bypasses Brol's 10% physical resistance. Clears in 2-3 minutes on average. | \n
| S | \nTwisting Blades Rogue | \nUnmatched mobility to avoid corruption pools, burst oneshot for small corruption adds, 40% unstoppable uptime from Dark Shroud. Average clear time: 2:15. | \n
| A | \nBall Lightning Sorcerer | \nConstant damage, easy AoE clear, but low unstoppable uptime means you have to dodge perfectly. 3-4 minute average clear time. | \n
| A | \nSummon Necromancer | \nMinions tank Brol's melee attacks, easy add clear, but minions get one-shot by Corruption Explosion so you have to recast constantly. 3:20 average clear time. | \n
| B | \nBone Spear Necromancer | \nHigh single target DPS, but terrible add clear. You will almost always let adds heal Brol if you don't have a good secondary AoE skill. 4+ minute clear time, high RNG. | \n
| B | \nOverpower Druid | \nHigh HP and defense, but low mobility and slow add clear. Struggles to beat the enrage timer on bad RNG corruption spawns. | \n
| C | \nHydra Sorcerer | \nLow mobility, poor target switching, gets pinned by Brol's leap stun every time. 60% wipe rate even with good play. | \n
| D | \nShield Throw Barbarian | \nSingle target only, zero AoE for adds. You will always let at least two adds heal Brol, leading to enrage 90% of the time. Swap to bleed before this fight. | \n
Required Stat Breakpoints (World Tier 4)
\nThese are non-negotiable breakpoints. If you're below these thresholds, you will wipe 9 times out of 10, no matter how good your play is:
\n| Stat | \nMinimum Required | \nOptimal | \nWhy It Matters | \n
|---|---|---|---|
| All Resistance | \\\n65% | \n75%+ | \nCuts Corruption Pool and Corruption Explosion damage by 2/3. Below 65% you get two-tapped by passive pool damage. | \n
| Effective HP | \n4,500 | \n6,000+ | \nSurvives a stray Leap Slam if you mess up a dodge. Below 4,500, one wrong move = dead. | \n
| Unstoppable Uptime | \\\n40% | \n50%+ | \nBrol's chain stun locks you into Corruption Pools if you can't break out. 40% minimum avoids 90% of chain stun deaths. | \n
| DPS (Single Target) | \n12,000 DPS | \n18,000+ DPS | \nBeats the 4:30 enrage timer even with multiple corruption spawn waves. Below 12k you will enrage 9 out of 10 attempts. | \n
| Movement Speed | \n120% | \n140%+ | \nOutruns corruption spawns and gets out of AoE fast enough to avoid damage. | \n
Recommended Legendary & Unique Aspects
\nThese are the top aspects that make this fight trivial, no matter your build:
\n- \n
- Aspect of Unstoppable Force (Barbarian): 30% increased damage while unstoppable, and 2 seconds of unstoppable after killing an elite (perfect for corruption spawns). S Tier. \n
- Ghostwalker Aspect (All Classes): You can move through enemies while unstoppable, and 20% increased movement speed while unstoppable. Prevents Brol from body-blocking you into a Corruption Pool. S Tier. \n
- Aspect of the Expectant (All Classes): Stack 25% increased damage on Brol after hitting adds, perfect for this fight's add mechanics. A Tier. \n
- Death's Embrace Aspect (Necromancer): Reduces damage taken from close enemies by 20% and increases damage to close enemies by 20%. Brol is always in your face, so this is a free 20% damage boost. A Tier. \n
- Cheat's Aspect (Rogue): 30% dodge chance against close enemies, plus 1 second of unstoppable when you get hit. Breaks out of Brol's stun combos instantly. S Tier for Rogue. \n
Alternative Strategies For Non-Meta Builds
\nDon't play an S Tier bleed or twisting blades build? No problem. Two alternative boss strategies that work just as well with the right setup:
\n\n1. Minion Tank Strategy (Summon Necromancer Only)
\nThis strategy uses your minions as permanent tanks to hold aggro, so you can sit back and damage Brol without dodging most attacks. Step-by-step execution:
\n- \n
- Slot 12 skeletons + 2 golems (blood golem for extra healing) and the Aspect of Reanimation to ressurect minions automatically. \n
- Pull Brol to the far edge of the arena, and stand on the opposite side of Brol from where corruption adds spawn. This gives you 3+ extra seconds to kill adds before they reach Brol. \n
- Use Corpse Explosion on cooldown to oneshot corruption adds as they spawn. Each add drops a corpse, so you get infinite Corpse Explosion procs for the entire fight. \n
- Only reposition when Brol casts Corruption Explosion: the blast will one-shot your entire minion pack, so you need to re-summon after every explosion. This strategy has a 75% first try clear rate for properly geared summon necros, average clear time 3:10. \n
2. Kite And Burn Strategy (Ranged Sorcerer/Spiritborn)
\nThis strategy works for any ranged build that struggles with close quarters combat. Step-by-step execution:
\n- \n
- Stack 140%+ movement speed and take the "Sprinter" paragon node for 10% movement speed out of combat. \n
- Constantly kite Brol in a full circle around the edge of the arena. This forces Brol to constantly use Leap Slam, which has a 1.8 second punish window after he lands (we cover this below). \n
- Drop corruption pools around the edge of the arena, so they never block the center path of your kite. This also forces corruption adds to spawn far from Brol, giving you more time to kill them. \n
- Only stop moving to cast burst damage after Leap Slam. This strategy has a 65% first try clear rate, and eliminates most melee damage entirely. \n
See also: Diablo 4 Best Spiritborn Kite Build For Endgame Bosses (2025)
\n\nPhase-By-Phase Breakdown & Step-By-Step Execution
\nNow we get to the actual boss fight: how to defeat Brol the Tyrant King step-by-step, with exact timing windows and punish windows for every mechanic.
\n\nPhase 1: 100% HP → 30% HP (630,000 HP remaining)
\nPhase 1 only has 4 attack patterns, no Corruption Explosion, and only one wave of corruption adds. This is the practice phase: you want to get through it without using your cooldowns or potions if possible. Full step-by-step execution:
\n- \n
- Pre-pull: Pop your Unbreaking Spirit Elixir 10 seconds before pulling to get the resistance buff up. Open with your single target damage cooldowns only if you can get them back before the phase transition. If your cooldown is longer than 2 minutes, save it for Phase 2. \n
- When Brol opens with Melee Slam (his most common opening attack), dodge to the left 3 yards (the attack has 2 yards of splash damage to the right, so left dodge is safer). Punish window: 0.75 seconds after the slam lands. Get 3-4 basic attacks or one skill cast off before he rotates to his next attack. \n
- When Brol rears back and glows red, that's Leap Slam. Start strafing to the edge of the arena immediately: he will leap directly to your current position. Punish window: 1.8 full seconds after he lands. He has a 22 frame recovery animation that you can't interrupt, so this is the best punish window in the entire fight. You can get off a full burst combo, even a 1.5 second channeled skill, here. \n
- When Brol slams his fist into the ground and glows purple, that's Corruption Pool. The attack covers a 6 yard circular area around your current position, so you have 1 second to move out. Do not stay in it: 2 ticks = 3,780 damage, which will drop you low enough for a one-shot on the next attack. Punish window: 1 second after the pool spawns. Brol doesn't move during this cast, so you can get 2-3 attacks off from outside the pool. \n
- When you get Brol down to 40% HP (1.26 million damage dealt), he will spawn the first wave of corruption adds: 3 small Corruption Spawns (12,500 HP each) that move directly toward Brol. Switch all damage to the adds immediately: kill the closest one first, then the next, then the farthest. If you're playing a cleave build, you can hit Brol and the closest add at the same time. If any add gets within 5 yards of Brol, use your mobility skill to catch up and kill it before it touches him: a 7% heal here adds 147,000 HP back, which is almost always an enrage. \n
- Once the adds are dead, push Brol the remaining 10% HP to 30% to trigger the phase transition