TL;DR
- There are 8 Chronolith Trials total (one per Eikon, plus the Final Chronolith unlocked after beating all 7 base trials)
- Every trial locks you to that Eikon's abilities, so you need to master each Eikon's kit to pass the DPS check and beat the trial boss
- Full step-by-step location breakdown for all 8 trials, with optimal ability loadouts and DPS breakdowns for every fight
- Completing all trials unlocks the Gotterdammerung (375 attack, the best sword in FFXVI) and the "The Riddle Gone By" trophy
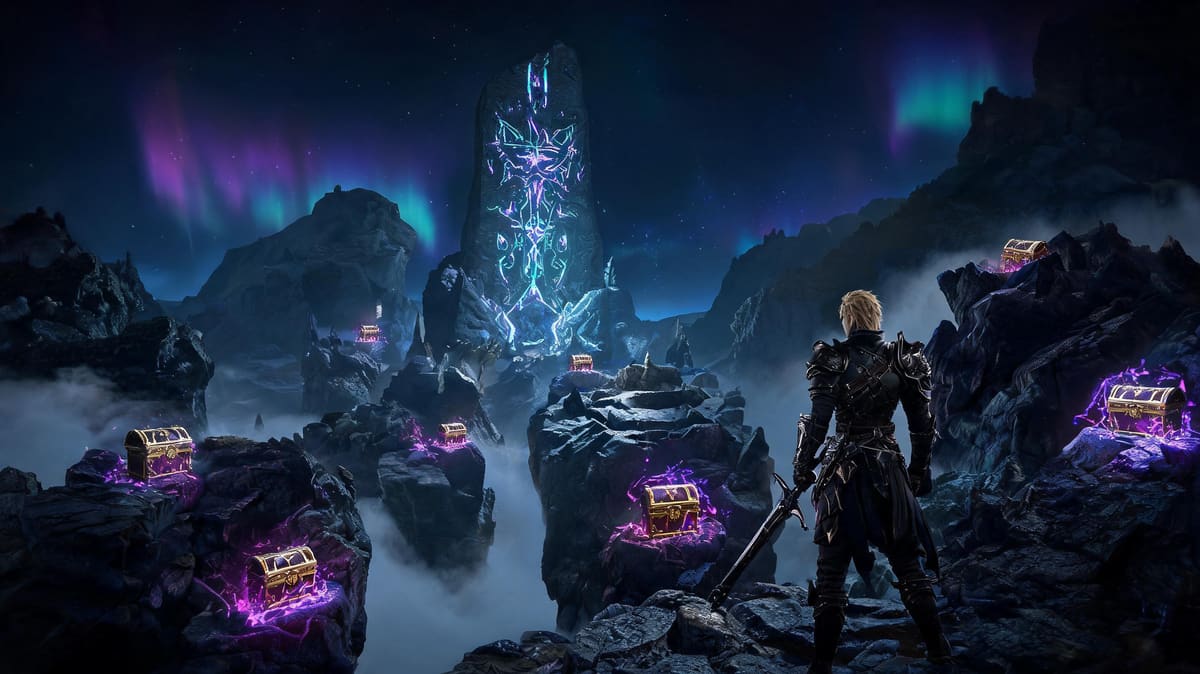
Chapter/Area Overview: What Are Chronolith Trials?
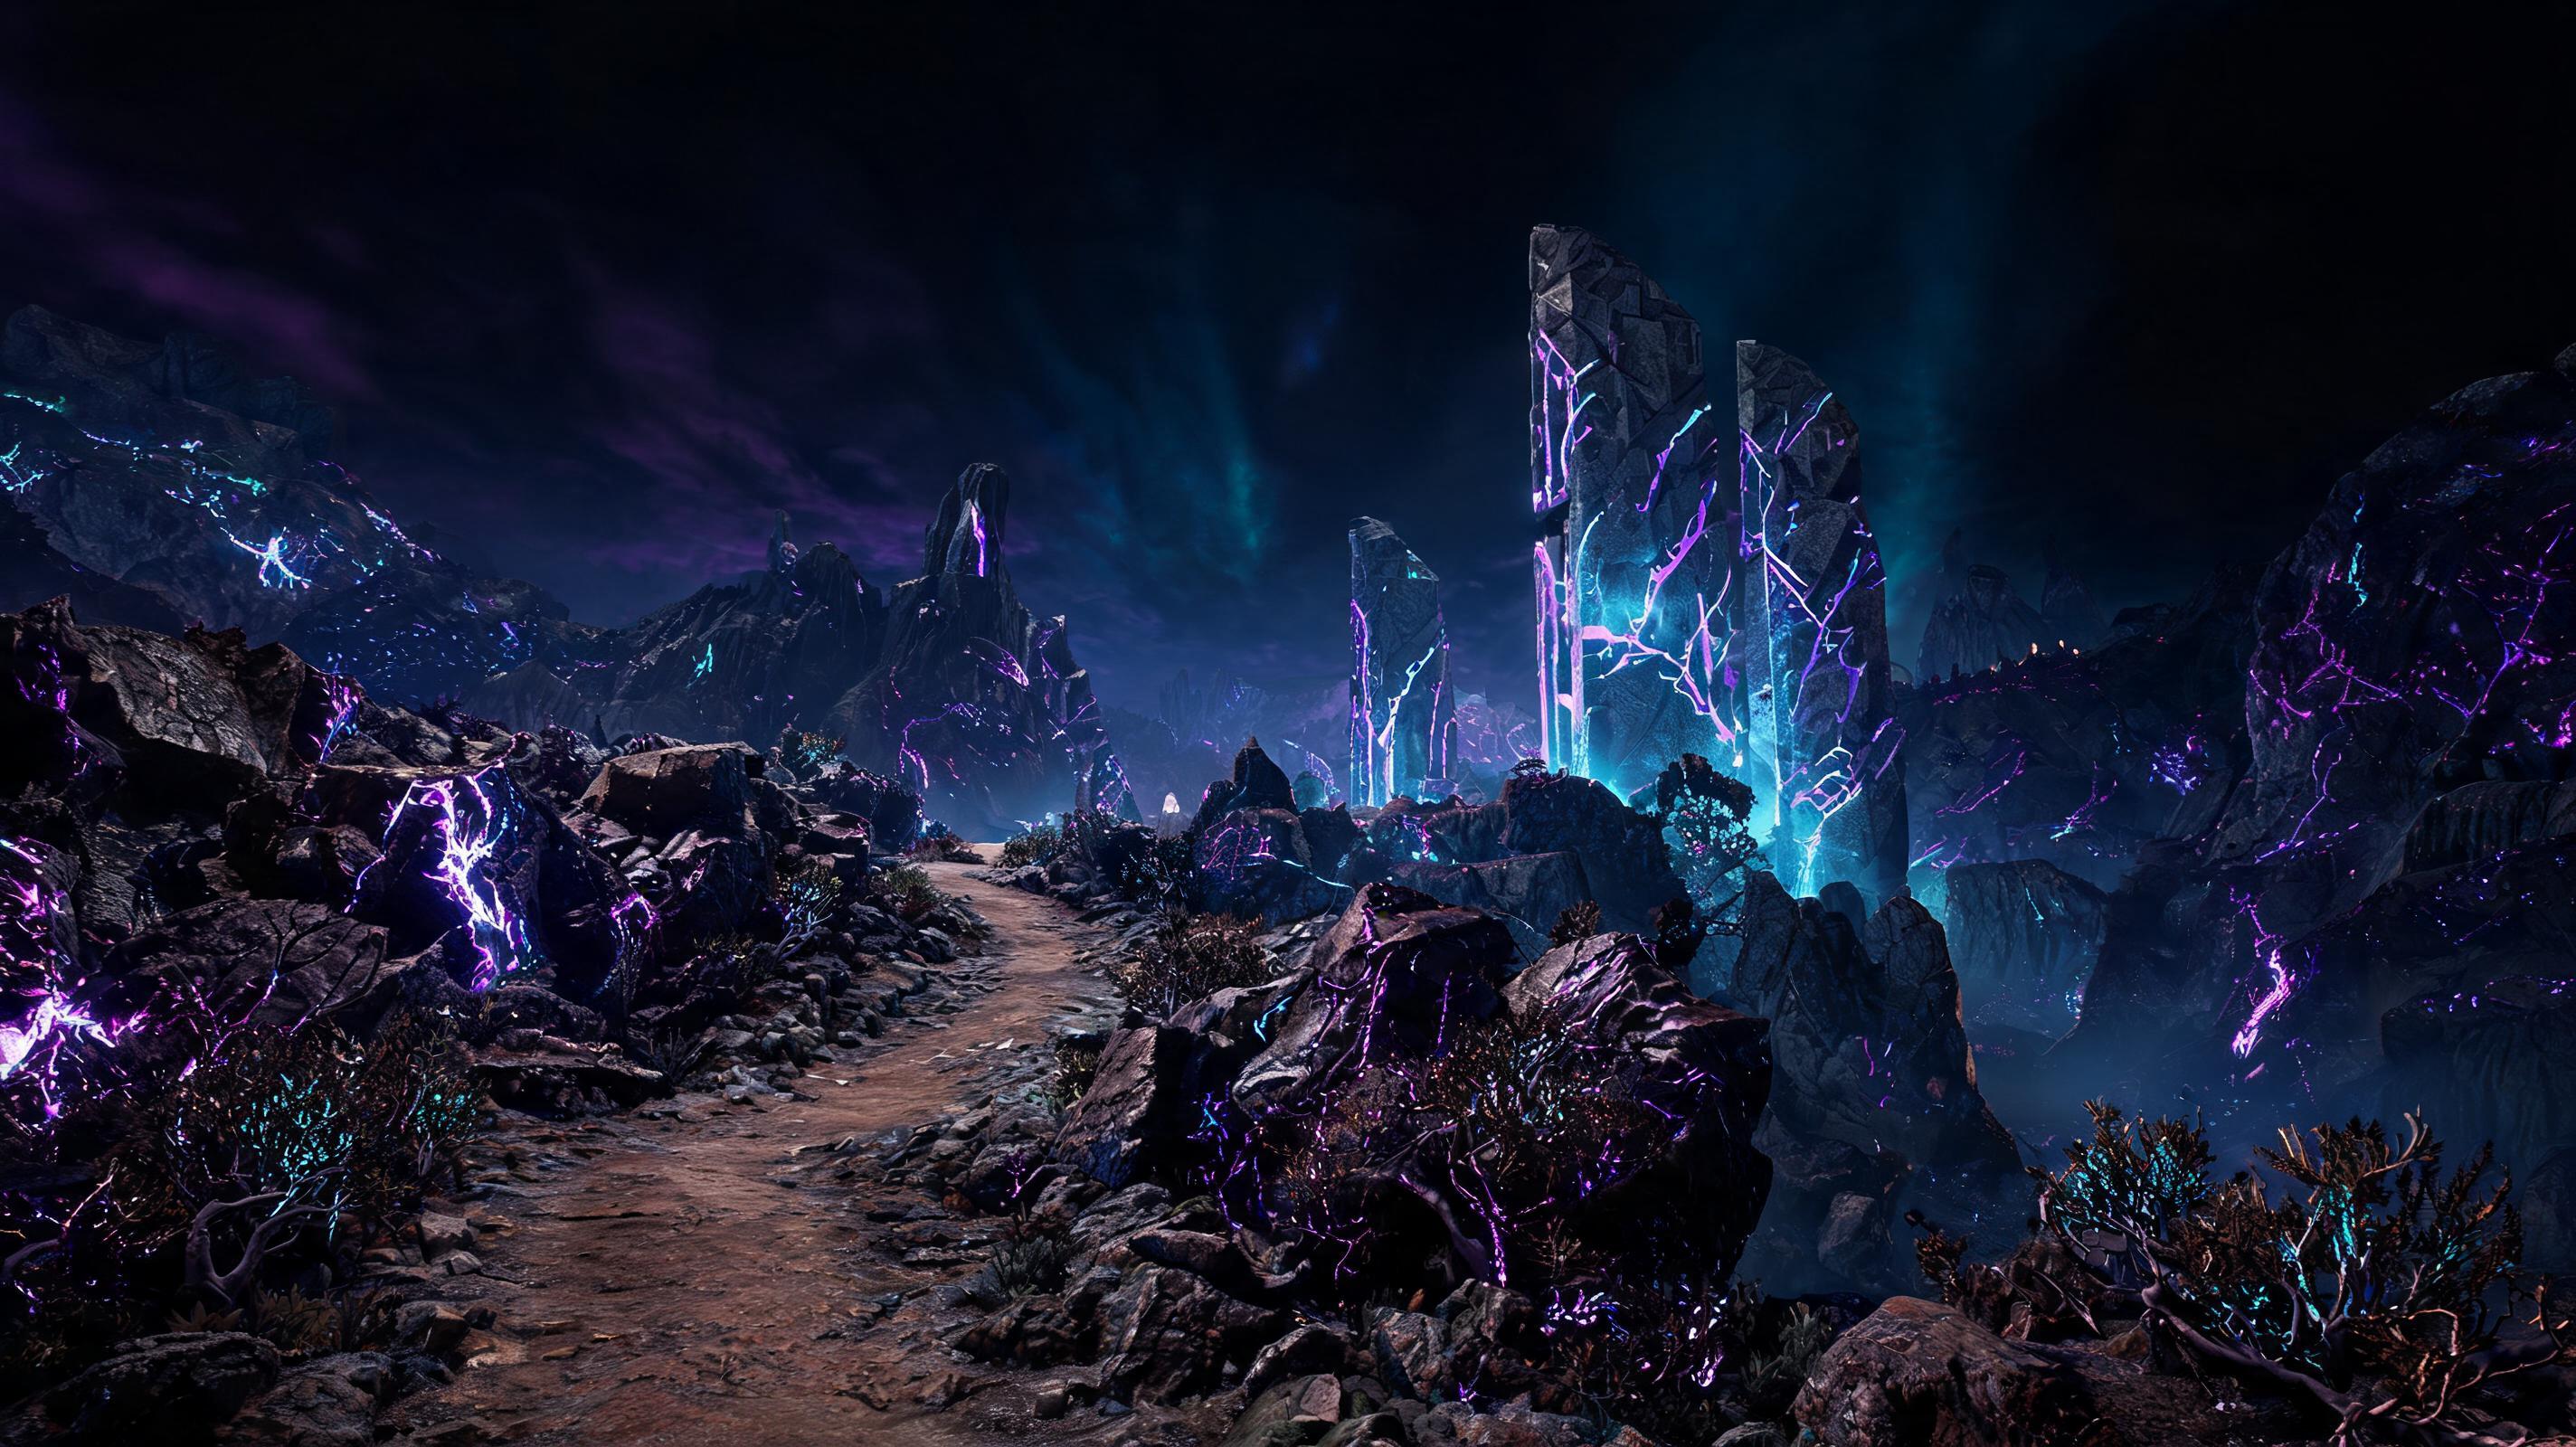
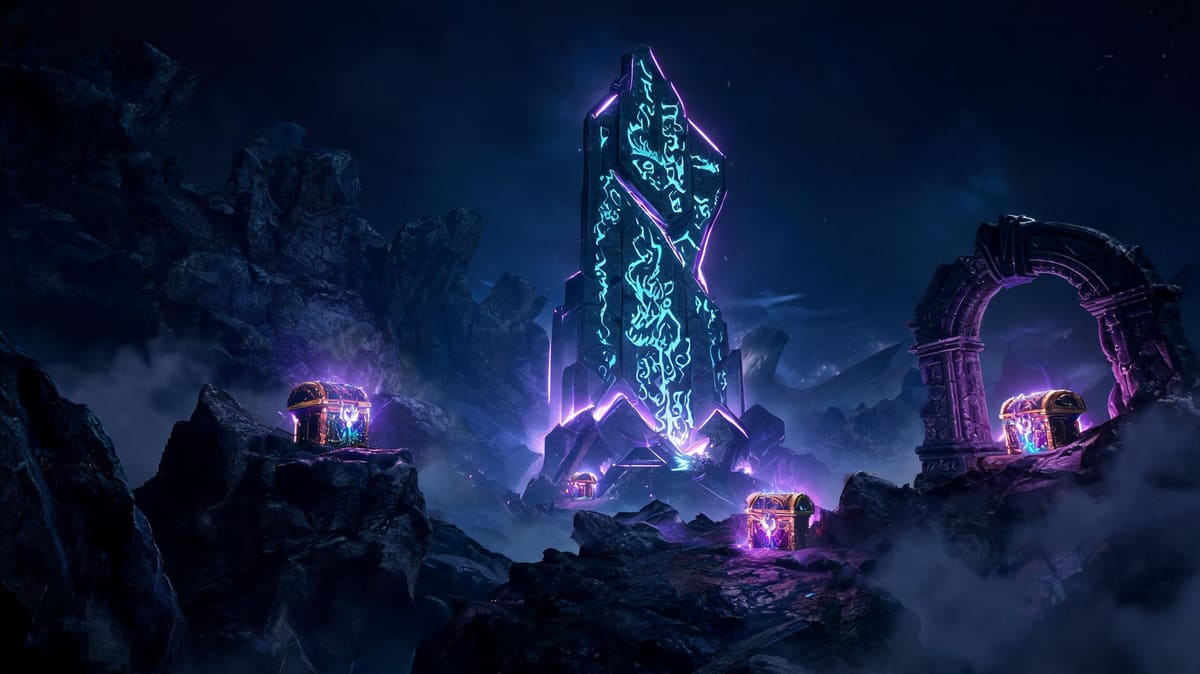
Chronolith Trials are post-game (and some mid-game) Eikon-specific challenge dungeons unlocked after you acquire each corresponding Eikon's power in the main story. If you're a min-maxing AAA game guide hunter looking for the best endgame loot, this is your top priority: beating every trial unlocks the strongest weapon in the entire game.
Each trial locks you into only that Eikon's abilities for the entire run, forces you through 3 waves of trash mobs and a final boss, and enforces a strict 4:00 time limit to beat the entire thing. Time is added for every kill, but missing a DPS check will boot you out immediately. This complete guide walks you through every location, optimal strategy, and min-maxed loadout to clear every trial on your first try.
Chronolith Trial Tier Ranking (By Difficulty)
| Tier | Trial | Difficulty | Reasoning |
|---|---|---|---|
| S (Easiest) | Ifrit's Trial (The Hand of Enkidu) | 2/10 | High base damage, wide AoE, tight combo windows that melt waves |
| A | Garuda's Trial (The Hand of Dione) | 4/10 | Excellent stagger, lower base HP on trash, but poor range can get you pinched |
| A | Phoenix's Trial (The Hand of Hesperos) | 4/10 | Long-range AoE, self-healing, safe pressure from any distance |
| B | Titan's Trial (The Hand of Hyperion) | 6/10 | Slow moves, low mobility, easy to whiff abilities and run out of time |
| B | Bahamut's Trial (The Hand of Meneccus) | 6/10 | High skill ceiling, easy to mismanage Megaflare gauge and waste DPS |
| B | Ramuh's Trial (The Hand of Ochu) | 6.5/10 | Excellent CC, but DoT damage overkill wastes time on low-HP trash |
| C | Shiva's Trial (The Hand of Vritra) | 7.5/10 | Low base damage, relies on precision timing to stack Ice damage, tight DPS check |
| D (Hardest) | Final Chronolith (The Hand of the Founder) | 10/10 | Swaps Eikons mid-fight, all bosses back-to-back, 3:30 time limit, one wrong combo = restart |
Step-by-Step Progression: All Chronolith Trial Locations
You can unlock the first 7 trials as soon as you acquire the corresponding Eikon in the main story progression. You don't need to beat the main game first, but you do need to beat all 7 to unlock the final trial, which is post-game only. Follow this step-by-step walkthrough to find every one without wandering the map for hours.
1. Ifrit: The Hand of Enkidu
- Location: Dhalmekia, The Jaw. Fast travel to the Obelisk at The Jaw, head east up the rocky path 120 yards, the monolith is tucked into a cliff alcove on the left.
- Unlocked after: Story mission Burnt Heart (acquiring Ifrit)
- Optimal Loadout: Ignition + Hellfire. Max out both abilities for 1200 ability power each.
- Strategy: Pre-position your combo before each wave spawns. Pull all 3 groups of wave 1 (4x Wiglaf, 2x Airstep) into a clump with Ignition (adds 15 seconds to the timer total for this wave), then detonate with a fully charged melee combo into Hellfire to clear the wave in 12 seconds flat. Wave 2 is 1x Gigas and 3x Hintergangren: stagger the Gigas with 2 charged Ifrit melee, pop Hellfire when he's at 90% stagger to delete him, get +28 seconds. Final boss is Eikon Ifrit (12,500 HP, 5000 stagger): use your 2-minute ability cooldown reset from the start of the trial to get both abilities back for the boss. Ignition to dodge his charge, then Hellfire when he recovers from stagger for 6,200 damage. Second Hellfire kills him before the 4-minute mark. Clear time is usually 2:15-2:45 here.
- Reward: 500 XP, 200 Ability Points, 1x Ifrit's Might Increment (+2 attack for Ifrit abilities)
2. Garuda: The Hand of Dione
- Location: Rosaria, The Greensheaves. Fast travel to the Greensheaves Obelisk, head northwest past the Lostwing entrance, across the stone bridge, the monolith is in a clearing 50 yards north of the bridge.
- Unlocked after: Story mission Blade of Darkness (acquiring Garuda)
- Optimal Loadout: Aerial Blast + Deadly Embrace. Deadly Embrace pulls stray mobs into the AoE, Aerial Blast deletes entire waves.
- Strategy: Wave 1: 3x Gloomwing, 2x Goblin. Pull all with Deadly Embrace, pop Aerial Blast for a 3-second clear. +18 seconds. Wave 2: 1x Armored Bison, 2x Bloodwing. Use Garuda's precision Gouge to stack stagger on the Bison (Gouge gives 2x stagger per hit), stagger at 70% HP, Aerial Blast does 4,100 damage to delete it. +24 seconds. Final boss: Garuda (13,200 HP, 5200 stagger). She opens with a quick slash combo that can't be blocked, so dodge back, then use Deadly Embrace to pull her into you when she does her flying leap. Stagger her with Gouge, pop Aerial Blast for 5,800 damage. The second Aerial Blast will be off cooldown when she hits 30% stagger, so finish her before the 3:30 mark.
- Reward: 500 XP, 200 Ability Points, 1x Garuda's Might Increment (+2 attack for Garuda abilities)
3. Titan: The Hand of Hyperion
- Location: Dhalmekia, The Velkroy Desert. Fast travel to the Velkroy Desert Obelisk, head directly south to the large rock formation in the center of the desert. The monolith is behind the formation, on the west side.
- Unlocked after: Story mission The Crystals' Curse (acquiring Titan)
- Optimal Loadout: Upheaval + Earthen Fury. Skip Windup entirely: its damage is too slow and costs too much poise to be worth it.
- Strategy: This trial punishes slow play hard, so you need to block damage to keep your combo going instead of rolling. Wave 1: 4x Rogue, 2x Helldiver. Pre-charge Upheaval right as the wave spawns, drop it in the center to kill 3 of 6 immediately. Earthen Fury clears the rest, +16 seconds. Wave 2: 1x Minotaur, 3x Ghoul. Block the Minotaur's charge, then use Upheaval when it's open to stagger it in 2 hits. Earthen Fury deletes it, +22 seconds. Final boss: Titan (14,800 HP, 6000 stagger). Titan opens with a 3-hit rock smash combo: block all 3, then Upheaval after the third to proc 3,200 damage. When he jumps to the back of the arena and drops AoE rocks, run to the corner and charge Upheaval for when he lands. Pop Earthen Fury on the stagger to take him to 25% HP. Second Earthen Fury kills him. Most players run out of time here because they roll too much: blocking builds your stagger gauge faster and keeps you in position for damage.
- Reward: 500 XP, 200 Ability Points, 1x Titan's Might Increment (+2 attack for Titan abilities)
4. Ramuh: The Hand of Ochu
- Location: Storm, The Broken Hilt. Fast travel to the Broken Hilt Obelisk on the Ash continent, head east along the coast 80 yards. The monolith is on a rocky outcrop overlooking the ocean.
- Unlocked after: Story mission Out of the Frying Pan (acquiring Ramuh)
- Optimal Loadout: Thunderstorm + Piledriver. Judgment Bolt is too slow to charge for trash waves, and Piledriver has tighter burst damage for the DPS check.
- Strategy: Wave 1: 5x Skeletal Knight, 1x Skeletal Mage. Drop Thunderstorm immediately to bind all of them, walk into the center and Piledriver to clear the wave in 8 seconds. +19 seconds. Wave 2: 1x Ogre, 2x Warg. Wait for the Ogre to do its overhead swing, dodge to the side, drop Thunderstorm to stun it, Piledriver for 4,800 damage. That leaves it at 10% HP, a single melee combo finishes it. +25 seconds. Final boss: Ramuh (15,100 HP, 5800 stagger). Ramuh's opening attack is a wide lightning AoE: dodge back, then when he does his charging sword dash, dodge through it and drop Thunderstorm to stun him. Piledriver on stagger does 6,400 damage. When he summons orbs, destroy them with quick melee to get ability cooldown reset, then pop a second Piledriver + Thunderstorm to finish him before 3:45.
- Reward: 500 XP, 200 Ability Points, 1x Ramuh's Might Increment (+2 attack for Ramuh abilities)
5. Shiva: The Hand of Vritra
- Location: Waloed, Shadow Coast. Fast travel to the Shadow Coast Obelisk, head north along the path up to the cliff edge. The monolith is in a small ruined courtyard tucked between the cliffs.
- Unlocked after: Story mission Things Fall Apart (acquiring Shiva)
- Optimal Loadout: Rime + Diamond Dust. Skip Ice Age: its damage is too low and its cooldown is 10 seconds too long for the tight DPS check.
- Strategy: Shiva has the lowest base damage of any Eikon, so you need to stack freeze procs correctly to multiply damage by 2x. Wave 1: 4x Lich, 2x Skeletal Warrior. Use quick melee to stack ice on all targets, then Rime to freeze all of them, pop Diamond Dust for an instant clear. +15 seconds (you only get 15 here, so don't waste time). Wave 2: 1x Aevis Killer, 3x Shadow Spider. Freeze all spiders with Rime, Diamond Dust kills them immediately, then focus the Aevis Killer. Stack ice, freeze, Rime does 2,800 damage. Finish with melee, +21 seconds. Final boss: Shiva (16,200 HP, 6100 stagger). She opens with an Ice Slash combo: dodge through the third hit, get behind her, stack ice with quick melee, freeze with Rime, pop Diamond Dust for 7,200 damage. When she does her Diamond Dust AoE attack, run to the edge of the arena and i-frame through the blasts with precision dodges (don't block, block takes too much stamina). When she recovers, she'll be at 20% HP: a single frozen Rime proc will finish her. If you don't stack ice fast enough, you will fail the DPS check. Don't stop attacking.
- Reward: 500 XP, 200 Ability Points, 1x Shiva's Might Increment (+2 attack for Shiva abilities)
6. Phoenix: The Hand of Hesperos
- Location: Rosaria, Caer Norvent. Fast travel to the Caer Norvent Glade Obelisk, head west into the castle ruins, the monolith is in the main keep's inner courtyard.
- Unlocked after: Story mission Righting Wrongs (acquiring Phoenix)
- Optimal Loadout: Flames of Rebirth + Scarlet Cyclone. Self-heal from Flames of Rebirth lets you ignore most chip damage, and Scarlet Cyclone is a full-room clearing AoE.
- Strategy: This is one of the easiest trials, thanks to Phoenix's amazing mobility and range. Wave 1: 3x Bandit, 3x Bandit Captain. Pop Scarlet Cyclone the second the wave spawns, it kills all targets before they can spread out. +20 seconds. Wave 2: 1x Behemoth, 2x Field Hare. Wait for the Behemoth to do its charge, dodge to the side, drop Flames of Rebirth right where it stops to deal 4,200 damage, then Scarlet Cycline to finish it and the hares. +27 seconds. Final boss: Phoenix (14,100 HP, 5500 stagger). He starts by flying around the arena spamming fireballs: dodge them, and use your ranged Phoenix Shift to close the gap quickly. When he lands, pop Scarlet Cyclone to stagger him, then Flames of Rebirth for 6,800 damage. The second Flames of Rebirth will kill him before he gets to 10% HP. Clear time is almost always under 3 minutes here.
- Reward: 500 XP, 200 Ability Points, 1x Phoenix's Might