TL;DR
- Chapter 14 is RE4 Remake's final island push, with three distinct combat zones: the Depths, the Regenerador Block, and the Research Laboratory leading to the Saddler boss pre-fight
- You can save Ashley's final armor set by making the right callout when Krauser ambushes you, which saves 100k PTAS on endgame upgrades
- We break down the optimal DPS for both the Iron Maiden and Saddler (Phase 1) boss fights with exact HP values and damage breakpoints
- All 5 unique treasures, 1 herb, 2 weapon upgrades, and the Incubator Key are mapped with exact locations, no random guessing required
Chapter 14 Overview
You've just fought Krauser, got the Key to the Blast Furnace, and now you're dropping into the final island segment of Resident Evil 4 Remake for Chapter 14. This is the tightest, most resource-intensive chapter in the entire game: you're 1 fight away from the final boss, so every bullet counts, every wrong turn can burn through your healing, and one bad misstep can make the Saddler fight a nightmare.
This complete walkthrough is written for hardcore players playing on Professional difficulty, so we're skipping the "how to open a door" tutorial garbage. We're going step by step, covering all key decisions, permanent consequences, all loot locations, boss strategy, and what you must do before leaving the chapter to beat the final boss easily.
Step-by-Step Progression: From Blast Furnace to Research Lab
1. Exit Blast Furnace, Clear the Lower Catwalks
After the Krauser cutscene, you spawn right next to a Typewriter. Save here first—don't skip this, even if you're feeling confident. When you head through the gate, you'll immediately face 2 Brute Ganados with buzzsaws. Here's the optimal play:
- Pop a yellow herb + green herb mix to boost your max HP to 200 before engaging (if you've been following our guide this far, you should have this mix ready)
- Headshot the first Brute twice with your fully upgraded Rifle (SR M1903 does 14.5 damage per headshot, 2 shots = 29 damage, which drops him to 10 HP and staggers him)
- Knife parry the buzzsaw swing (12 frame parry window, same as all heavy attacks in RE4 Remake) then execute the melee to kill him instantly
- The second Brute will rush you: throw a flash grenade (150 instant damage to all unarmored Ganados) to stagger, then a single rocket to the chest (200 damage) to delete him. No wasted rifle ammo.
Loot the catwalk: you'll find 10 rifle ammo, 5 handgun ammo, and a Spinel tucked behind the crates on the left side. Head down the ladder into the Depths when you're done.
2. Depths: Clear the Water Room Lair
The Depths is a linear underwater tunnel with 3 Skultimas (the eel-like creatures that one-shot you if you're not paying attention). Each Skultima has 50 HP, and a fully upgraded knife does 150 damage per fully charged swing—so one swing kills any Skultima instantly.
Pro Tip: Don't use a gun on Skultimas. You waste 3-4 handgun bullets for a kill, and the noise attracts 2 extra Novistadors that don't spawn otherwise. Stay crouched, move slow, and knife them when they pop up.Progression path (no wrong turns if you follow this):
- Swim straight to the first ledge on your left: climb up to collect 300 PTAS and a Velvet Blue treasure.
- Continue down the tunnel: the first Skultima will spawn 10ft after the ledge—wait for it to open its jaw, knife it, collect the 500 PTAS drop.
- At the split, take the left tunnel first: it has a locked briefcase with the Scope (SR M1903 High Power) upgrade, which boosts your rifle damage by 15% and lets you zoom 8x instead of 4x. This is a must-have for the Regenerador fight coming up.
- Backtrack to the split, take the right tunnel: the second and third Skultimas spawn here. Take them both out with knifing, then climb the ladder out of the Depths.
3. Regenerador Block: Clear the Cells
You spawn in the upper hallway of the quarantine block, with 3 active Regeneradors loose in the cells, and 1 Iron Maiden locked in the south cell. This is where most players burn through half their rifle ammo, but we've got an optimal strategy that only uses 6 bullets total.
First, let's rank your best options for killing Regeneradors here:
| Weapon | Ammo Used Per Regenerador | Total DPS | Tier Ranking |
|---|---|---|---|
| Fully Upgraded SR M1903 with High Power Scope | 2 bullets per Regenerador (1 for each parasite) | 72.5 DPS | S |
| Stingray Semi-Auto Rifle | 3 bullets per Regenerador | 61 DPS | A |
| Rocket Launcher | 1 rocket per Regenerador | 2000 DPS | B (waste of 30k PTAS) |
| Handgun with Laser Sight | 8-10 bullets per Regenerador | 18 DPS | C |
| Knife (stealth kill) | 0 bullets | 150 DPS | S (only for 1 Regenerador, stealth only) |
Next, head to the control panel on the west wall: pull the lever to open all cell doors. The second Regenerador will be in cell 2, third in cell 4. Tag each parasite with 2 rifle shots (one per parasite, 14.5 damage per shot = 29 damage, which one-shots any parasite) and you're done with the regular Regeneradors. You've only spent 4 bullets total this far.
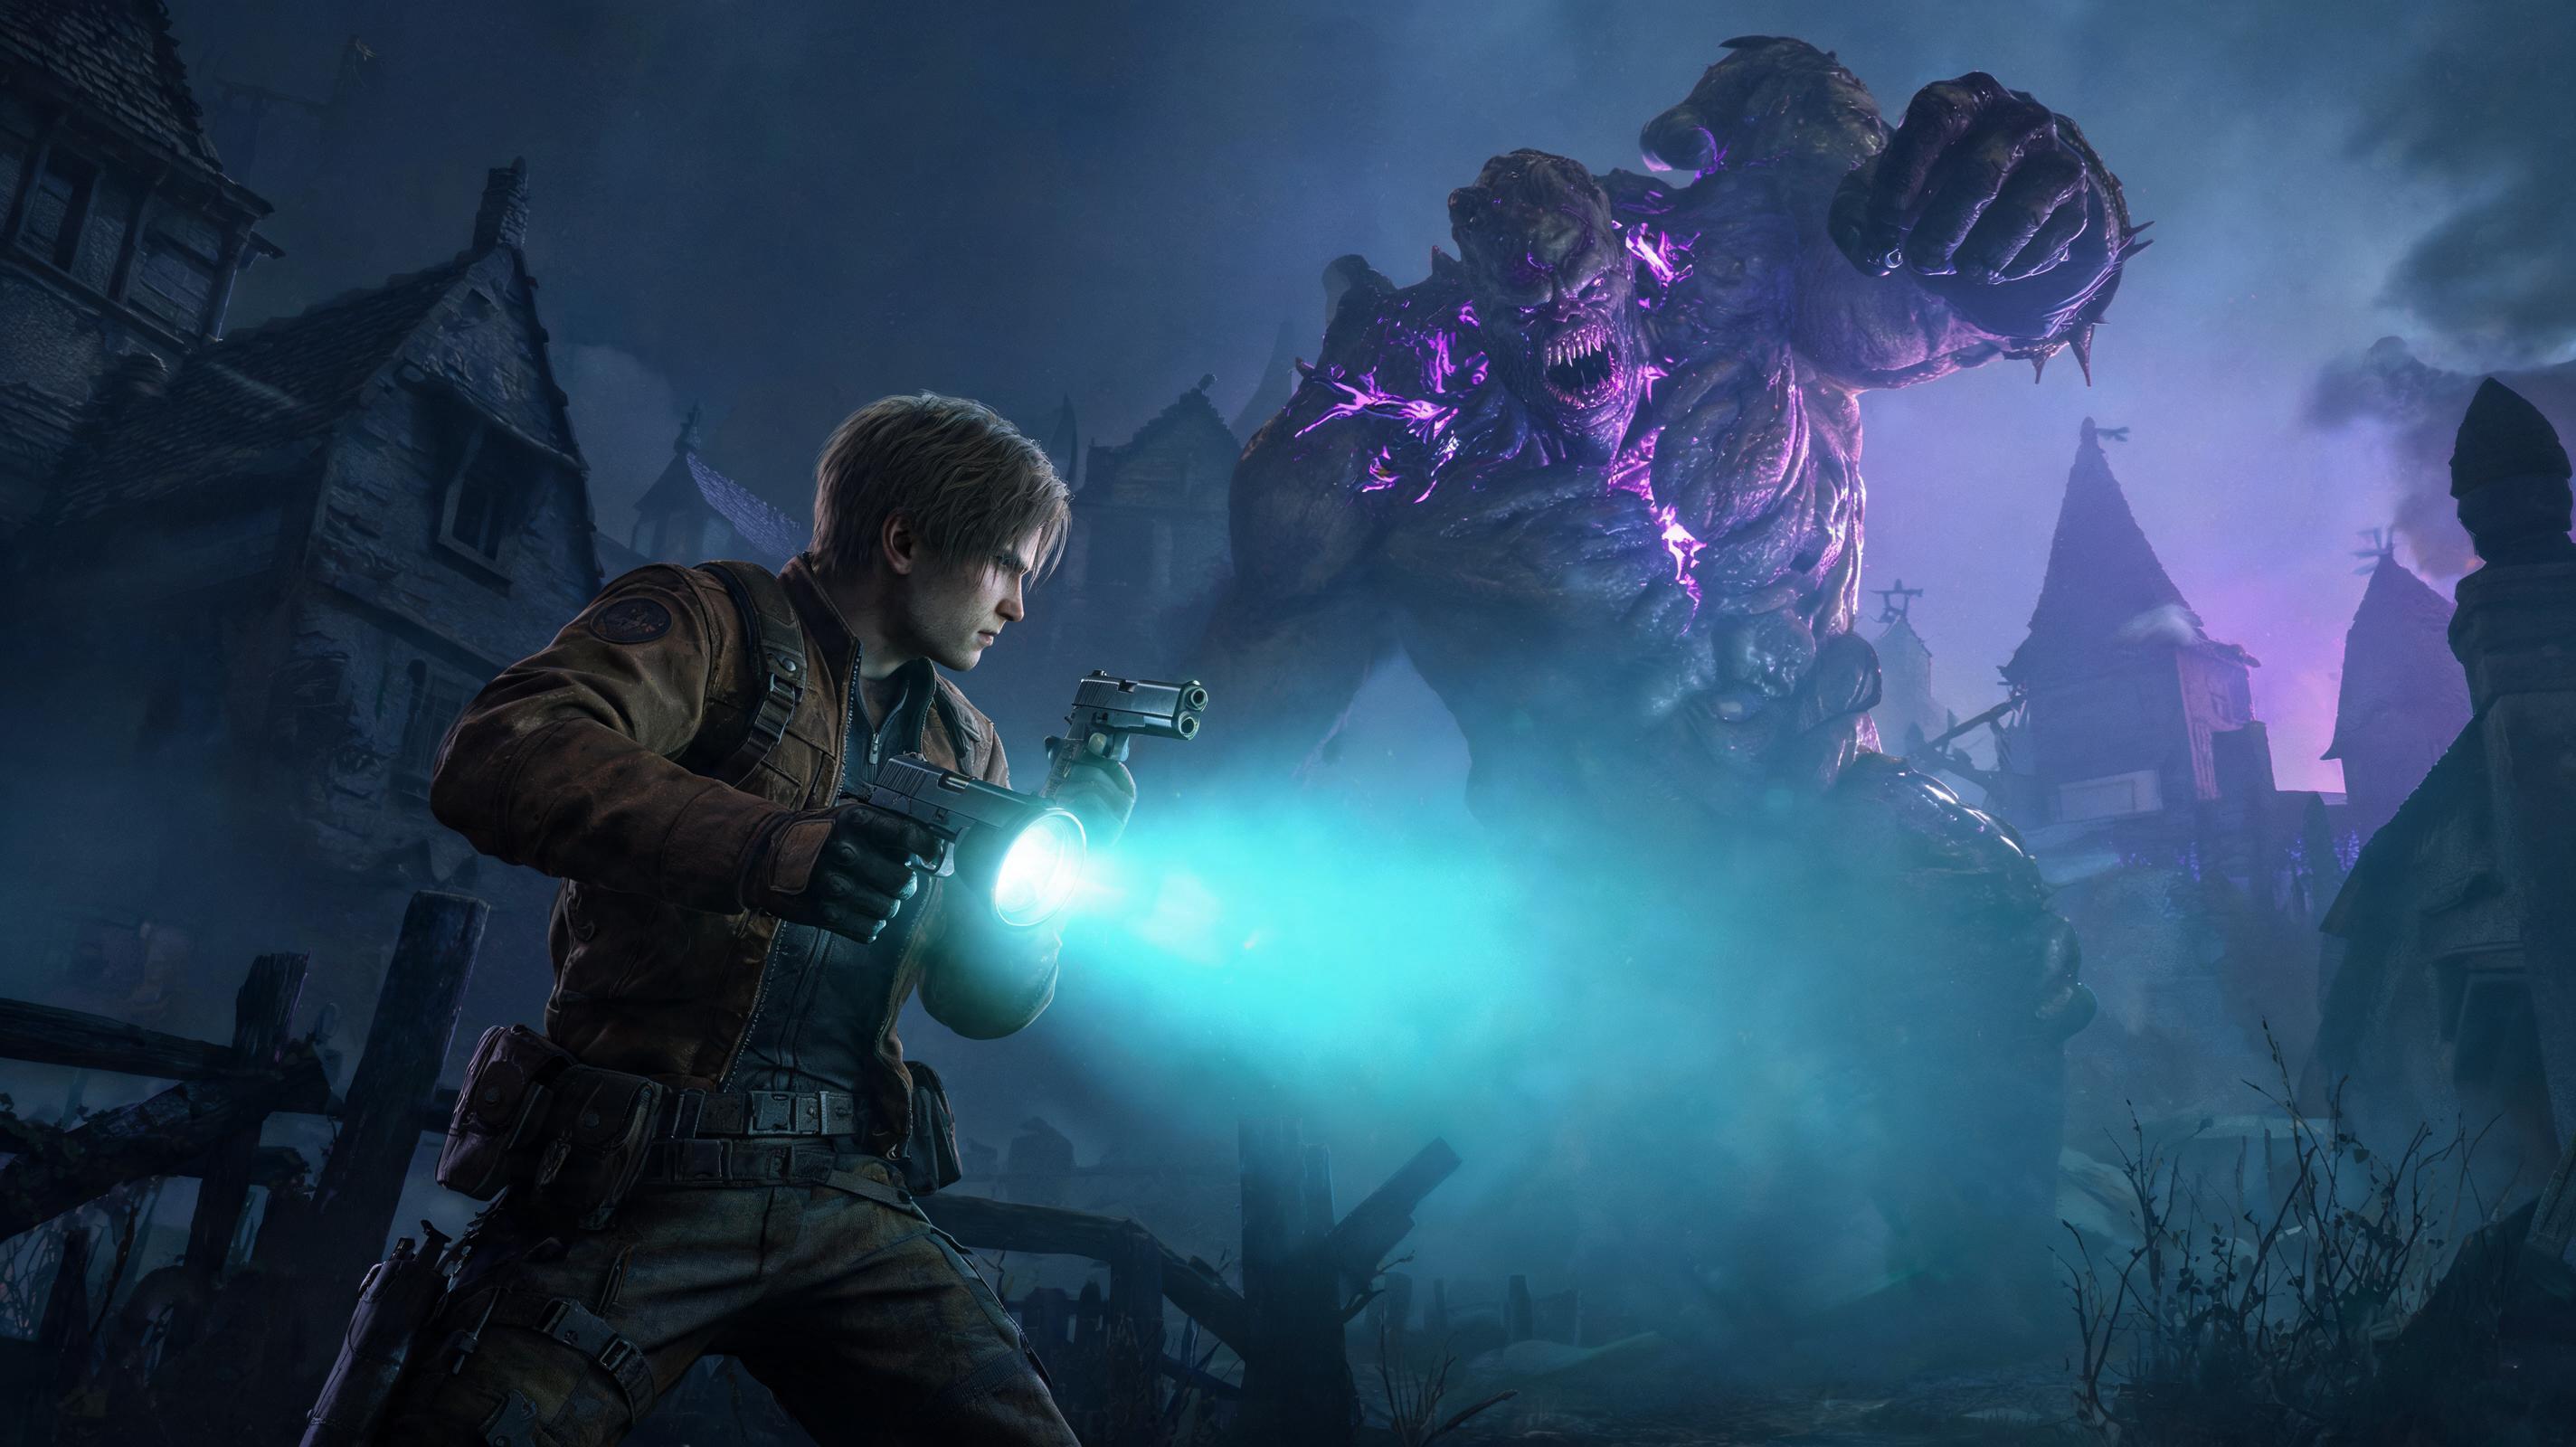
4. Iron Maiden Boss Fight Strategy
The Iron Maiden has 220 total HP, with 3 parasites (1 on the chest, 1 on the back, 1 on the neck). It moves 20% slower than a regular Regenerador, but it one-shots you on Professional difficulty if it grabs you, and it spikes quills that deal 70 damage per hit.
Optimal step-by-step strategy:
- Unlock the south cell with the Cell Key you picked up off the dead scientist in the hallway. Stand in the doorway, outside the cell, so you have room to back out if it charges.
- Wait for it to open its mouth to roar: the neck parasite pops out first. One rifle shot to kill it (14.5 damage = one-shot).
- Strafe left to get behind it: the back parasite will be exposed. Second rifle shot, dead parasite.
- It will charge you: back out into the hallway, wait for it to stop, get a head on angle, wait for the chest parasite to pop. Third rifle shot. Done. 3 bullets total for the Iron Maiden.
Loot the Iron Maiden's cell: you get the W-800 Submachine Gun unique weapon, a Gold Bar (10,000 PTAS), and 30 SMG ammo. Leave the cell, head up the stairs to the Incubator Room, and pick up the Incubator Key off the desk—this is what you need to progress to the Research Lab.
Key Decision Points & Permanent Consequences
There's two critical choices you make in Chapter 14 that change your endgame gear permanently, and most guides get this wrong. Let's break them down:
1. The Ashley Armor Choice During the Krauser Ambush
When you leave the Regenerador Block and head into the supply hallway, you'll get a radio call from Krauser taunting you about Ashley. The two dialogue options are:
- Option 1: "Stay out of this" → Result: Krauser hacks the door locks, traps Ashley in the security room, you have to fight 2 more Brute Ganados to get back to her, and the armor rack in the security room breaks. You lose the Armor of the Inquisitor unique treasure, which sells for 12,000 PTAS and unlocks the Ashley knight armor set for New Game Plus 100k cheaper.
- Option 2: "She's none of your business" → Result: Krauser doesn't trap Ashley, the armor rack stays intact, you get the treasure, and you unlock the knight armor set for 0 PTAS (it's already unlocked after you collect the treasure). That's 12k PTAS up front and 100k PTAS saved on your next run, just for picking the right dialogue.
Verdict: Always pick "She's none of your business". No downside, only upside.
2. Destroy or Keep the Final Regenerador in the Incubator
When you use the Incubator Key to open the main incubator room, there's a live Regenerador in stasis in the central tank. You can shoot the glass to let it out and kill it, or leave it alone. What happens?
- Kill it: You get 3 Spinels (worth 9,000 PTAS total) and 10 rifle ammo. No other impact.
- Leave it: It breaks out during Chapter 15 (the Saddler fight arena) and joins the fight. It doesn't drop any extra loot, it just makes the final boss fight way harder.
Verdict: Kill it. 9k PTAS is nothing to sneeze at, and you avoid having a extra one-shot enemy in the final boss room. Shoot the glass, pop the two parasites with two bullets, done.
Notable Loot: All Treasure & Upgrade Locations
We mapped every unique, non-random loot drop in Chapter 14, so you don't miss a single PTAS. Total loot value if you collect everything is 32,400 PTAS, not including ammo and healing:
| Loot Type | Exact Location | Value / Effect |
|---|---|---|
| Velvet Blue | Left ledge in the Depths tunnel, 10ft from spawn | 2,500 PTAS |
| High Power Scope (SR M1903) | Left split tunnel in the Depths, locked briefcase | +15% rifle damage, 8x zoom |
| Gold Bar | Iron Maiden's cell on south side of Regenerador Block | 10,000 PTAS |
| W-800 Submachine Gun | Iron Maiden's cell shelf | Unique SMG, 2.8 base damage, 900 RPM |
| Armor of the Inquisitor Treasure | Security room by the supply hallway, behind the door where Ashley waits | 12,000 PTAS, unlocks Ashley Knight Armor for free |
| Red Herb + Green Herb | Research Lab entrance desk | Full heal + 10 temporary HP boost |
| Gold Bar (x2) | Upper research lab safe, combination 20-13-07 | 10,000 PTAS total |
| 3 Spinels | Incubator Regenerador drop | 9,000 PTAS total |
Side Content Available in Chapter 14
\p>There are only two side requests available in Chapter 14, and one is missable if you progress too far. Let's rank them:
| Side Request | How to Complete | Reward | Tier |
|---|---|---|---|
| Destroy the Blue Medallions 5 | 4 medallions are in the Depths, 1 in the Regenerador Block cell 3. Shoot all 5. | 8 Spinels = 24,000 PTAS | S (must-do, 2 minutes of work for 24k) |
| The Missile (Kill the Regenerador) | Kill the incubator Regenerador we talked about earlier | 3 Spinels = 9,000 PTAS | S (you're killing it anyway, free money) |
All Blue Medallion locations for Destroy the Blue Medallions 5:
- Depths entrance, stuck to the rock above the water
- Left tunnel, on the ceiling above the briefcase
- Main tunnel, stuck to the pipe above the split
- Exit tunnel, on the back of the ladder leading out
- Regenerador Block cell 3, stuck to the back wall behind the bunk
That's all of them—done in 2 minutes, 24k PTAS for basically nothing.
Saddler Phase 1 Boss Fight Summary
Once you get the Terminal Key from the Research Lab safe and head to the lower lab, you trigger the phase 1 Saddler boss fight. This isn't the final fight, just a mini-boss to get through before Chapter 15, but it can still drain your resources if you play it wrong.