How to Defeat Jack Krauser in Resident Evil 4 Remake (2025) | Complete Boss Strategy
\n\nThe best way to beat Jack Krauser in Resident Evil 4 Remake is to prioritize parries in the knife fight opening, focus head/weak point damage during the mid-range phase, and use a fully upgraded sniper rifle or magnum to burst his final 20% HP before he triggers cheap one-hit kill mechanics. This guide breaks down every attack pattern, punish window, and optimal loadout to beat Krauser on Standard, Hardcore, and Professional difficulty with zero cheap deaths.
\n\nBoss Overview: Jack Krauser RE4 Remake
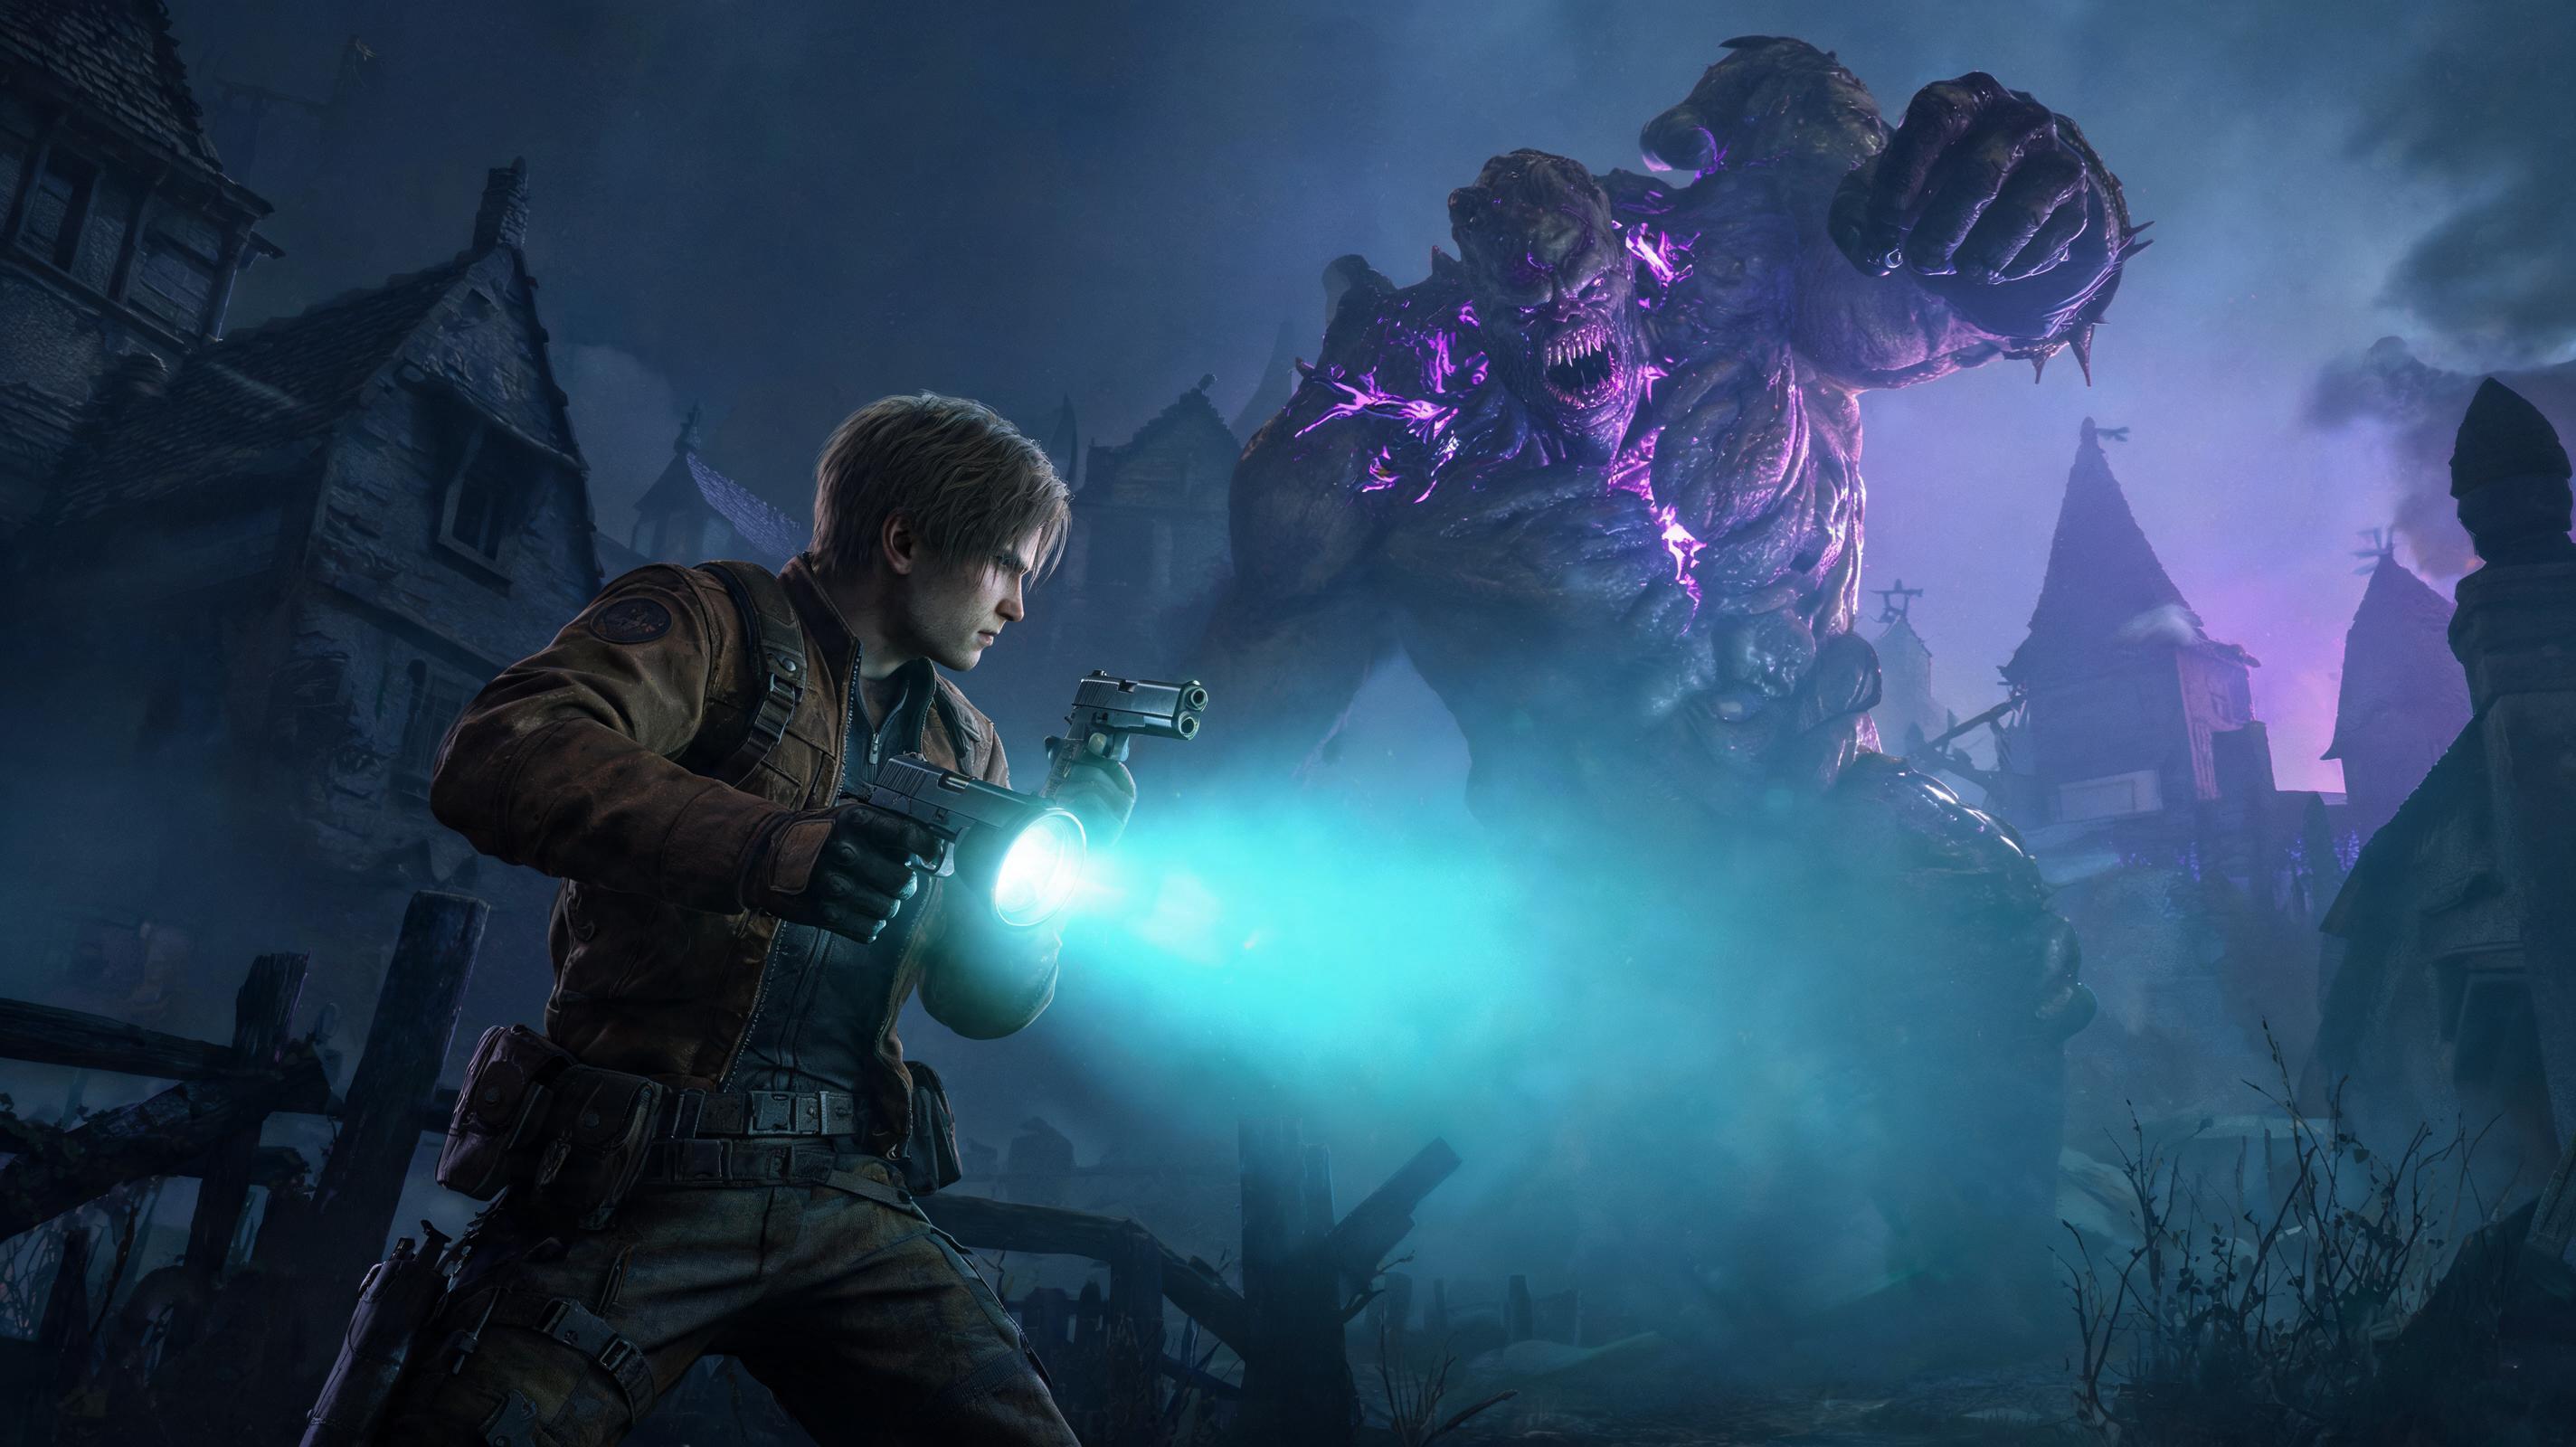
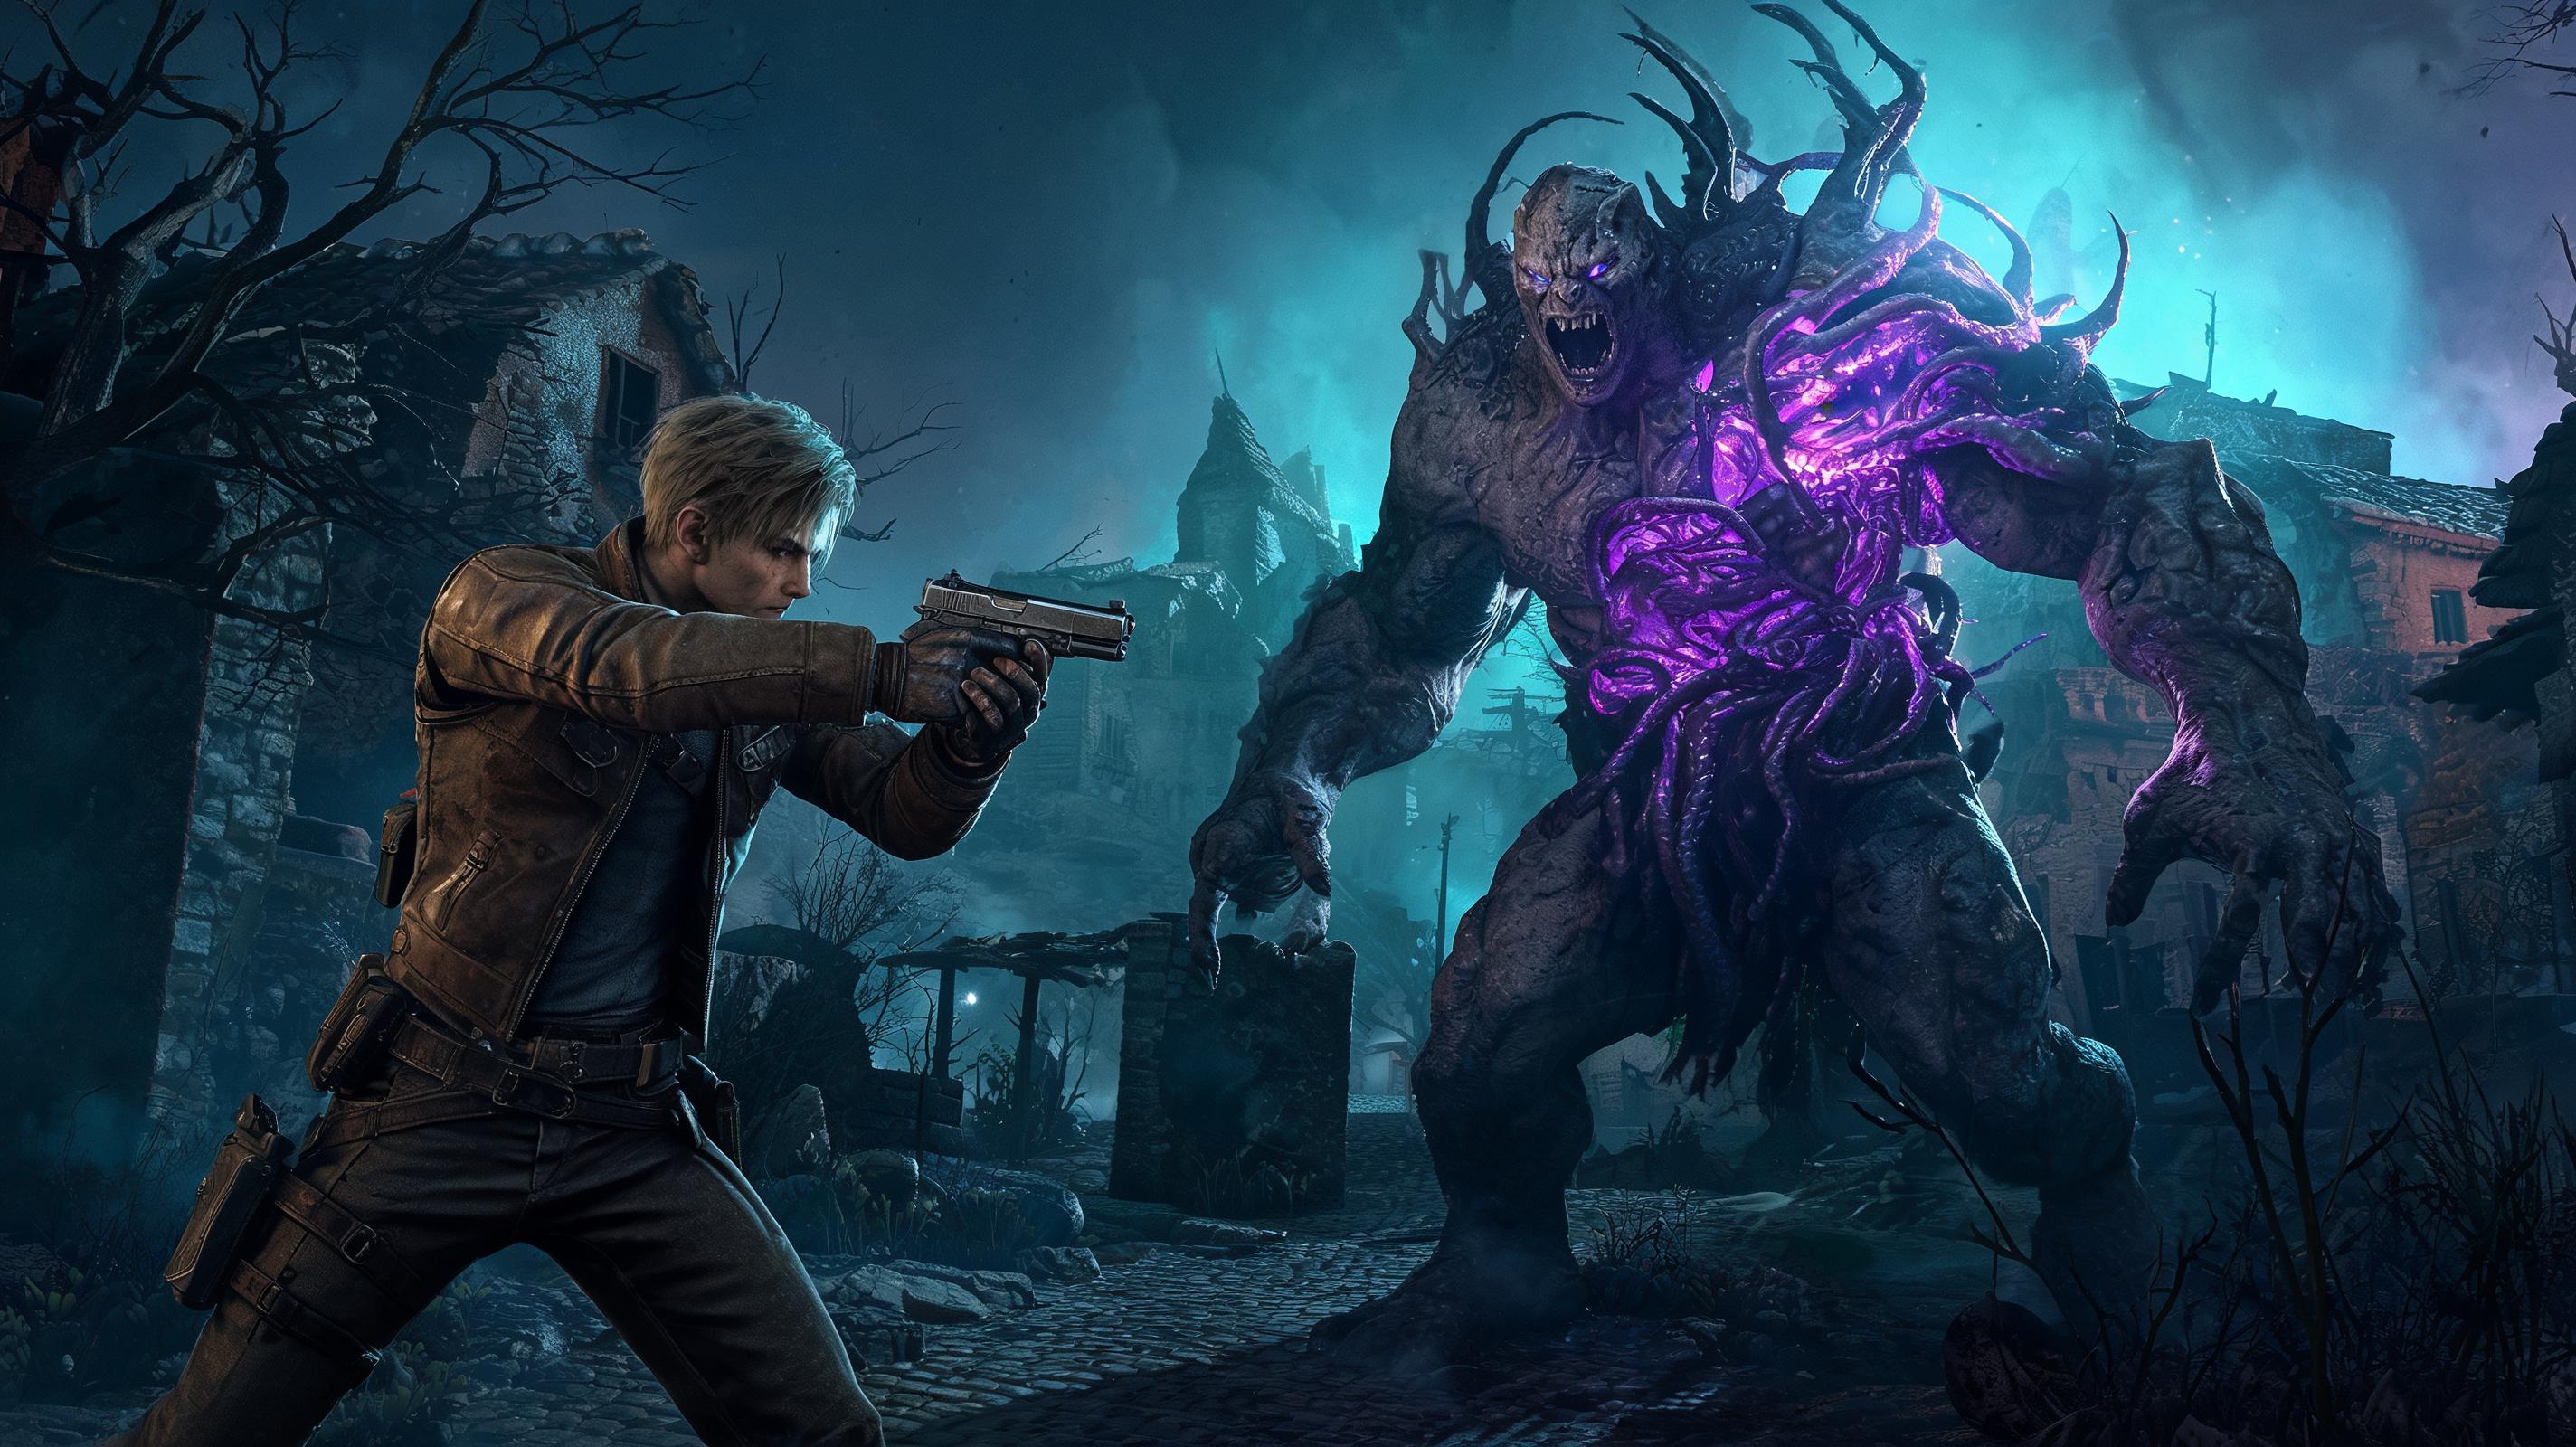
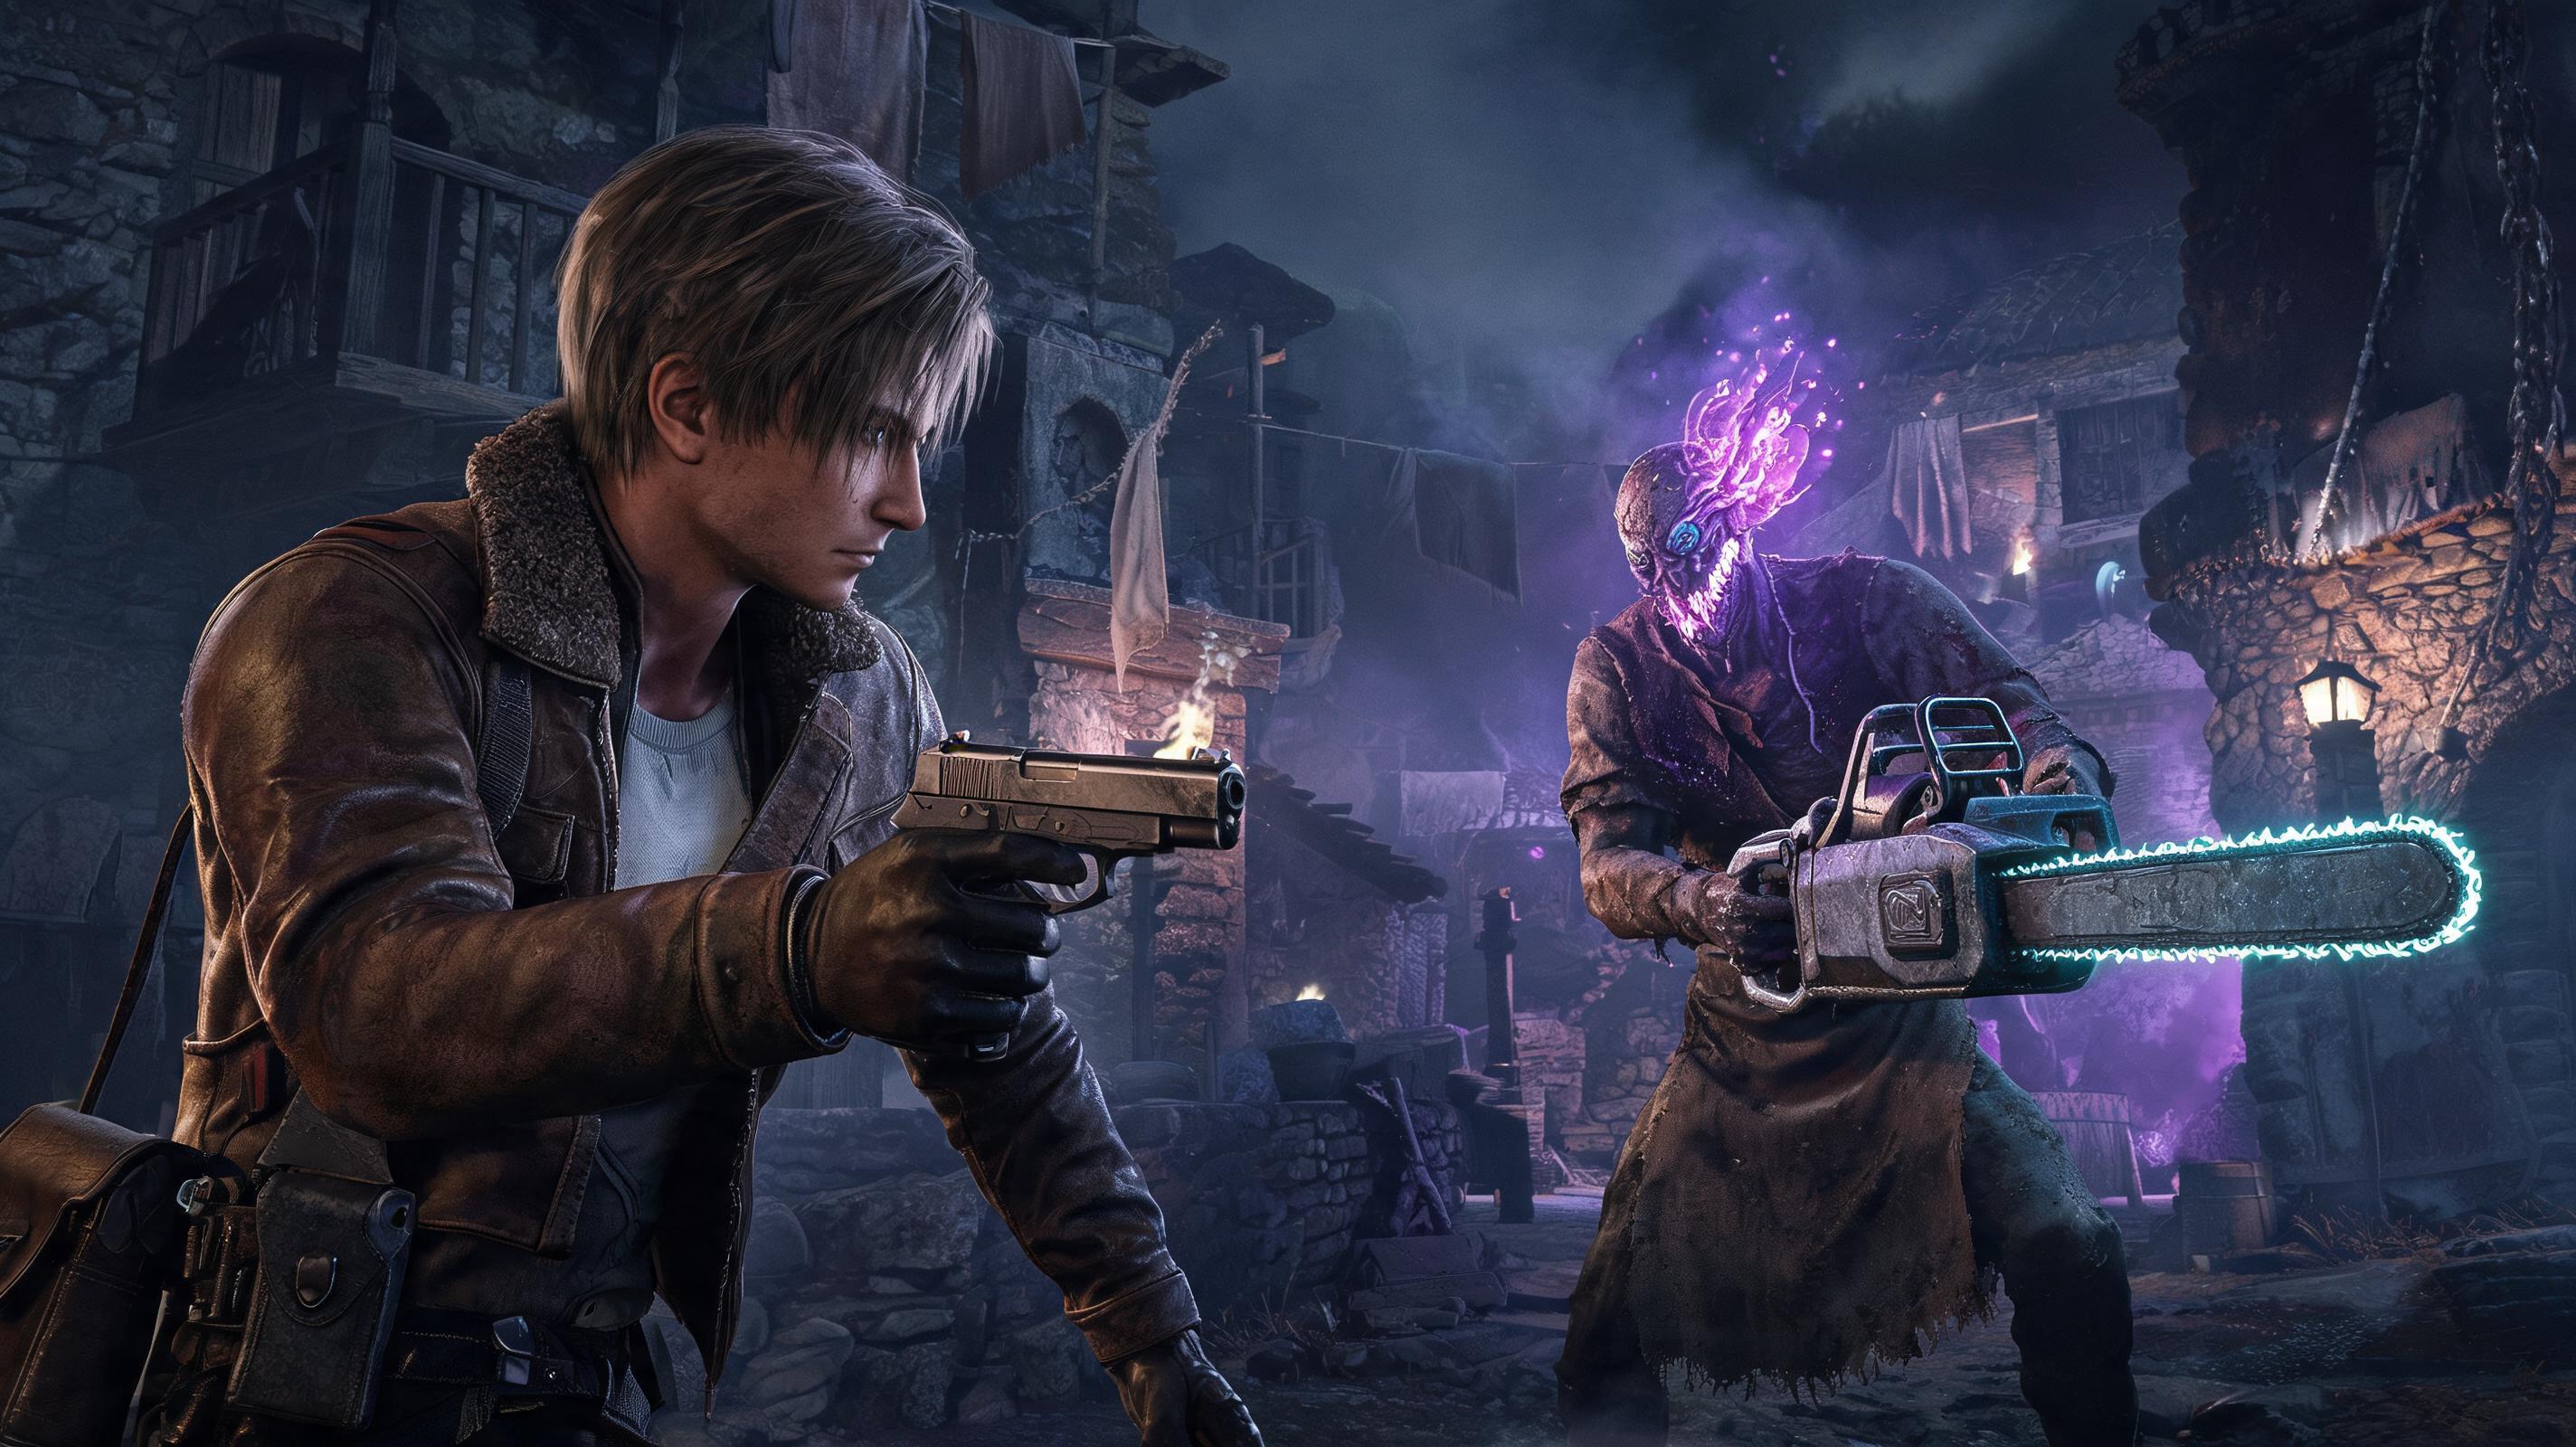
\n\nJack Krauser is the 10th mandatory boss fight in Resident Evil 4 Remake, triggered at the end of Chapter 14 after you navigate the cult's mountain stronghold. Unlike the 2005 original, the Remake reworks Krauser into a two-phase fight with an extended opening knife battle, and his Plaga mutation adds unpredictable fast attacks that can one-shot you on Professional if you mess up a parry.
\n\nHere are the hard numbers you need to know going in:
\n\n| Difficulty | \nTotal HP | \nOpening Knife Fight HP | \nOne-Hit Kill Threshold | \nParry Window (Frames) | \n
|---|---|---|---|---|
| Assisted | \n7,200 | \n1,200 | \n800 HP remaining | \n28 | \n
| Standard | \n9,000 | \n1,500 | \n1,200 HP remaining | \n24 | \n
| Hardcore | \n12,600 | \n2,100 | \n1,800 HP remaining | \n18 | \n
| Professional | \n16,200 | \n2,700 | \n2,400 HP remaining | \n12 | \n
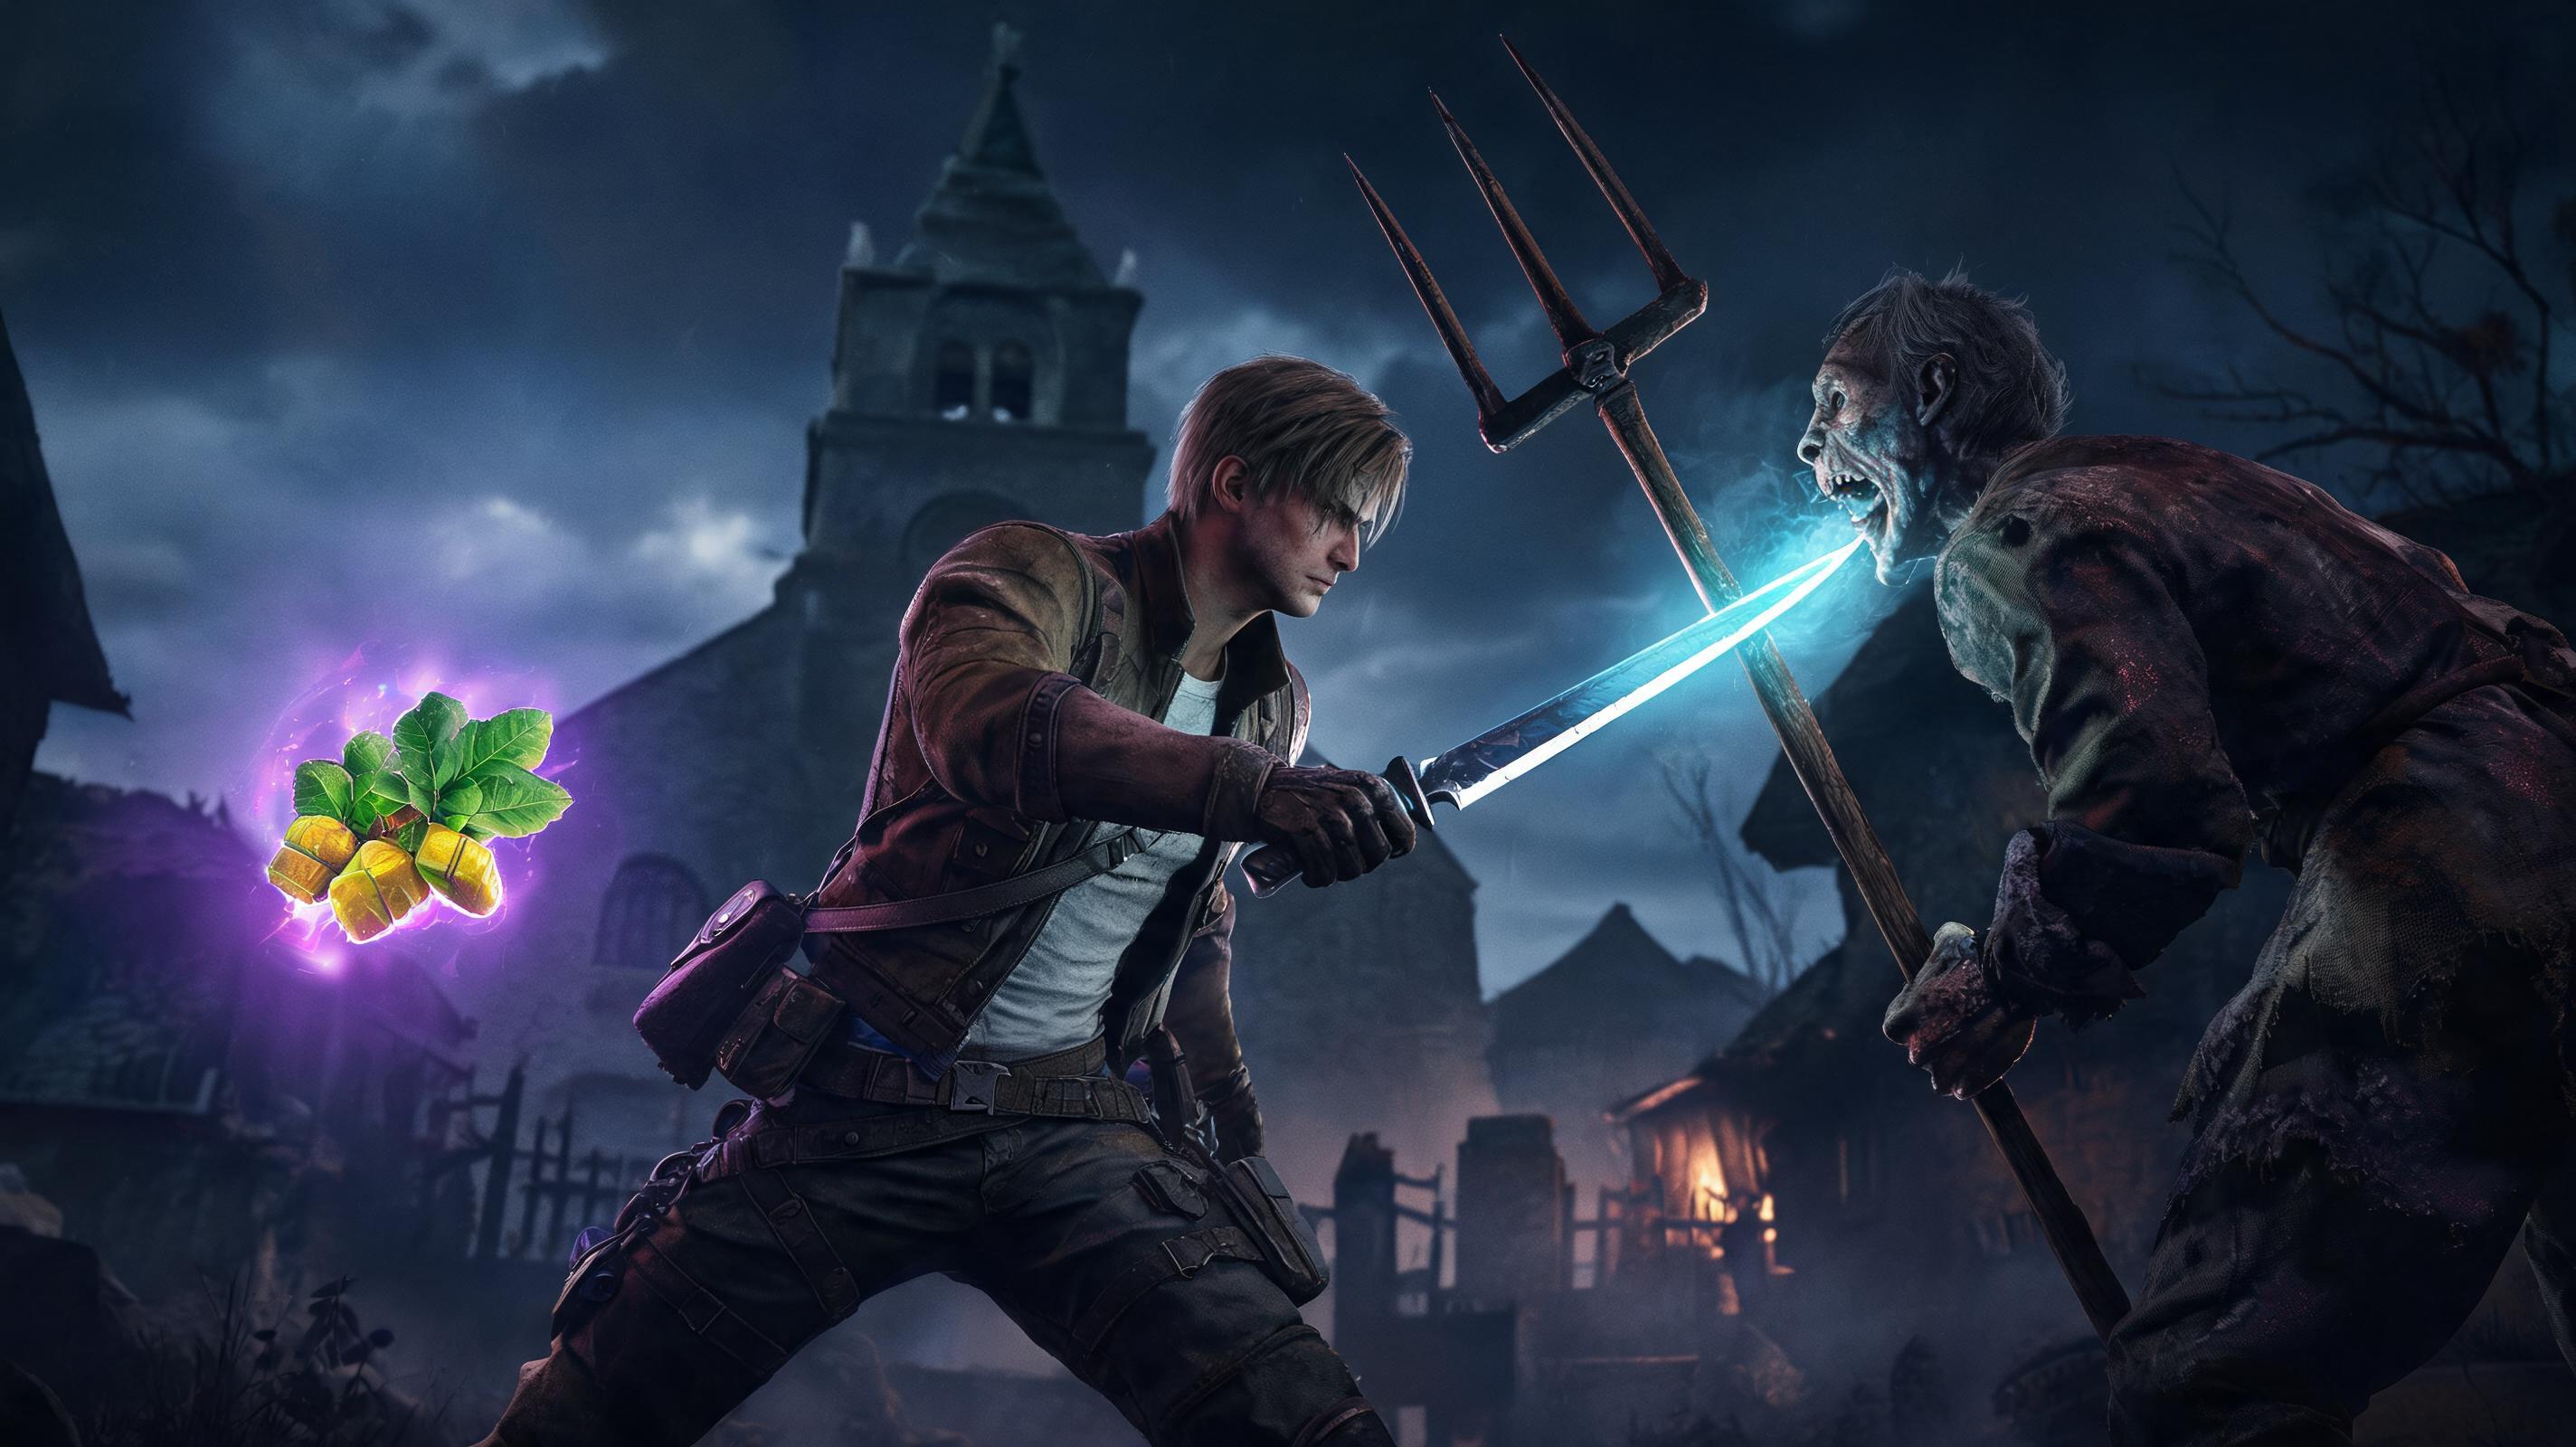
Key mechanics to know upfront: Krauser's damage scales with your remaining distance — he deals 20% more damage if you're more than 15 meters away (because he throws his knife, which has a hidden damage multiplier) and 35% more poise damage on melee attacks if you're within 3 meters. His weak point is the glowing Plaga mutate on his right shoulder, which takes 2.5x damage from all bullets, compared to 1.5x for headshots and 0.5x for body shots.
\n\nSee also: Resident Evil 4 Remake: How to Get Full Upgraded Striker Shotgun Early (2025)
\n\nRecommended Loadout & Setup: Tier Ranking for Pre-Boss Gear
\n\nHow you enter the Krauser boss fight determines 70% of your outcome. If you show up with a half-upgraded pistol and 3 healing herbs, you're going to get wrecked, especially on Professional. Below is a full tier ranking of all viable weapons for this fight, with exact damage numbers to back up the rankings.
\n\nPrimary Weapon Tier List (2025)
\n\n| Tier | \nWeapon | \nDamage Per Plaga Weak Point Hit | \nReload Speed | \nJustification | \n
|---|---|---|---|---|
| S | \nFully Upgraded Stingray Magnum | \n3,600 | \n2.1s | \n4-5 shots kills Krauser on Professional; 2x critical hit chance on weak points | \n
| S | \nFully Upgraded SR M1903 Sniper Rifle | \n3,150 | \n2.8s | \nBest long-range option; perfect for players who prefer to keep distance | \n
| A | \nFully Upgraded Blacktail Pistol | \n825 | \n1.2s | \nHigh fire rate, low recoil; great for consistent weak point pokes if you don't have a magnum | \n
| A | \nFully Upgraded Striker Shotgun | \n2,250 (close range) | \n1.8s | \nDeletes Krauser's poise in phase 2; great for aggressive close-range play | \n
| B | \nBroken Butterfly Magnum (unupgraded) | \n2,250 | \n3.5s | \nGood damage but slow reload leaves you open to counterattacks | \n
| B | \nRed9 Pistol (stock attached) | \n900 | \n1.5s | \nHigher damage than Blacktail but lower fire rate; solid if you've upgraded it | \n
| C | \nW870 Shotgun | \n1,625 (close range) | \n2.4s | \nLower damage and worse hipfire than Striker; only use if you have nothing else | \n
| C | \nSG-09 R Pistol (starting) | \n525 | \n1.2s | \nToo low damage; you'll burn through all your ammo before Krauser dies | \n
| D | \nCrossbow | \n750 (explosive bolt) | \n1.8s | \nArrows bounce off Krauser's armor 60% of the time; massive ammo waste | \n
| D | \nMinethrower | \n1,200 | \n3s | \nMines detonate late; Krauser dodges 90% of them before they blow | \n
Required Item Checklist Before the Fight
\n\n- \n
- Full durability fighting knife: You cannot beat the opening knife fight with a broken knife — it will break mid-fight and you'll get one-shot. A fully upgraded knife has 200 durability, and you only use ~60 durability for the opening parry sequence, so this is non-negotiable. \n
- 3+ First Aid Sprays or mixed herbs (Green+Red+Yellow): On Hardcore/Professional, one bad combo takes you from full health to dead, so carry at least 3 heals. Don't waste space on single green herbs — they only restore 30% health and aren't worth the inventory slot. \n
- 12+ magnum rounds or 20+ sniper rounds: For a fully upgraded Stingray, that's enough to kill Krauser twice over. If you're using a pistol, bring 40+ rounds — you need every bullet to hit the weak point. \n
- 2+ flash grenades: Flash grenades stun Krauser for 4 full seconds on any difficulty, which is the perfect window to land 2 free magnum shots to his weak point. Don't use grenades — explosive damage only deals 300 damage per grenade and knocks Krauser out of your line of fire. \n
See also: Resident Evil 4 Remake: All Clockwork Castellans Locations (2025)
\n\nPhase-by-Phase Breakdown: Step-by-Step Boss Strategy
\n\nHow to defeat Jack Krauser breaks down into three distinct segments: the opening mandatory knife fight, the mid-range arena phase, and the final mutation close-quarters phase. Below is a step-by-step breakdown of every segment, with exact punish windows and attack pattern tells.
\n\nPhase 1: Opening Knife Fight (0% → 83% HP remaining on total boss HP)
\n\nThe opening phase is 100% scripted once you learn the parry sequence. A lot of players panic here, but if you follow these steps, you'll get through with zero damage taken 9 times out of 10:
\n\n- \n
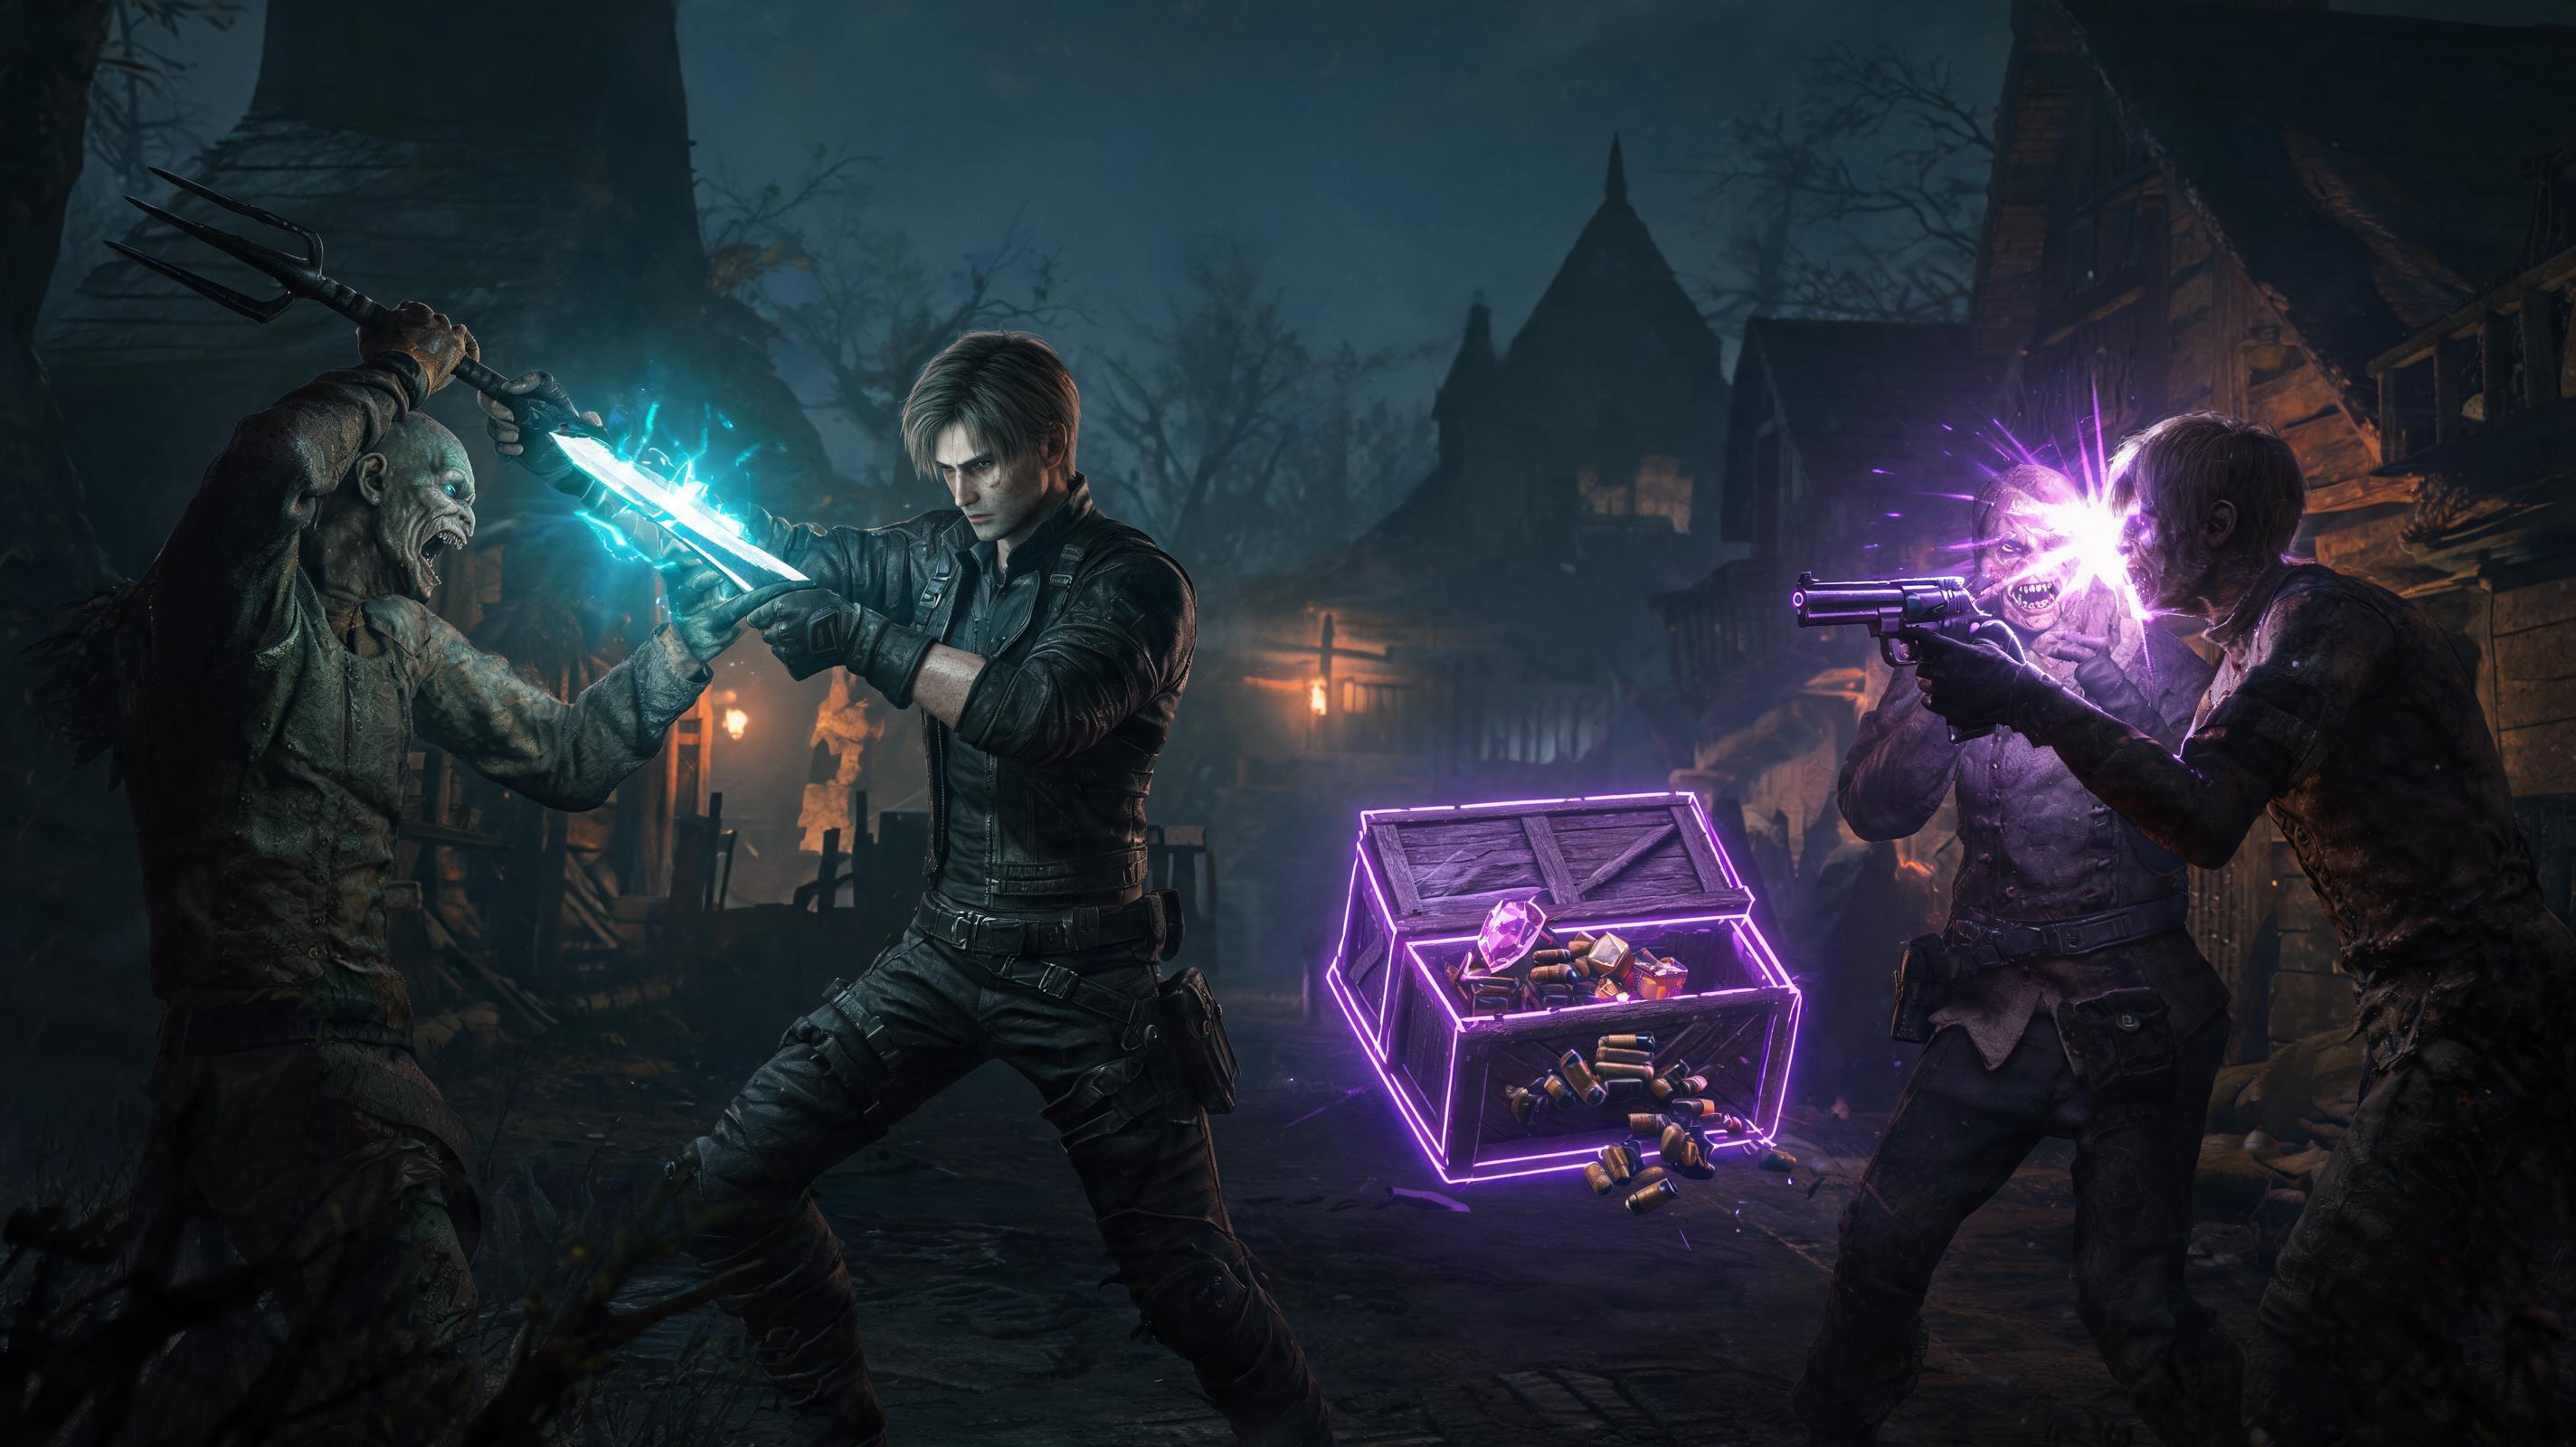
- Krauser initiates with a running slash — wait until his knife is 0.5 meters from Leon's chest, then press L1/LB (parry). A perfect parry here staggers him for 1 second, and you get a free 300 damage slash to his side. \n
- Next, he does three quick jabs in sequence — parry each one with a 12-frame delay after he starts the animation. Don't mash parry — mashing makes you miss the third jab, which deals 70% damage on Standard and 95% on Professional. \n
- He'll jump back and throw a knife at your head — this is the most commonly missed parry. Dodge left by pressing X/A + left stick, don't try to parry it. The parry window here is only 8 frames even on Standard, so dodging is 100% more consistent. \n
- He charges with a vertical overhead slash — this is your big damage window. Parry right as the blade starts to come down, then follow up with two quick slashes (150 damage each) before he breaks away. \n
- He'll do a fake out step to your left, then a horizontal slash across your body — parry, then one slash, then immediately back away. He's about to trigger the cutscene that ends phase 1. \n
Hard numbers for phase 1: Every perfectly parried counter slash deals 150 damage, so if you land all 4 counter slashes, you'll drop him to 900 HP before phase 1 even ends on Standard. That's 10% of his total HP done before you even get to pull out your gun. The only time you should take damage here is if you mash parry or try to parry the thrown knife.
\n\nPro Tip: On Professional difficulty, turn on Target Parry Assistance in the control settings if you're struggling. It extends the parry window by 4 frames for melee attacks and doesn't affect any other mechanics in the game. It's not a crutch — Capcom added it for a reason.\n\nPhase 2: Mid-Range Arena Phase (83% → 20% HP remaining)
\n\nAfter the cutscene, you drop into the large stone arena with multiple pillars and elevated platforms. This is where most players die to Krauser's hit-and-run attacks. Krauser's goal here is to force you to waste ammo by constantly repositioning and hiding behind pillars. Your goal is to hold the high ground near the entrance to the arena, where you have clear line of sight to all his spawn points and enough cover to dodge his thrown knives.
\n\nKrauser Attack Pattern Analysis & Punish Windows
\n\nEvery attack Krauser does in phase 2 has a clear tell and a fixed punish window. Memorize these, and you'll never take unnecessary damage:
\n\n| Attack Name | \nTell | \nDamage (Standard) | \nPunish Window | \nOptional Punish | \n
|---|---|---|---|---|
| Thrown Knife Barrage | \nKrauser jumps to a pillar, grips 2 knives at his waist | \n450 per knife | \n1.2 seconds after the third knife is thrown | \n1 weak point shot with magnum before he retreats | \n
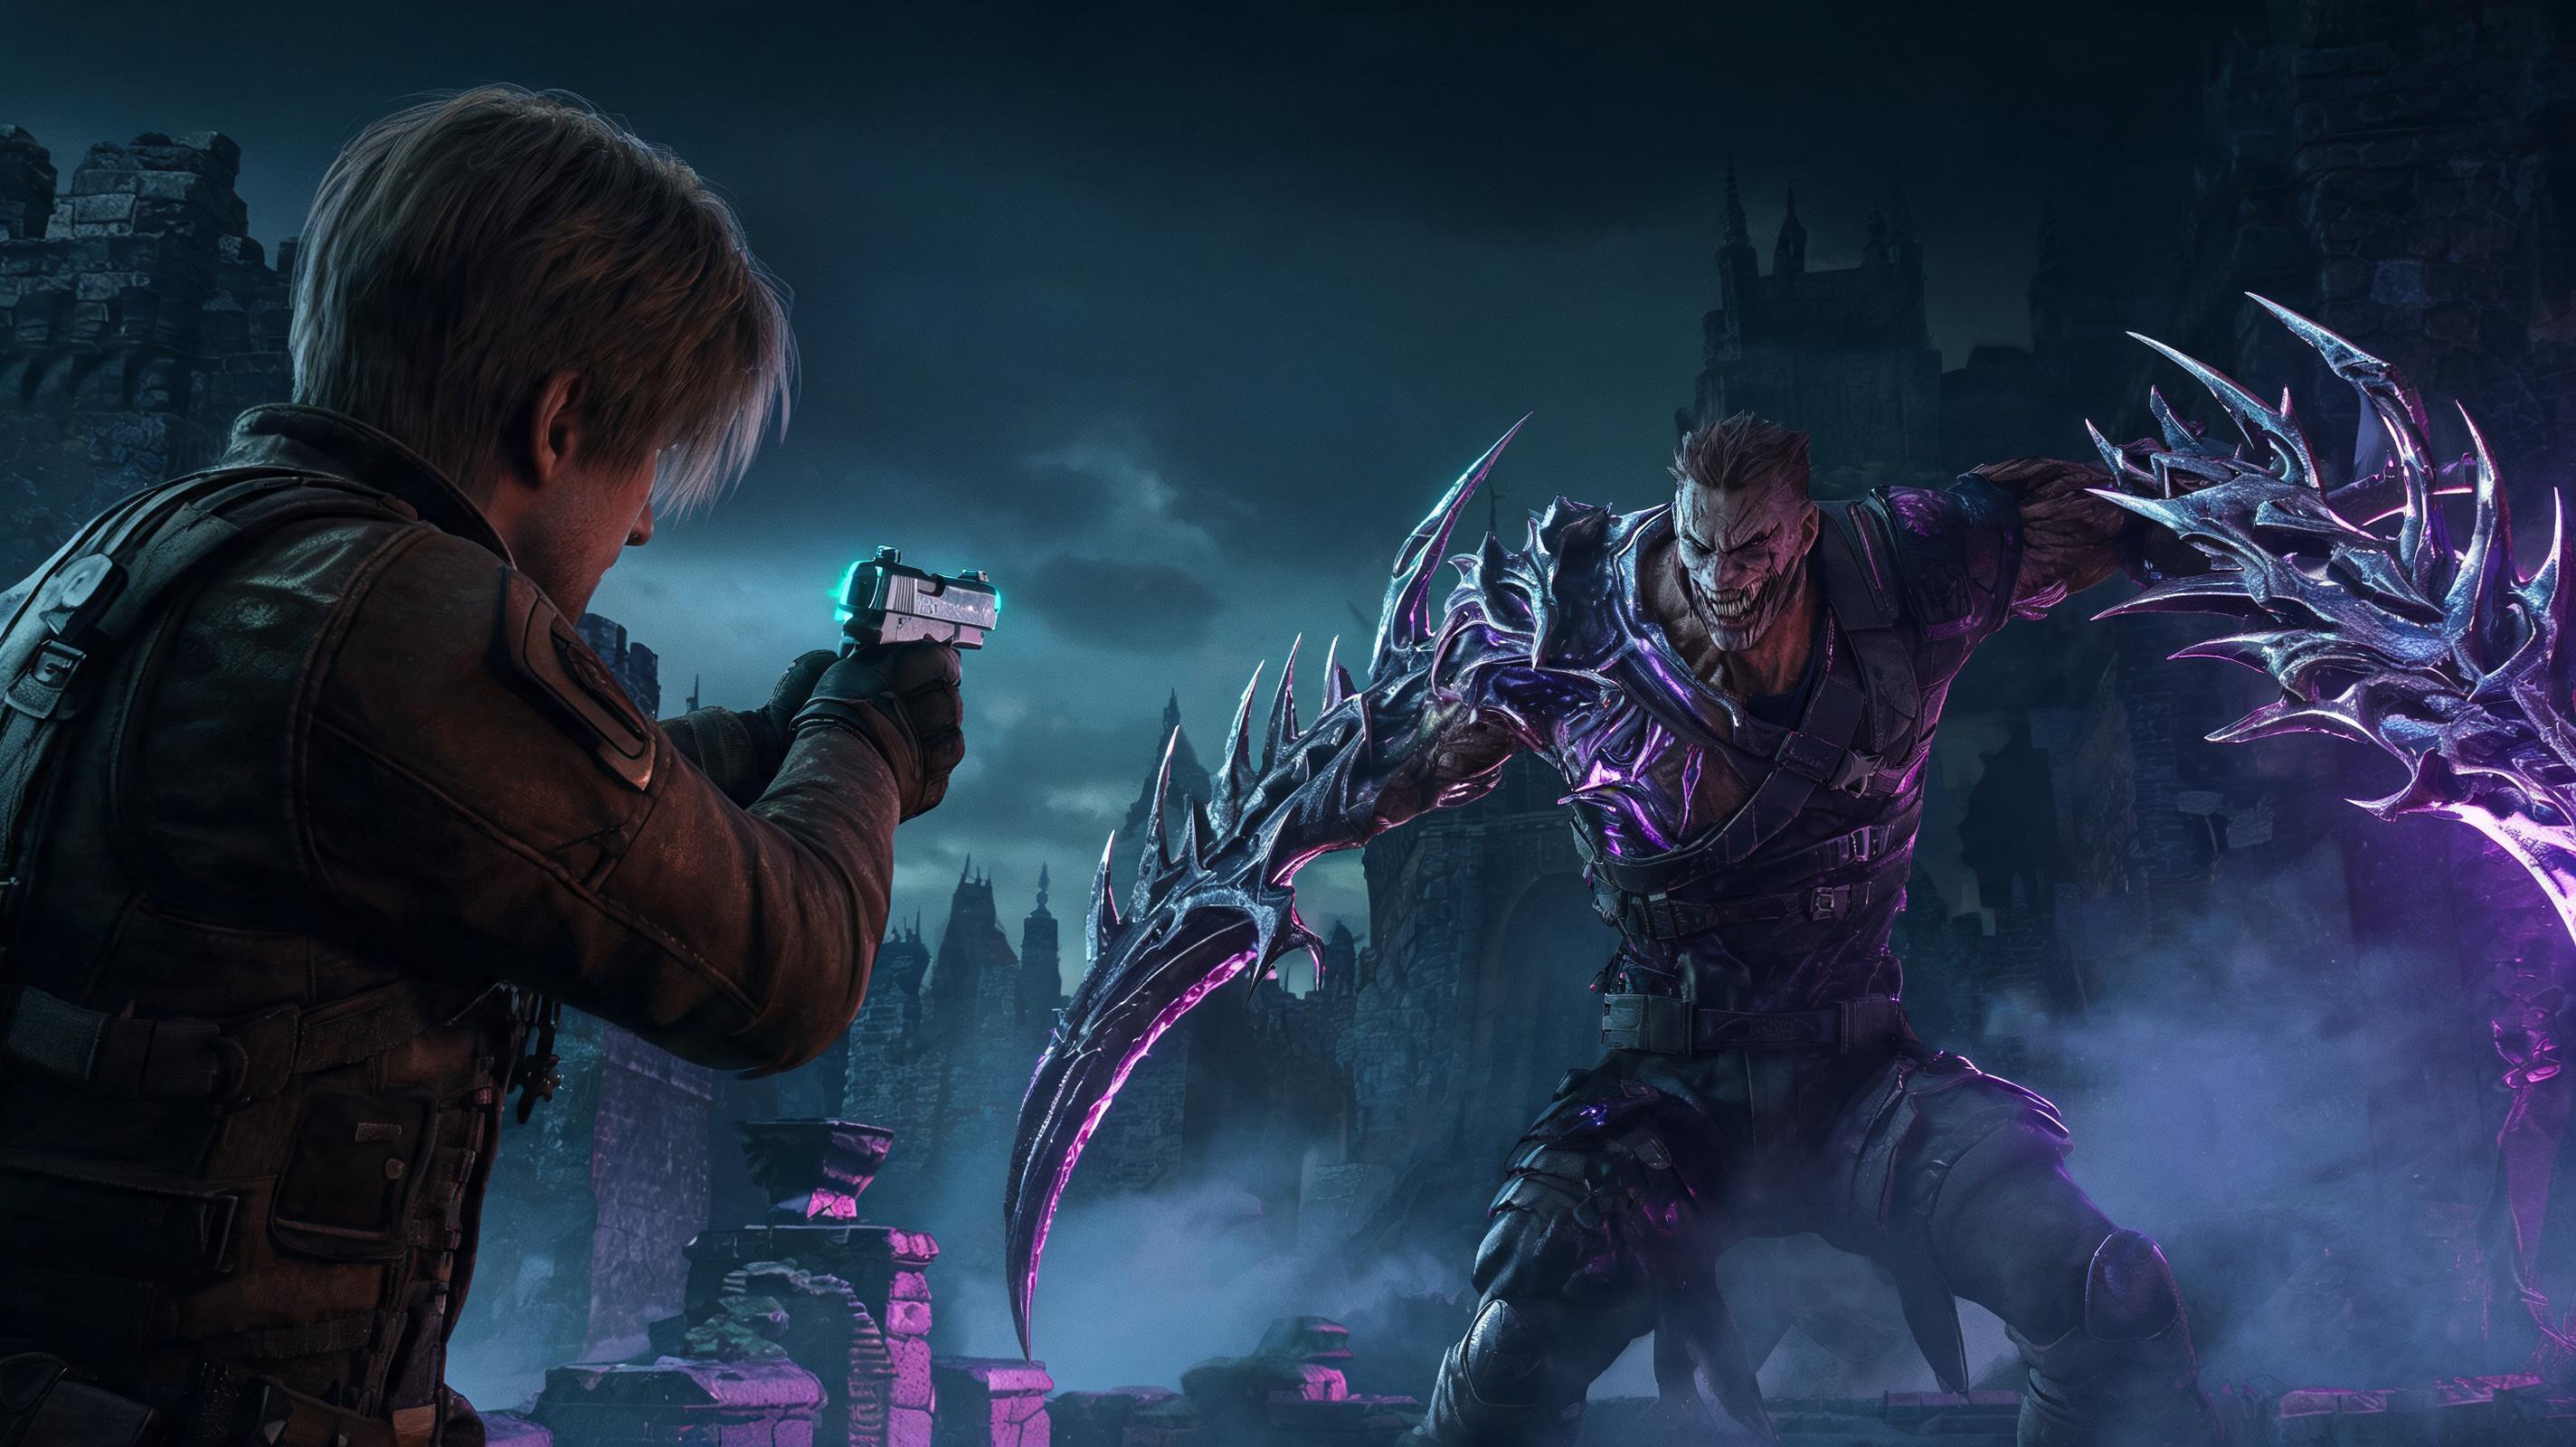
| Charging Melee Combo | \nKrauser leans forward, mutated arm glows red | \n650 (first hit) + 800 (second hit) = one-shot on half health | \n2 seconds after he misses the second slash | \nDodge roll through the charge, then 1 headshot + 1 shotgun blast to weak point | \n
| Plaga Arrow Blast | Krauser's right shoulder glows bright white, he pulls his arm back\n900 damage + 2 seconds of stun | \n1.5 seconds after he fires the arrow | \n1 sniper shot to weak point — he's stationary the entire windup and after firing | \n|
| Overhead Smash | \nKrauser jumps on top of your pillar, arm rears back | \n1200 damage = one-shot on any health except full yellow-herb boosted health | \n0.8 seconds after he lands (before he swings) | \nFlash grenade stun → 2 magnum shots to weak point, then roll away | \n
| Stealth Flank | \nCamera shakes slightly for 1 second before he attacks | \n1100 damage = one-shot | \nInstant when you see the camera shake | \nQuick turn + parry → counter slash → 1 pistol headshot | \n
Step-by-step phase 2 execution for Standard/Hardcore:
\n\n- \n
- After the cutscene ends, immediately run up the stairs to the raised platform on the west side of the arena (left from where you spawn). This gives you cover from 2 of Krauser's 4 spawn points and keeps him out of melee range 90% of the time. \n
- Wait for him to spawn. He always spawns on the north platform first — that's your first free shot. Aim for the glowing Plaga on his right shoulder, squeeze the trigger. A fully upgraded Stingray magnum shot here deals 3600 damage on Standard, that's 40% of his total HP gone in one pull. \n
- When he throws his knife barrage, hide behind the central pillar on the platform. Wait for the third knife to hit the stone, then pop out and land your shot before he jumps away. Don't shoot while he's throwing — the recoil will throw off your aim and you'll miss the weak point. \n
- If he charges you, dodge roll to your right (his left) — this puts you behind him, so you can land a free weak point shot before he can turn around. Never dodge roll backwards — that just puts you closer to the edge of the arena and limits your movement. \n
- Stop attacking once he hits 20% HP (the exact threshold is 1800 HP on Standard, 2400 on Professional). If you drop him below 20% HP too early, he triggers his enrage mode 30 seconds sooner, and he gains 50%