
TL;DR
- This step by step walkthrough covers every Legacy Dungeon from Stormveil Castle to Leyndell, Royal Capital, with boss strategies, loot locations, and key decision consequences
- We break down hidden paths, skip forced fights, and min-max your progression to prep you for the Elden Ring DLC endgame
- Check our tier list for the best weapons and talismans you can grab along this route, and avoid the common mistakes that wipe even veteran players
- Complete the pre-Leyndell checklist at the end to make sure you don’t lock out critical side content before entering the capital
Chapter/Area Overview
Legacy Dungeons are FromSoftware’s signature hand-crafted, gated progression hubs in Elden Ring, and the route from Stormveil Castle to Leyndell, Royal Capital makes up the entire first half of the main story. This complete guide skips the wiki’s vague directions and gives you actionable, frame-accurate strategies for every encounter, all the way to the capital gates.
We’re skipping tutorial crap (you already know how to roll and drink flask) and focusing on what matters: hidden paths that skip 50% of the trash, key decision points that change your entire playthrough, exact loot locations, and how to prep for the Elden Ring DLC Shadow of the Erdtree post-game. Here’s the progression order we’re following:
- Stormveil Castle (Limgrave)
- Raya Lucaria Academy (Liurnia)
- Caria Manor (Liurnia)
- Redmane Castle (Caelid)
- Ranni’s Rise (hidden, post-Caria)
- Altus Plateau → Shaded Castle
- Leyndell, Royal Capital (end point)
| Legacy Dungeon | Recommended Level | Best Weapon Tier | Boss Difficulty Tier |
|---|---|---|---|
| Stormveil Castle | 25-35 | A | B (Godrick) / A (Margit) |
| Raya Lucaria Academy | 40-50 | S | A (Rennala) |
| Caria Manor | 45-55 | B | B (Royal Knight Loretta) |
| Redmane Castle | 50-60 | A | S (Radahn) |
| Shaded Castle | 60-70 | B | C (Elemer of the Briar) |
| Leyndell, Royal Capital | 70-80 | S | S (Morgott) |
Step-by-Step Progression: Stormveil Castle to Leyndell
1. Stormveil Castle (Limgrave)
You enter after beating Margit, the Fell Omen at the gate. Most players get lost in the opening courtyard fighting 10+ god-damn knights. Skip all that trash:
- Enter the main gate, turn immediately right, roll through the damaged section of wall. This skips the first 3 Godrick Knights and the crossbowman on the battlements.
- Take the lift down, kill the Exile Soldier waiting at the bottom, then grab the Grape-Warmed Stones (3) off the corpse to your left.
- Follow the corridor up, turn left into the room with the Commoner, exit out the balcony, and jump across to the eastern battlements. You’re now behind the first Ogres, and can backstab it for ~40% of its 1821 HP before it can attack.
- Continue north along the battlements, drop down into the main courtyard to activate the Stormveil Main Gate Site of Grace (unlocks fast travel, we’ll come back here later).
- Head up the ramp to Godrick’s arena, stop at the Site of Grace outside, and prep for the fight.
Pro Tip: If you got the Rusty Key from the side path near the Stormveil entrance, open the hidden door behind the Grafted Scion room to get the Prince of Death’s Pustule talisman (+3% damage negation, +5 Vigor) 20 hours earlier than most players find it. It’s game-changing for low-level progression.
2. Raya Lucaria Academy (Liurnia)
After beating Godrick, head north to Liurnia. You need the Academy Glintstone Key to enter. Most players go for the key behind the academy, but there’s a free +8 INT variant hidden on the south side: it’s on a corpse hanging off the rocks west of the Liurnia Lake Shore Site of Grace. Grab that first for a free 2-point INT boost before you even enter.
- Unlock the gate, activate the Main Gate Site of Grace, take the east path over the bridge to avoid the Crystalline Custodian group (they hit for 500+ damage at level 40, not worth it).
- Drop down the left side of the bridge into the water, sneak past the Glintstone Crabs, enter the sewers that lead directly to the Schoolhouse Classroom Site of Grace. Skips 12 mages and 2 knights.
- Clear the debate parlor, grab the Academy Scroll to give to Sorceress Sellen, then take the lift up to the debate parlor exit. Kill the Onyx Lord in the courtyard, activate the Church of the Cuckoo Site of Grace.
- Head north across the rafters, drop down into the grand library, activate the Site of Grace outside Rennala’s boss room.
You can grab the Moonveil Katana from the hidden chemin de fer cave under the academy entrance. Moonveil is still S-tier in 2025, even after the 10% damage nerf: it does 73 physical + 87 magic damage at +10, and its Transient Moonlight weapon art has a 12-frame startup that’s unparryable and staggers 90% of early/mid-game bosses. Must-have.
3. Caria Manor (North Liurnia)
After beating Rennala, head north to Caria Manor to progress Ranni’s quest (the most important side quest for the Elden Ring DLC, don’t skip this). Most players get wiped by the magic hand traps that one-shot low Vigor builds. Here’s how to avoid them:
- Stick to the far left wall as you enter the lower gardens. All hand spawns are scripted, and the left path only has 1 hand that ambushes you instead of 4.
- Activate the Lower Manor Site of Grace, take the side path up the western ramparts to skip the 2 Crucible Knights in the main courtyard. One has ash of war that deals 720 poise damage — you’re not surviving that at level 45.
- Work your way up the ramparts, drop down into the upper gardens, activate the Upper Manor Site of Grace before fighting Loretta.
4. Redmane Castle (Caelid)
After beating Loretta and unlocking Ranni’s Rise, head east to Caelid for the Radahn Festival. Here’s how to minimize the trash pull before the boss:
- Enter the castle from the Impassable Greatbridge Site of Grace. Use the lift that pops up after the festival starts, don’t fight your way through the front gate.
- Activate the Chapel Site of Grace, grab all the summons on the plinth, then head straight to the arena. No need to clear any of the castle side rooms before the fight.
After beating Starscourge Radahn, you unlock the star fall that opens Nokron, Eternal City — this is required for Ranni’s quest and the Dark Moon Greatsword, one of the best endgame weapons for the Elden Ring DLC.
5. Altus Plateau & Shaded Castle
After unlocking the path to Altus (either via the Grand Lift of Dectus or the Ruin-Strewn Precipice), progress through the plateau to reach the capital gate. Shaded Castle is an optional Legacy Dungeon here, but you have to clear it for the Dectus Medallion (Right) if you didn’t grab it earlier, and for the Shard of Alexander talisman — that’s a 15% boost to weapon art damage, S-tier for every build in the game.
- Enter Shaded Castle from the west entrance, stick to the outer wall to avoid the poison pools and the Cleanrot Knight patrols.
- Activate the Castle Inner Gate Site of Grace, head straight to the top of the castle to fight Elemer of the Briar.
- After beating Elemer, grab the Shard of Alexander and the Valiant Goliath Greatsword off his drop.
6. Leyndell, Royal Capital
Once you beat Morgott the Omen King at the capital gate, you enter the main Legacy Dungeon. This is the biggest maze in the entire base game, so follow this step by step to avoid getting lost:
- After entering the capital, activate the Avenue Balcony Site of Grace, head down the stairs, turn left into the sewer entrance. Don’t go through the main east gate — that path is full of two-story tall tree spirits that one-shot you at level 70.
- Follow the sewer path up, you’ll pop out on the west side of the capital near the Erdtree Sanctuary. Activate the Erdtree Sanctuary Site of Grace before engaging Morgott.
- If you want the Golden Order Greatsword, take the hidden elevator down from the Erdtree Sanctuary to the Secret Path to the Haligtree, but that’s for post-Leyndell progression.
Key Decision Points & Consequences
These choices change your entire playthrough — don’t mess these up:
- Kill Patches at Stormveil?: If you kill him, you lock out his entire quest line, which gives you the Margit’s Shackle (can use it on Morgott too, which staggers him for 3 seconds at any HP threshold below 70%) and the Cheese Wheel gesture that unlocks a secret area in the Elden Ring DLC. Spare him. It’s that simple.
- Kill Rennala or skip the second fight?: After you beat her the first time, she becomes a friendly NPC that lets you respec. Don’t kill her. If you kill her, you lose respecs for the entire rest of the playthrough, which locks you out of min-maxing for the DLC endgame. Only get her Great Rune if you have an extra Talisman slot to spare — it’s only 5% boost to all stats, which is worse than most talismans.
- Join Ranni’s Quest or not?: If you skip Ranni’s quest, you lock out the Age of Stars ending, the Dark Moon Greatsword, and access to the Moonlight Altar, which has a pre-DLC +10 somber ancient dragon smithing stone that lets you max out a somber weapon before you even enter Leyndell. Join it. It’s non-negotiable for any serious playthrough.
- Use the Dung Eater’s Seedbed Curse before Leyndell?: If you do all his steps before Morgott, you get the Omen armor set and the Blessing of Despair ending. If you wait until after you beat Morgott, the capital floods and you lock out his quest. Do it before you enter the capital’s inner walls.
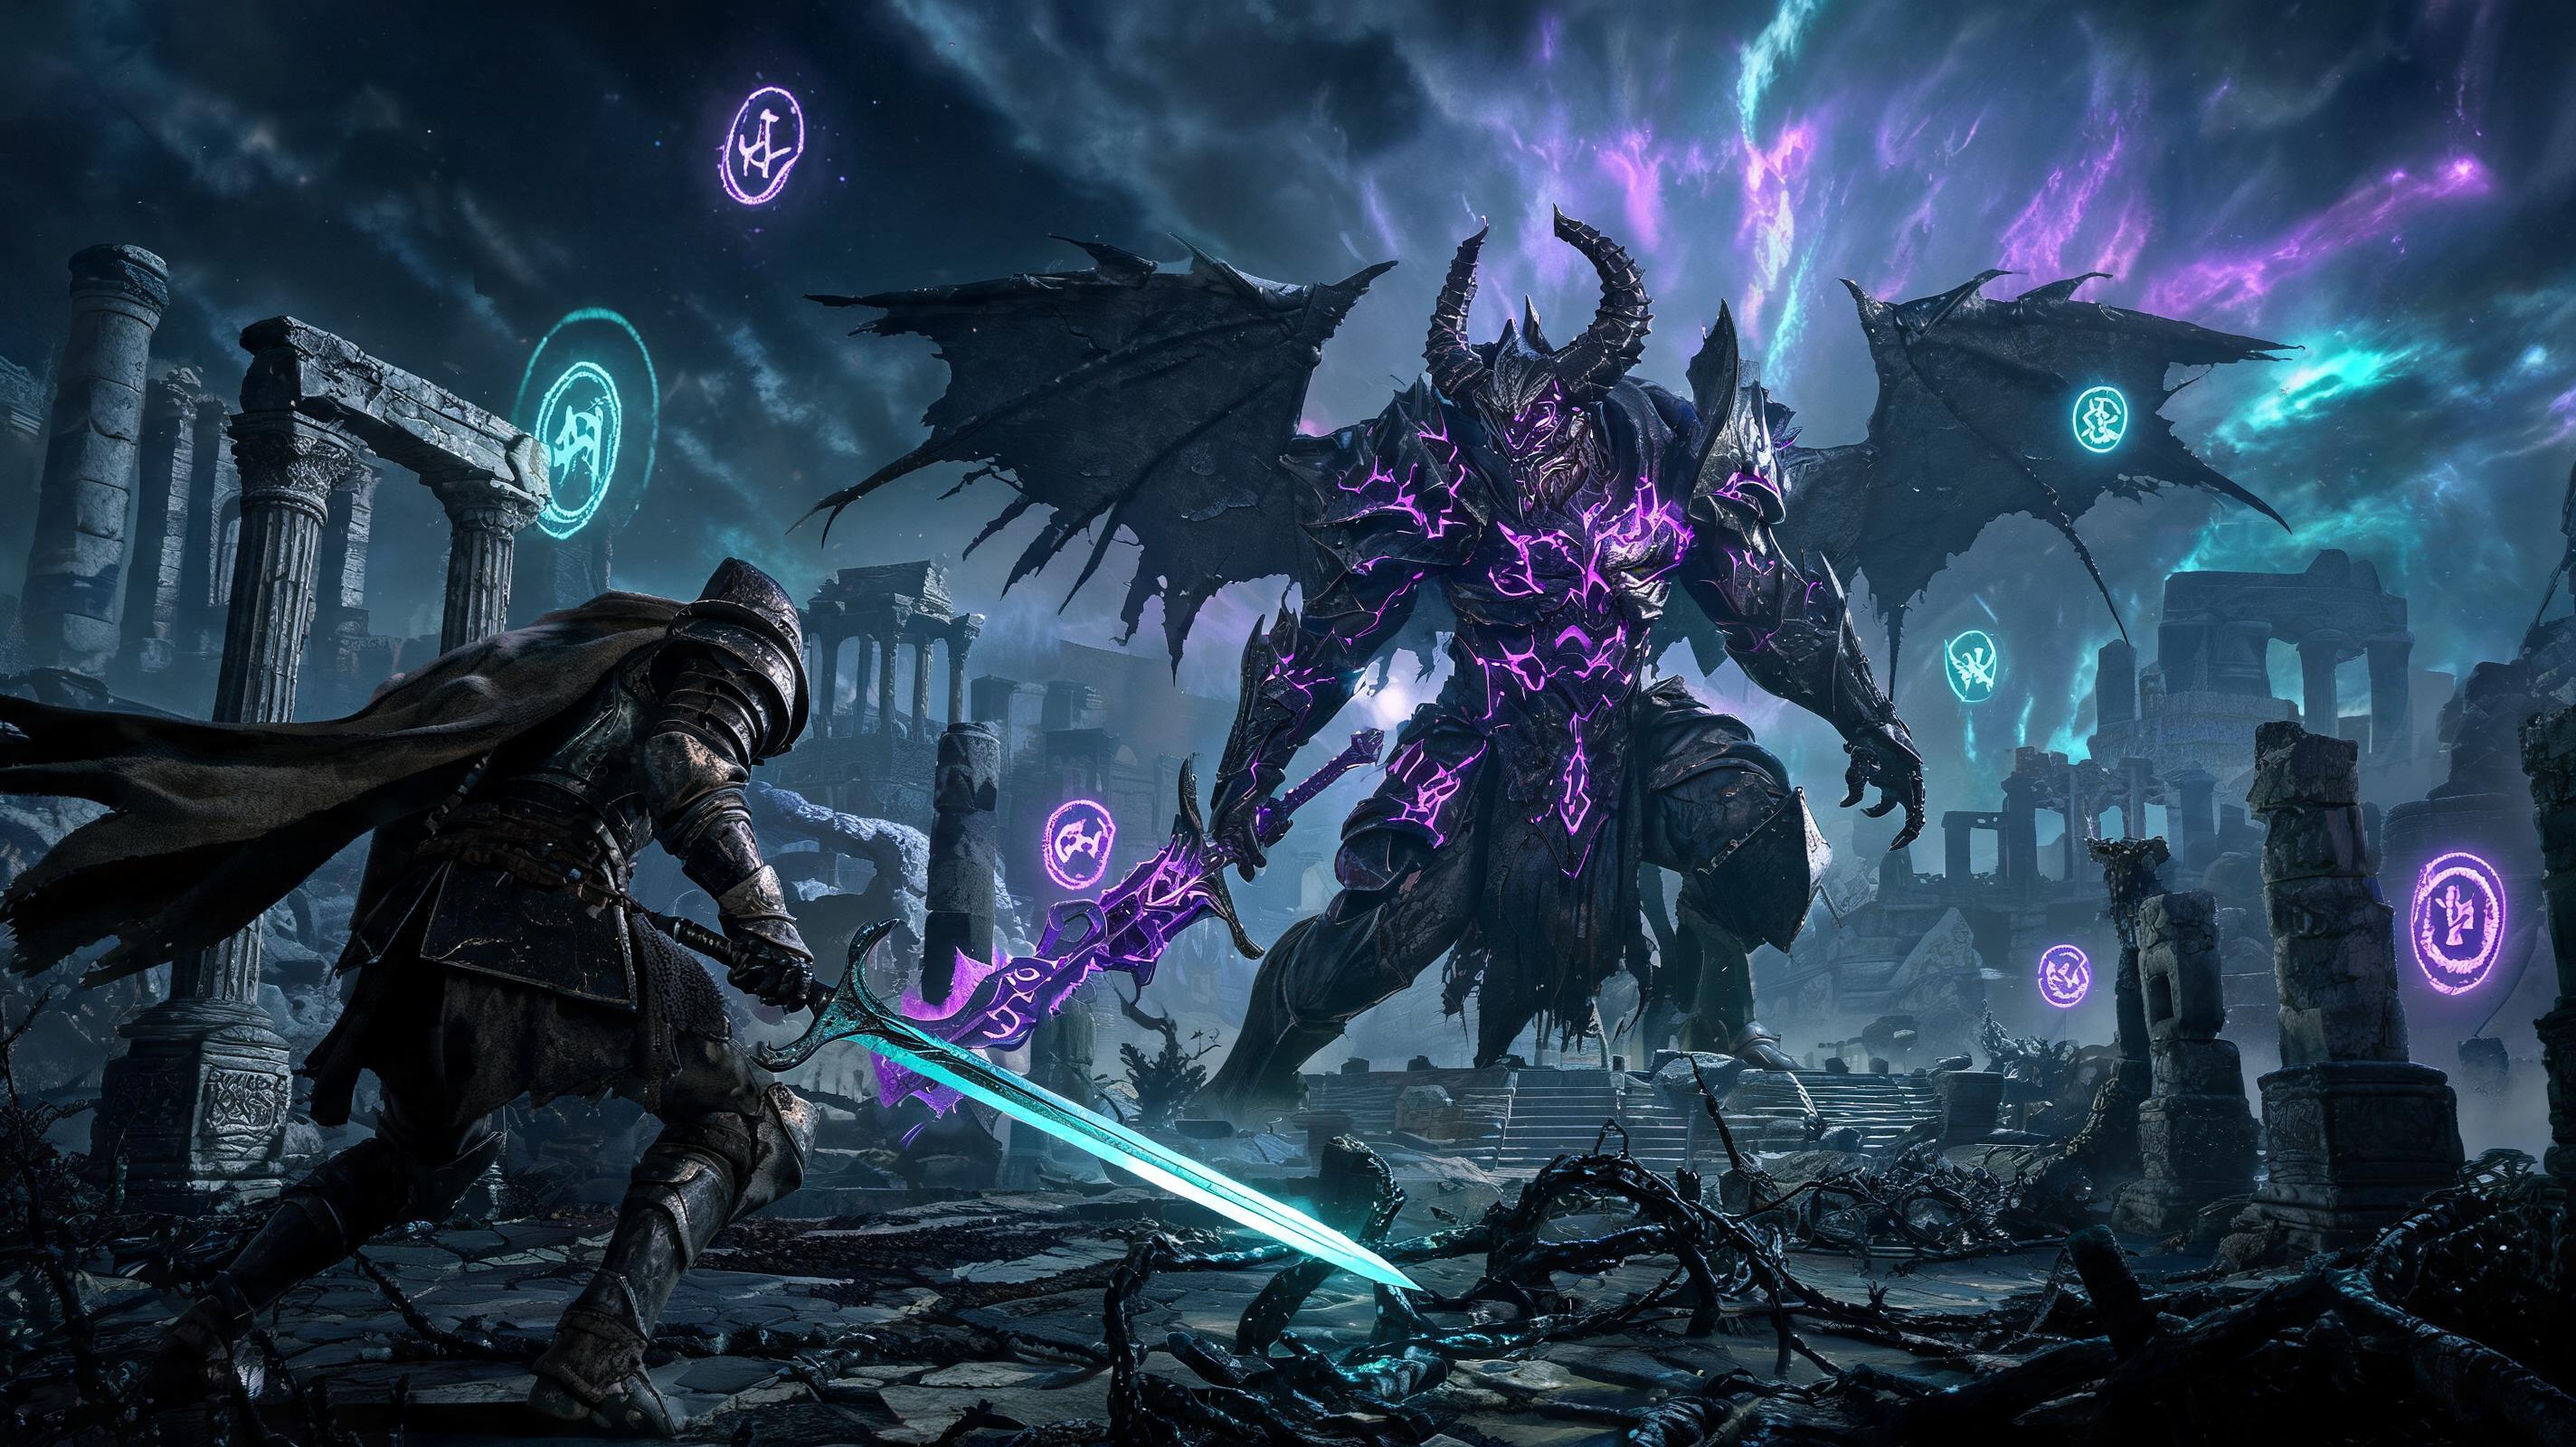
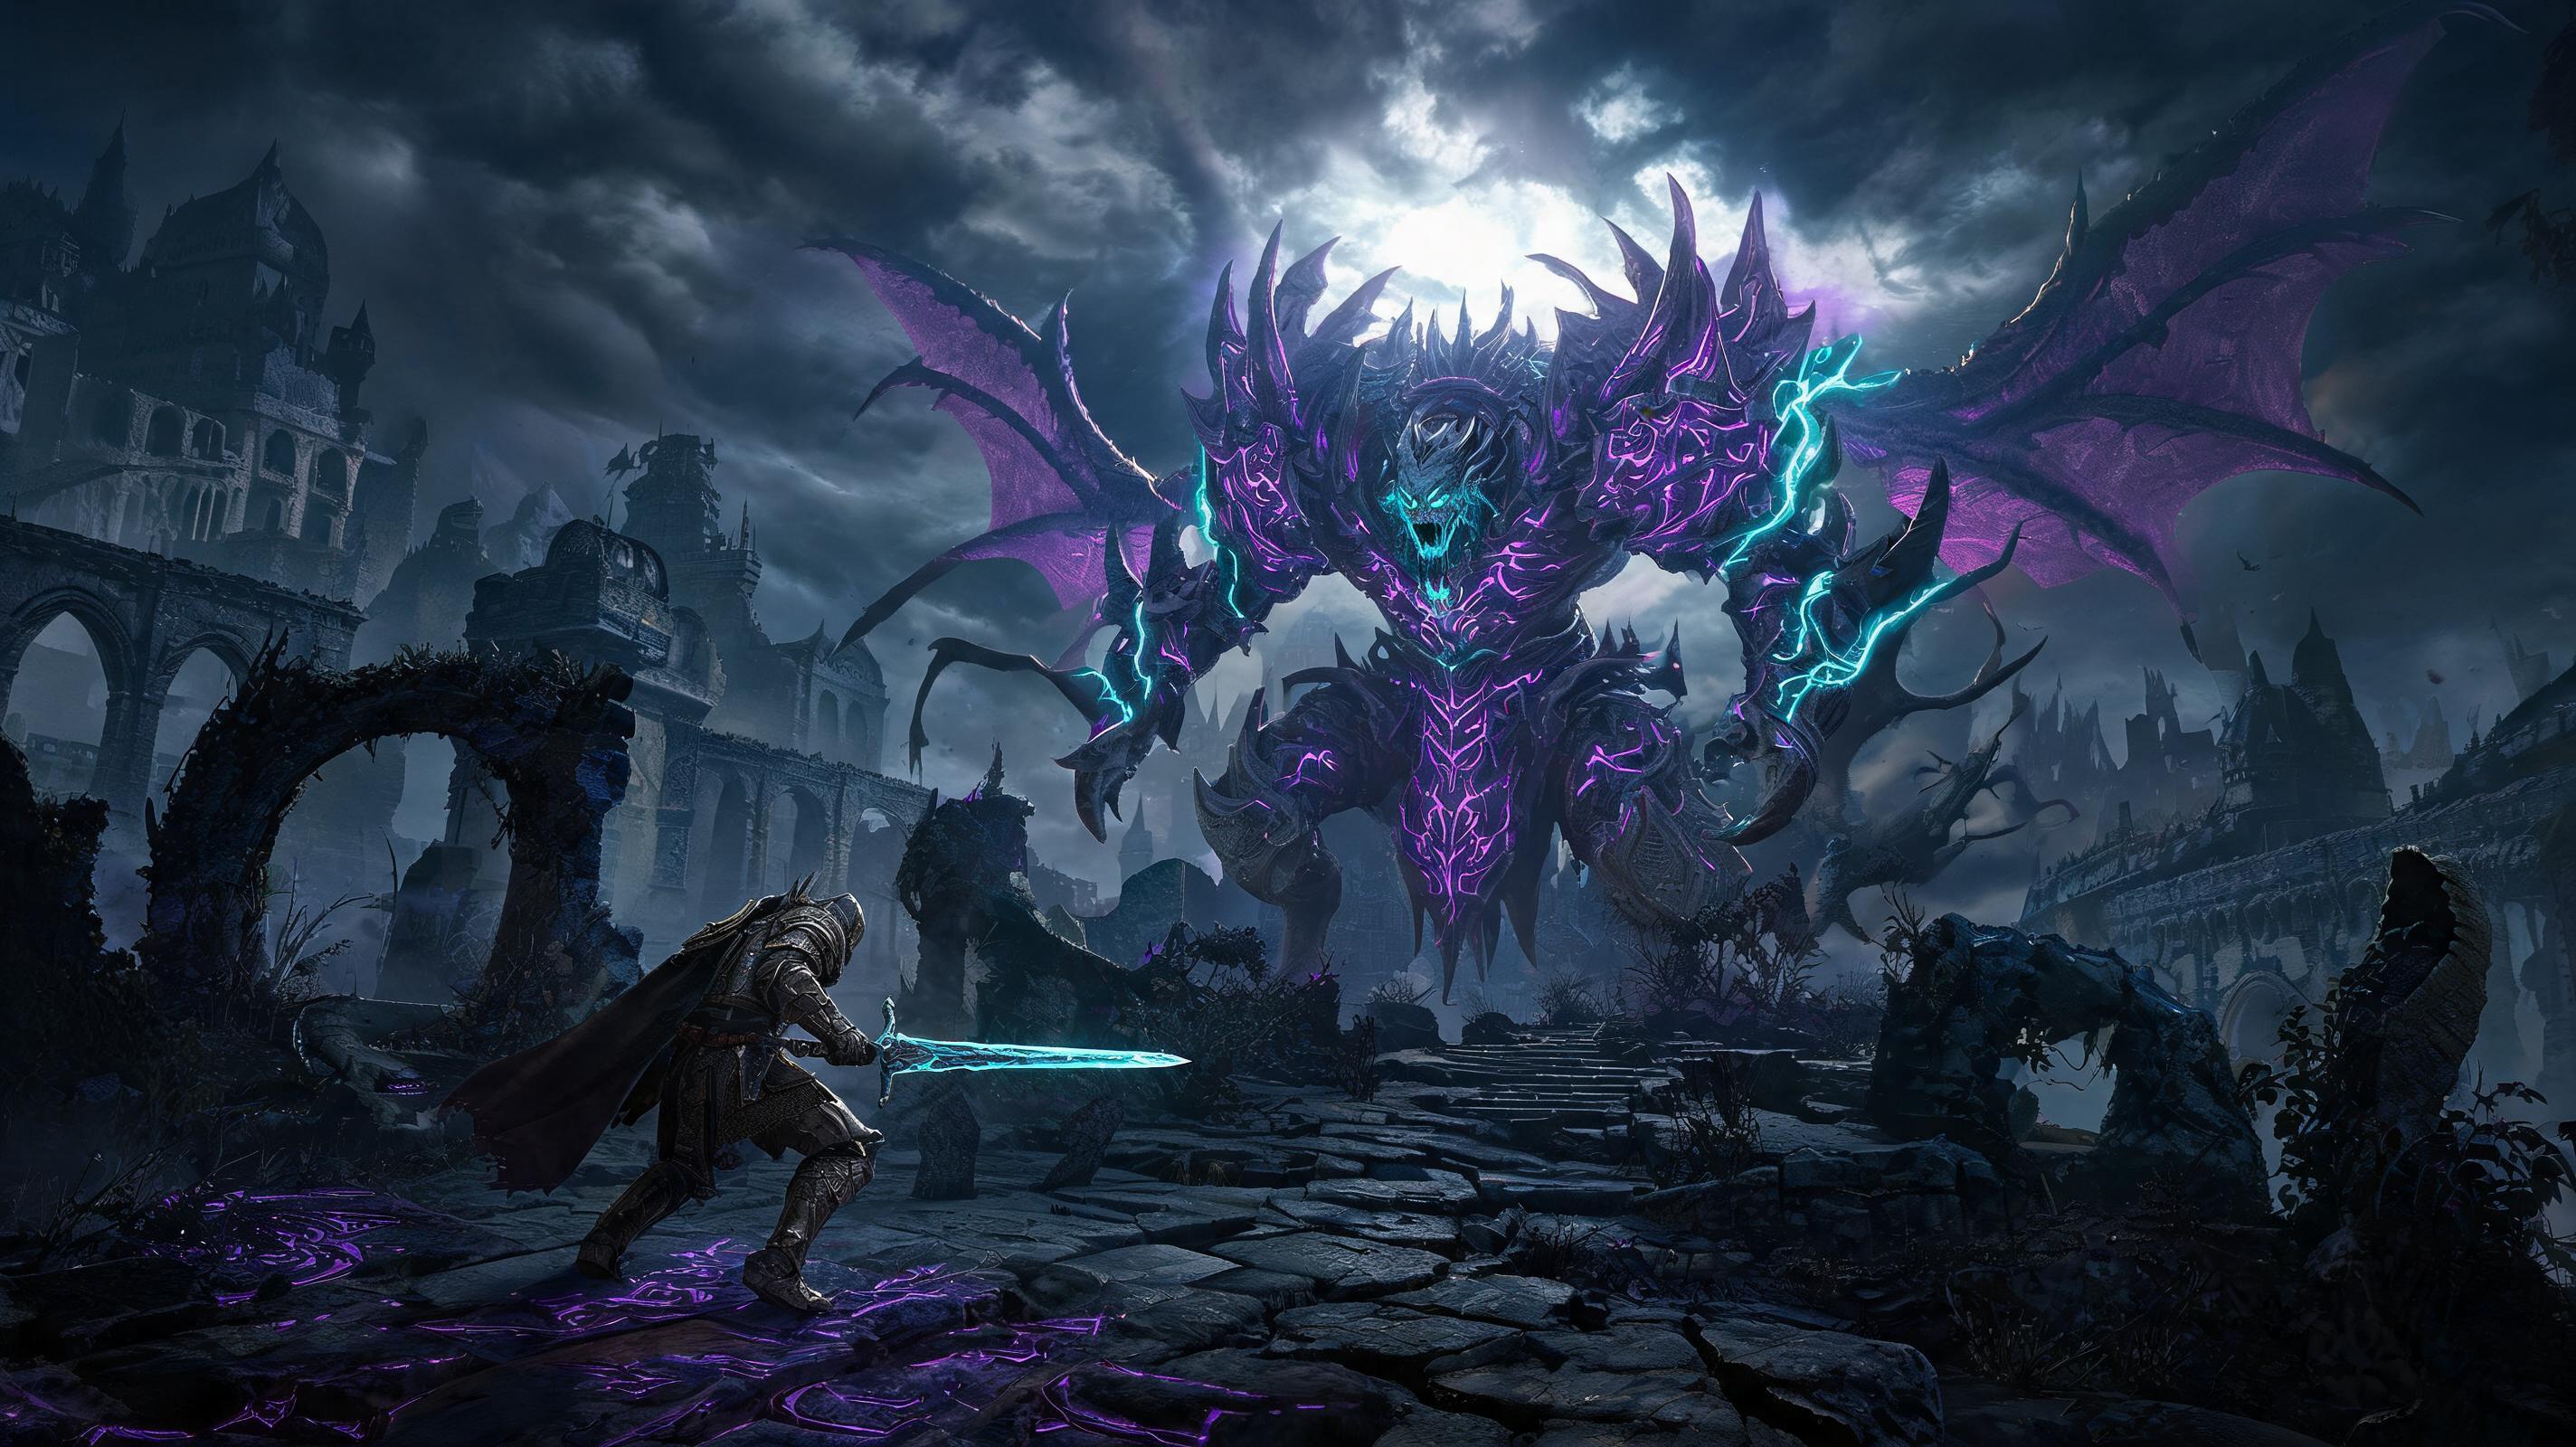
Boss Encounters Summary (Frame-Accurate Strategy)
| Boss | Total HP | One-Hit Damage (Medium Armor) | Key Strategy | Difficulty Tier |
|---|---|---|---|---|
| Godrick the Grafted | 4176 | 490 | Stay behind his left leg. All his AOE swipes miss if you hug the left leg. Roll into his grab attack, not away — it has a 2-frame longer hitbox on the backside. | B |
| Rennala, Queen of the Full Moon | 4116 (phase 1) / 3521 (phase 2) | 580 (full moon beam) | Use a rock sling sorcery or bleed weapon to break her stagger in phase 1. In phase 2, roll towards her when she casts full moon — the AOE explosion has negative tilt, so rolling in avoids 100% of the damage. | A |
| Royal Knight Loretta | 3802 | 520 (magic greatbow) | >Stick close to her. All her long-range attacks are useless if you hug her right hip. Her spin attack has a 15-frame startup, roll on the 12th frame to get an i-frame through it. | C |
| Starscourge Radahn | 10620 | 720 (gravity slam) | >Use Torrent to dodge his rain of arrows. When he leaps into the air, hold sprint towards him — the gravity slam only hits if you’re more than 20 meters away. BLEED is broken here: he takes 20% extra bleed damage, so a +7 Rivers of Blood will take him down in 3 procs. | S |
| Elemer of the Briar | 4900 | 510 (greatsword swing) | >He’s hyper-aggressive but all his attacks are linear. Parry his quick sword swings — they have a 6-frame parry window, which is one of the largest in the game. A perfect parry staggers him for a riposte that takes 25% of his HP. | C |
| Morgott, the Omen King | 10389 | 780 (cursed sword thrust) | >Bring Margit’s Shackle — it works here! Use it at 70% and 30% HP to stagger him twice for free damage. Roll away from his cursed thorn AOE, the explosion expands outwards so rolling back avoids all damage. | S |
Notable Loot Along the Way (Tier Ranked)FOUND THIS GUIDE HELPFUL?
Share it with fellow gamers!
RELATED TOPICS
elden ringall legacy dungeon walkthrough stormveil to leyndellwalkthroughguideaction rpgRELATED GUIDES
 Elden Ring
Elden Ring: How to Make Meta Work in Elden Ring - Underrated Build Guide - Build Guide (2025)
 Elden Ring
Elden Ring: Elden Ring Boss Guide 2026: How to Beat Every Major Boss - Boss Guide (2025)
 Elden Ring
Elden Ring: Best Elden Ring Meta Build for Endgame DLC Content (2025) - Build Guide (2025)
 Elden Ring
Elden Ring: Elden Ring Tips: The Complete Beginner and Advanced Guide for 2026 - Boss Guide (2025)
 Elden Ring
Elden Ring: Best Elden Ring Meta Build for Endgame DLC Content (2025) - Build Guide (2025)
 Elden Ring
Elden Ring: Elden Ring Boss Guide 2026: How to Beat Every Major Boss - Boss Guide (2025)
FOUND THIS GUIDE HELPFUL?
Share it with fellow gamers!
RELATED TOPICS
RELATED GUIDES
Elden Ring: How to Make Meta Work in Elden Ring - Underrated Build Guide - Build Guide (2025)
Elden Ring: Elden Ring Boss Guide 2026: How to Beat Every Major Boss - Boss Guide (2025)
Elden Ring: Best Elden Ring Meta Build for Endgame DLC Content (2025) - Build Guide (2025)
Elden Ring: Elden Ring Tips: The Complete Beginner and Advanced Guide for 2026 - Boss Guide (2025)
Elden Ring: Best Elden Ring Meta Build for Endgame DLC Content (2025) - Build Guide (2025)