TL;DR Quick Hit Bullet Points
- Malenia has 18750 HP in Phase 1, 26029 HP in Phase 2 (NG+ values double, 37500 / 52058 total) – she heals 25-35% of all damage she deals to you, even through blocks
- Best overall setup: Dark Moon Greatsword + Rivers of Blood offhand, 60 Vigor / 40 Endurance, Crimsonwhorl Bubbletear + Opaline Bubbletear in your physick to negate waterfowl dance one-shots
- Waterfowl Dance skip trick for Phase 1: Aggro her, sprint to the back-left corner of the arena, hide behind the large root – she gets stuck on geometry and cancels the combo
- Every attack has a 1-2 hit punish window – don’t get greedy, even a single extra roll can get you combo’d and one-shot
- This strategy works for both base game and even the elden ring dlc post-game challenge run of Malenia for the secret weapon reward
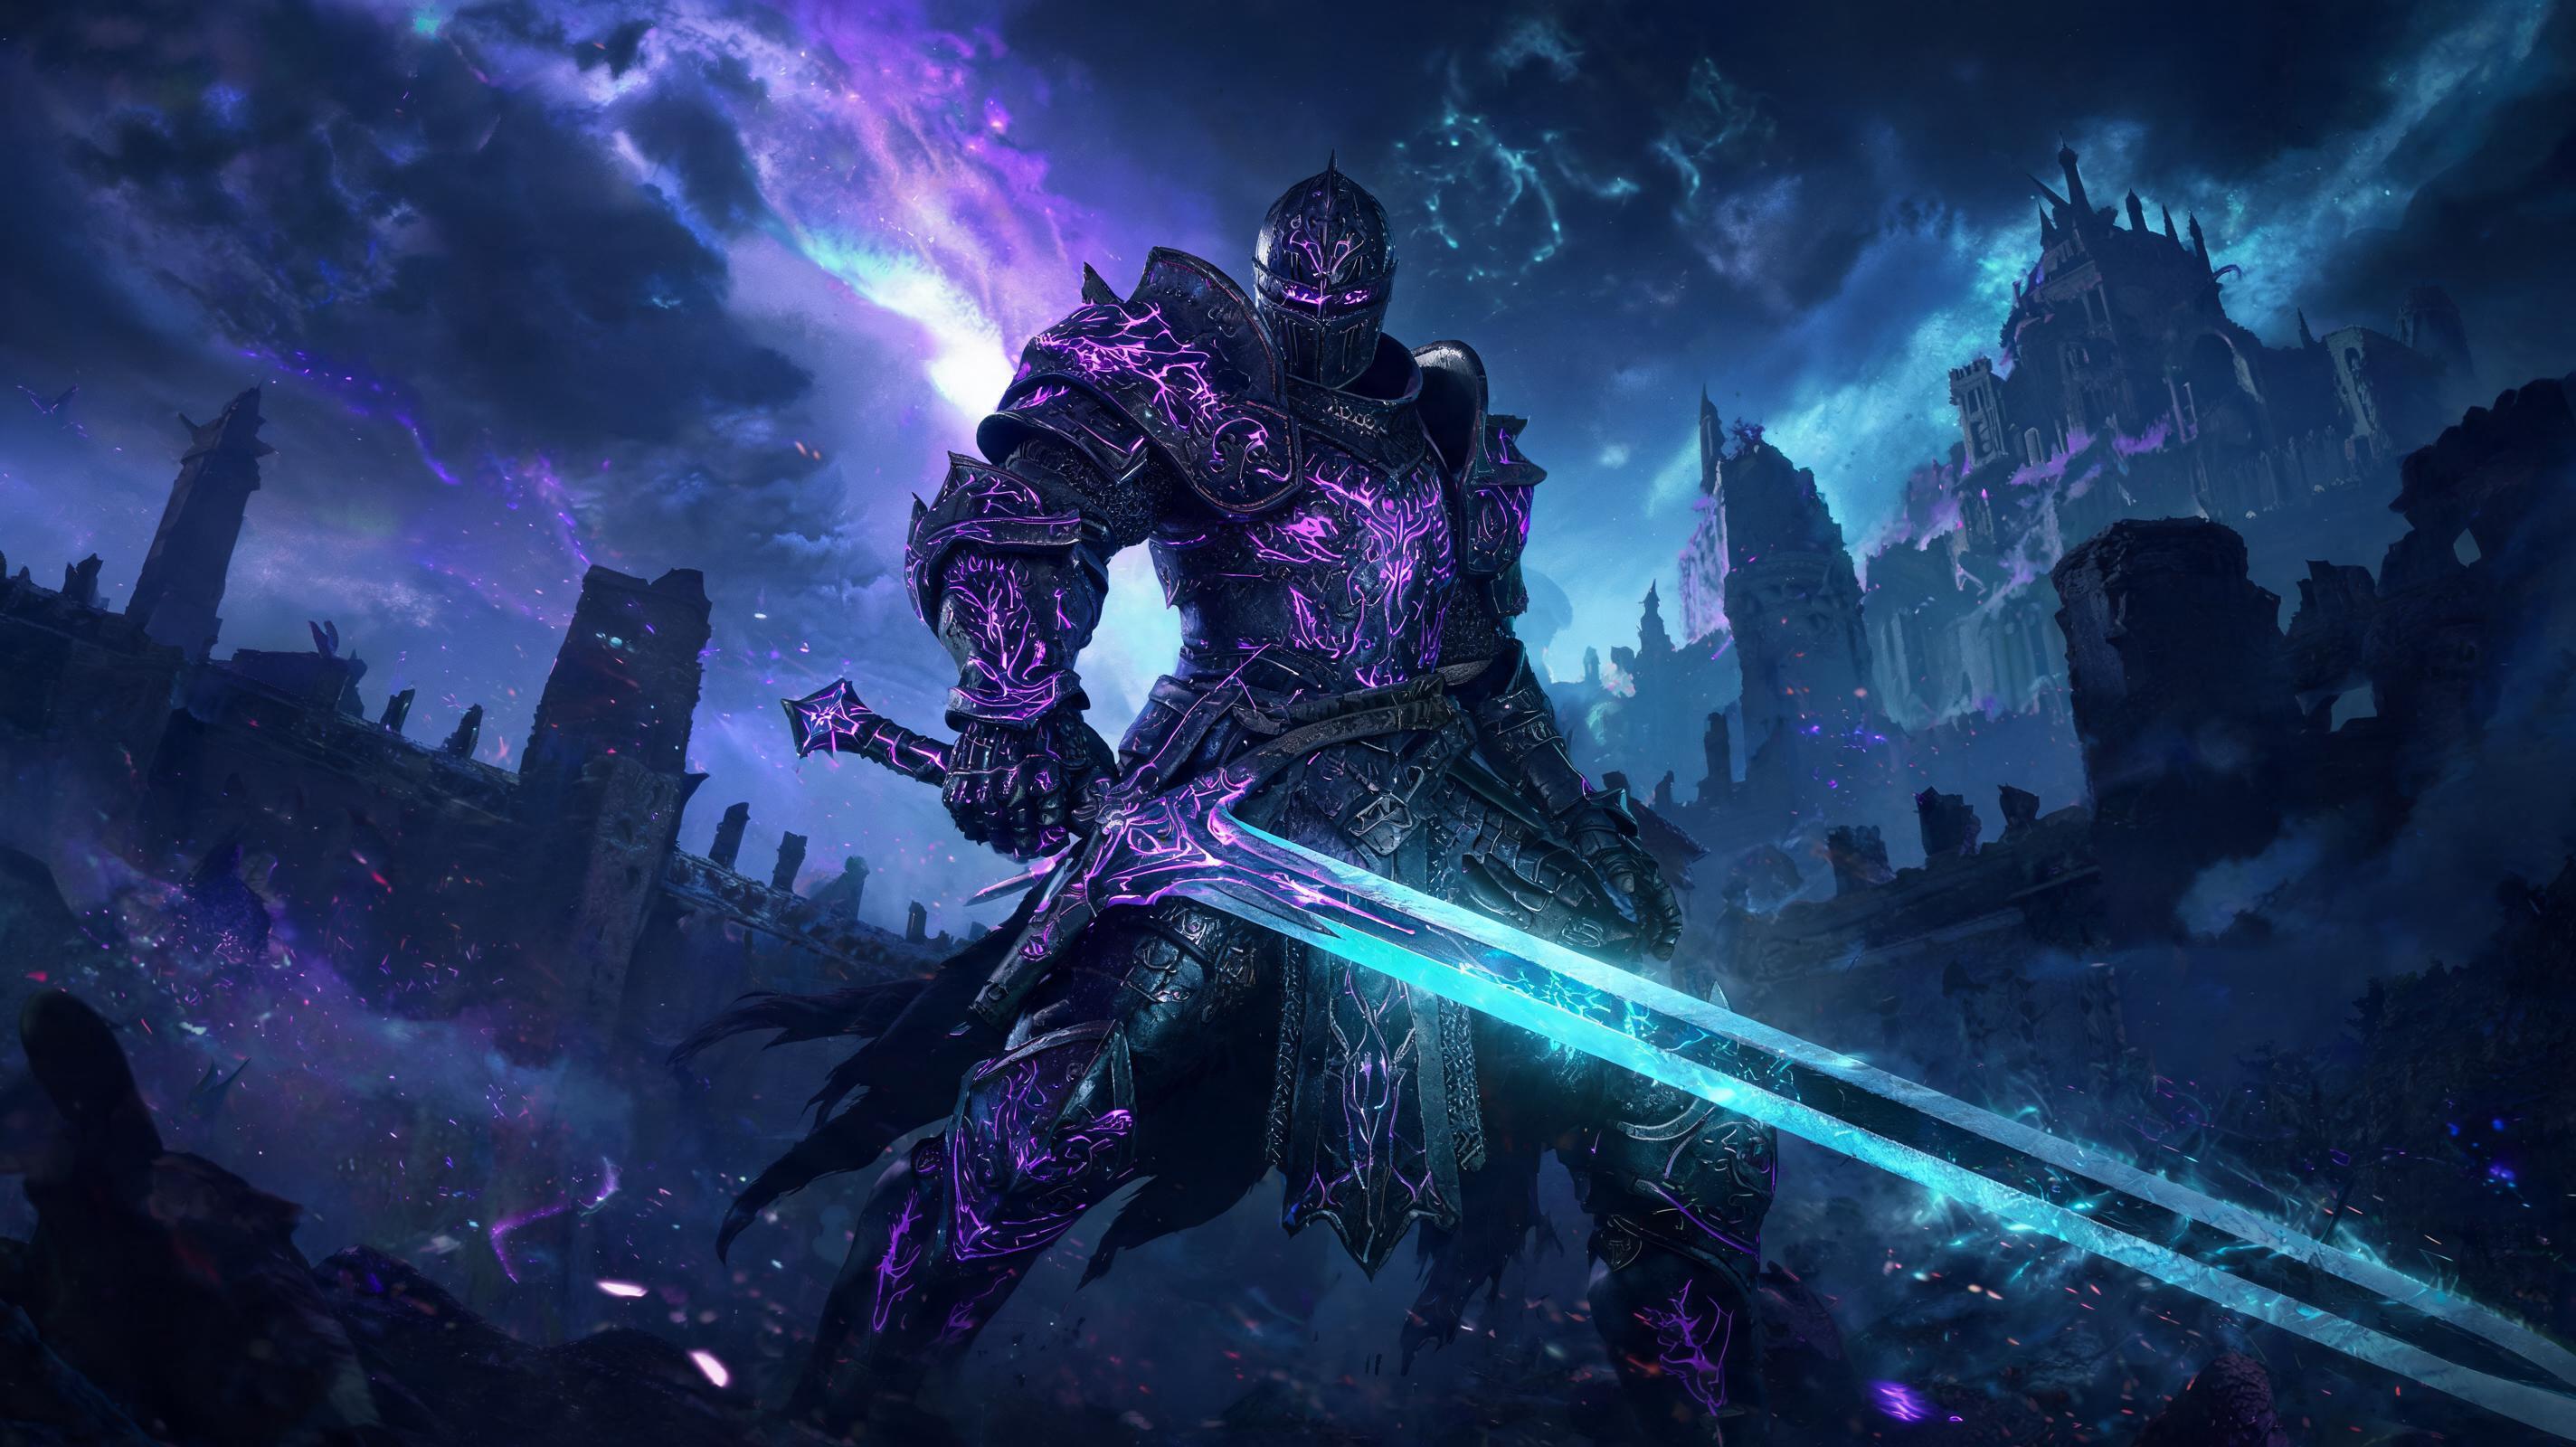
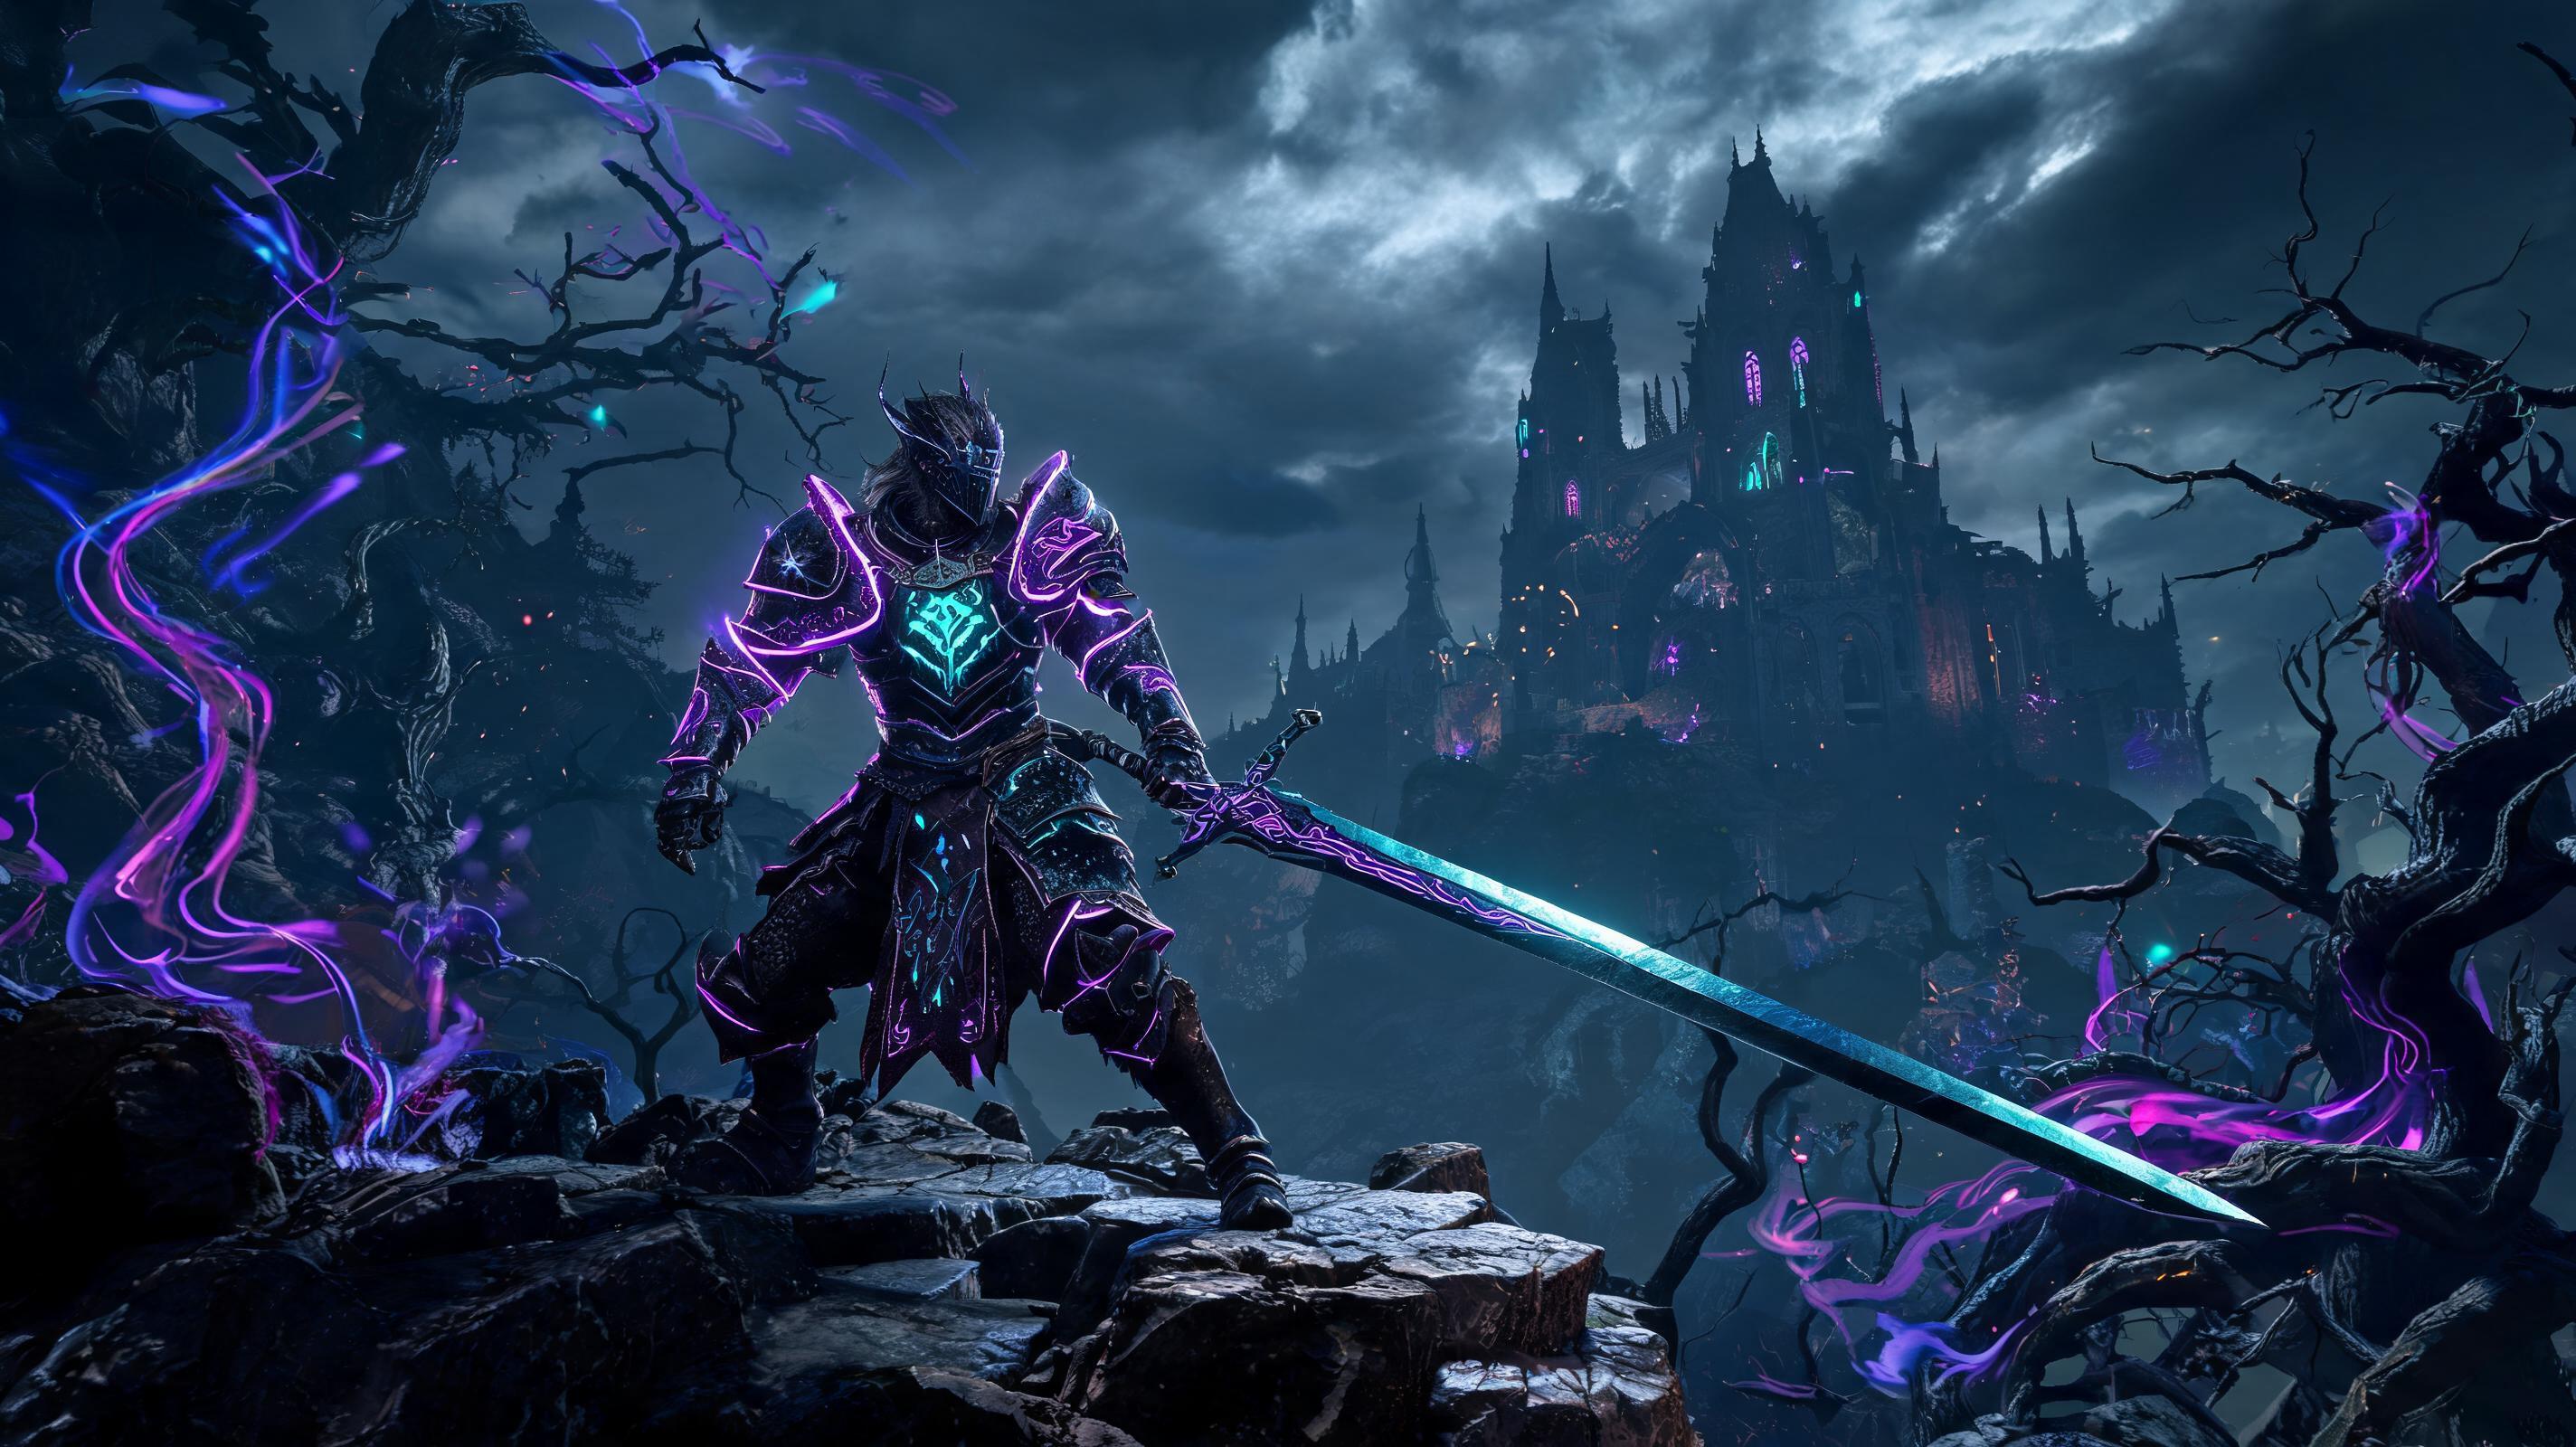
Boss Overview: What Makes Malenia Blade of Miquella The Hardest Boss In Elden Ring?
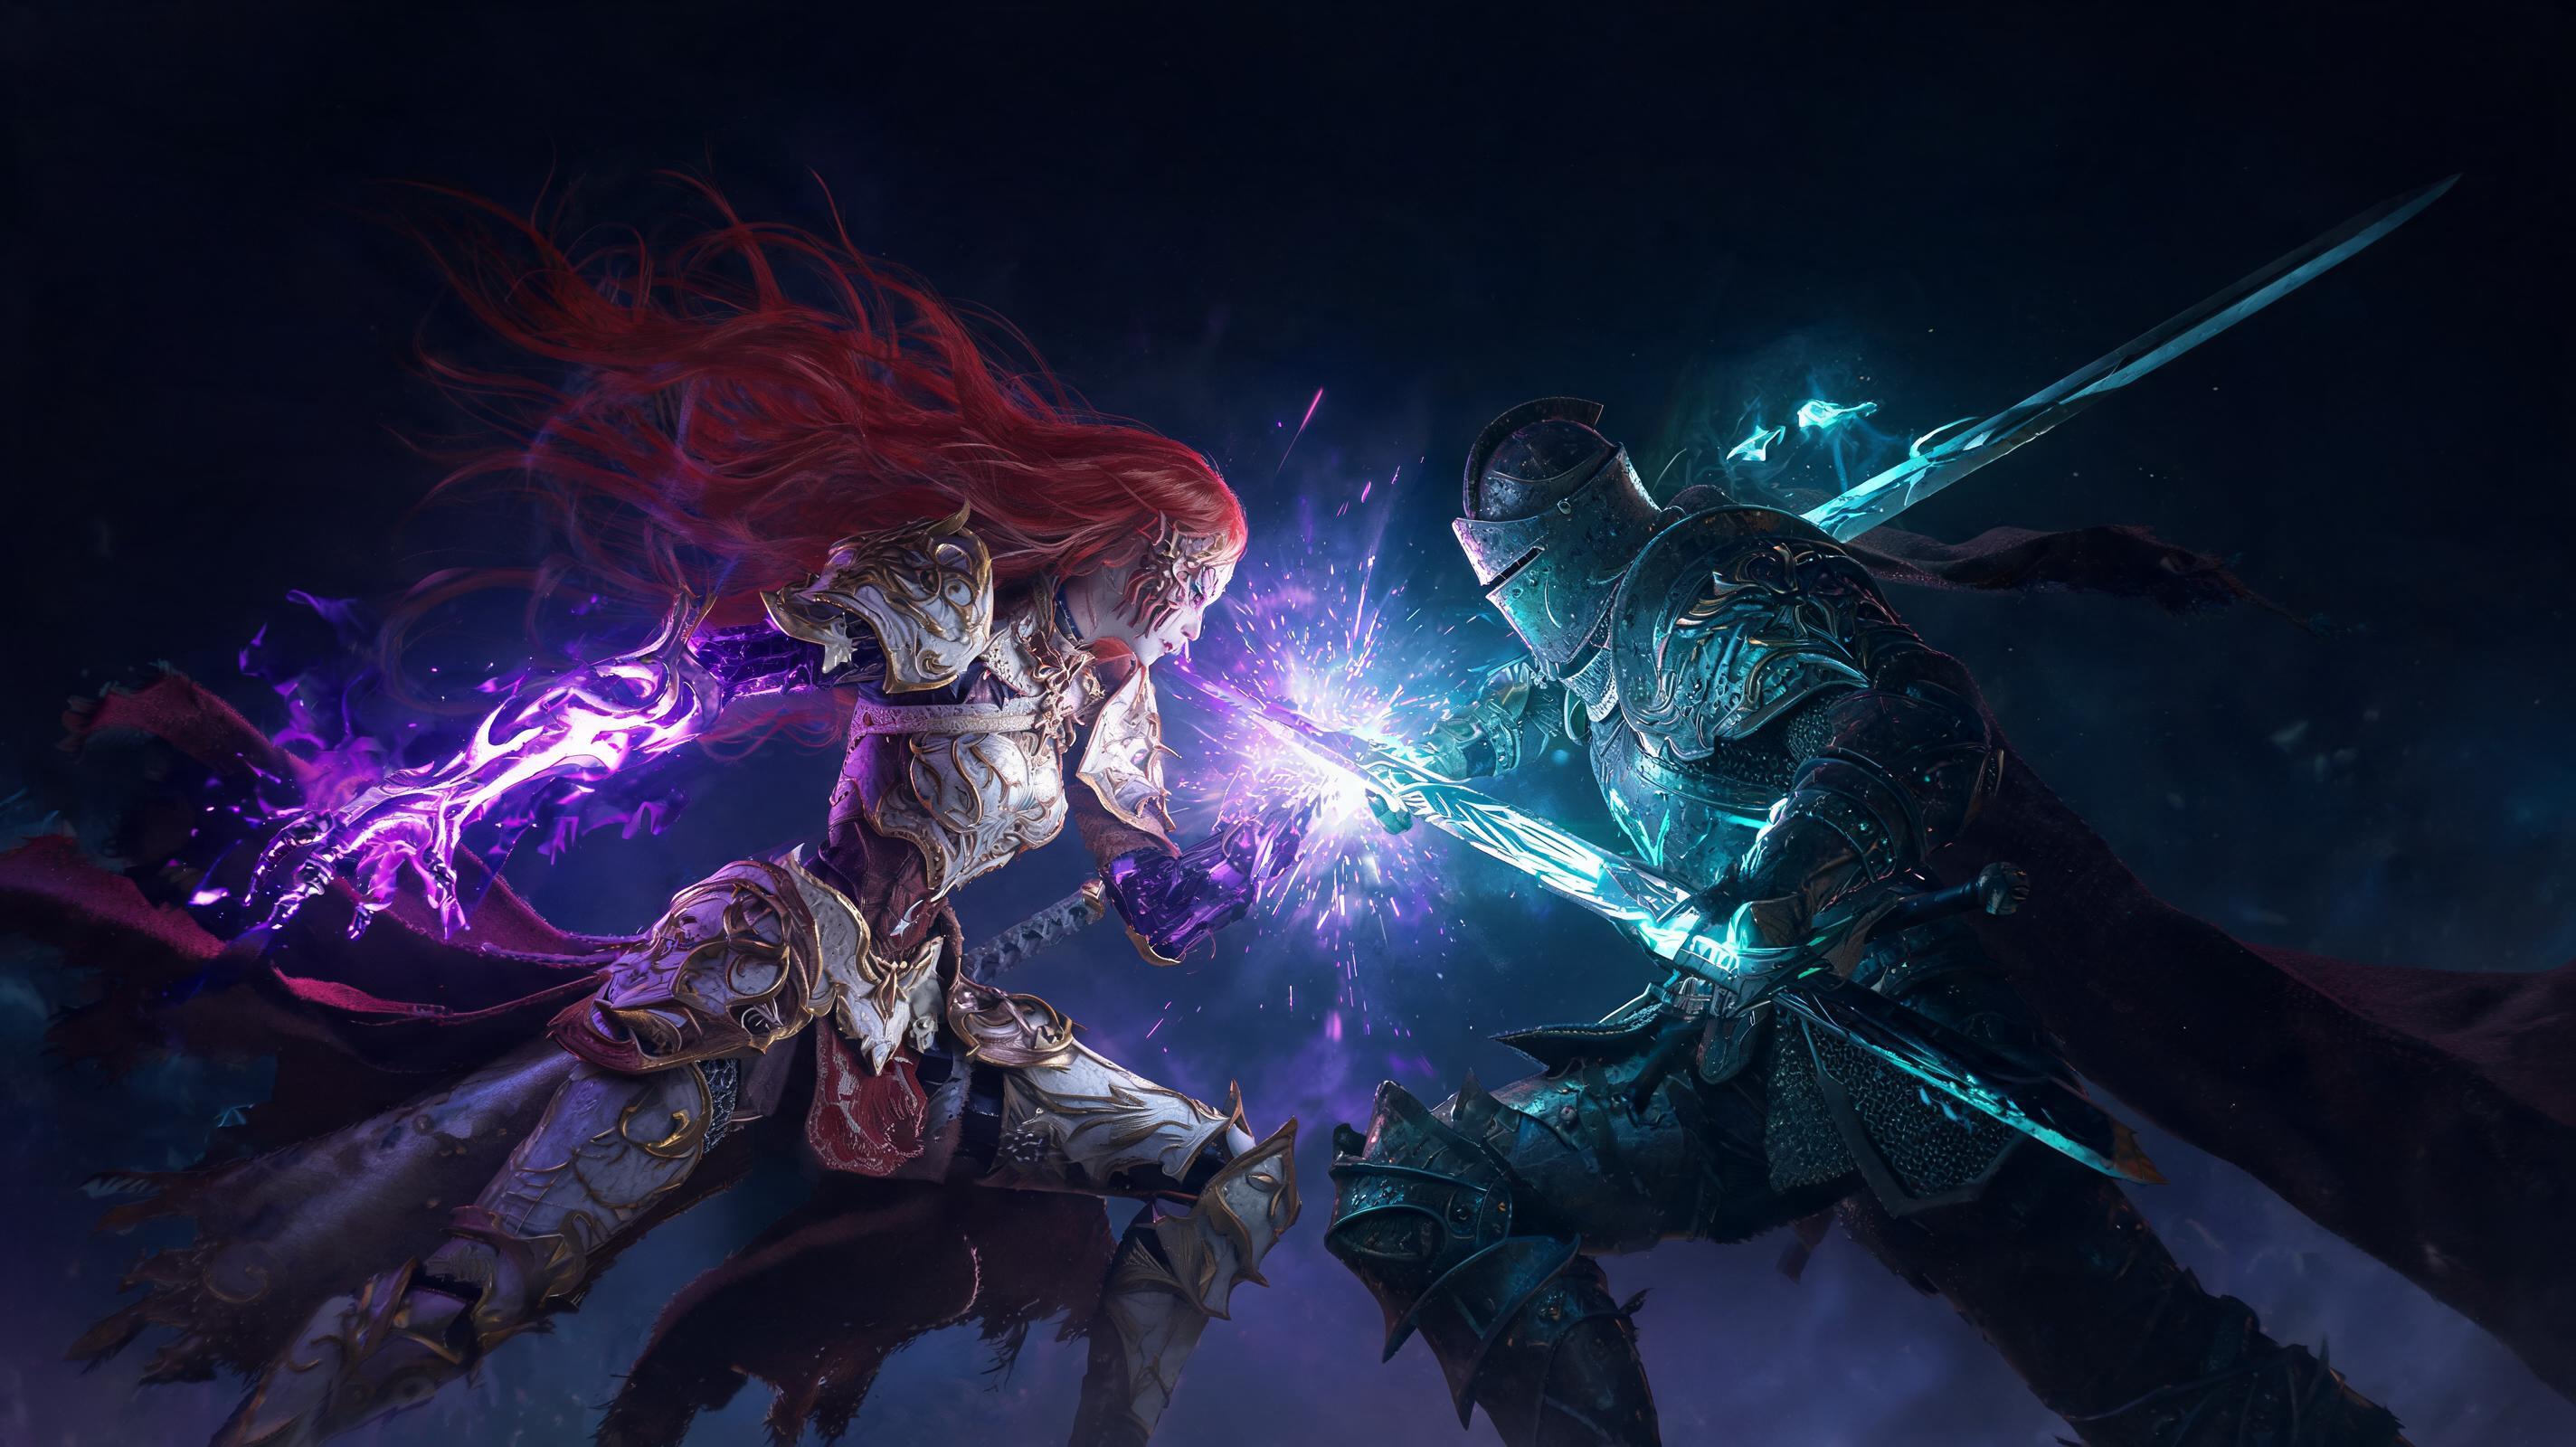
You already know Malenia’s reputation – she’s the pinnacle FromSoftware boss design, and the gatekeeper for 99% of players trying to 100% Elden Ring. Located at the bottom of Elphael, Brace of the Haligtree (you’ll need both halves of the Haligtree Secret Medallion to get there), this is a 2-phase boss fight with a unique healing mechanic that punishes every single mistake you make. Unlike every other boss in the game, Malenia heals any time she hits you – even if you block the attack. That means a single misplay can turn a 30-minute perfect run into a restart, which is why you need a rock-solid boss strategy instead of just spamming roll.
Here’s the hard data you need going in:
| Stat | NG Base Game | NG+ |
|---|---|---|
| Phase 1 HP | 18750 | 37500 |
| Phase 2 HP | 26029 | 52058 |
| Total HP | 44779 | 89558 |
| Physical Defense | 112 | 120 |
| Slash Damage Negation | 15% | 18% |
| Strike Damage Negation | -10% | -8% |
| Rot Damage Vulnerability | 120% | 120% |
| Waterfowl Dance Physical Damage (full combo) | ~2100 | ~4200 |
Key mechanic reminder: Malenia’s lifesteal is 30% of damage dealt on a hit, 20% if the attack is blocked. A full unblocked Waterfowl Dance heals her for ~630 HP in NG – that’s almost a third of Phase 1 HP gone from one mistake. Your entire goal is to avoid getting hit at all costs, and only punish when you’re 100% certain you won’t get traded.
Pro Tip: If you’re going for a no damage Malenia kill, this lifesteal mechanic doesn’t matter – but the combo timings are so tight that even top players mess up 1 out of 3 attempts. Master the punish windows first, then go for no damage.Recommended Loadout & Setup: Tier List For Weapons, Talismans, & Flasks
We’re skipping all the trash builds here – you already know what 60 Vigor is. Below is my definitive tier ranking for the best options to beat Malenia in 2025, updated for all patches and elden ring dlc meta shifts:
Weapon Tier List (Melee)
| Tier | Weapon | Why It Ranks |
|---|---|---|
| S | Dark Moon Greatsword | Freezing AOE proc, long range, staggers Malenia consistently, 450+ damage per fully charged heavy. Stops her from spamming fast combos by keeping her staggered. |
| S | Bloody Helice | Fast thrusts, high critical damage, 320 damage per hit, can punish even small windows without overextending. Perfect for aggressive players. |
| S | Starscourge Greatsword | Stagger damage is off the charts, pull staggers her out of most attacks. 500+ damage per heavy, melts poise like butter. |
| A | Rivers of Blood | High Corpse Piler DoT, 600+ damage per proc, but requires you to get in close. Great offhand for finishing, risky as a primary. |
| A | Winged Scythe | Holy damage, good range, but slower than Dark Moon. Fine for faith builds, just not top tier. |
| B | Greatsword (Colossal) | High damage, but too slow. You’ll miss punish windows more often than not. |
| C | Any Dual Katanas (Non-Rivers) | Too short range, you’ll get traded constantly. The tiny damage per hit doesn’t make up for the risk. |
| D | Any Sorcery Incantation Spam Build | Malenia closes distance faster than you can cast, and one-shots you before you get off a third Comet Azur. Just don’t. |
Talisman & Flask Setup (Meta 2025)
- Must-Have Talismans: Green Turtle Talisman (stamina recovery is non-negotiable, you’re rolling 90% of the fight), Radagon’s Soreseal (extra Vigor/Endurance, the defense hit is worth it if you play tight), Axe Talisman (20% extra charged heavy damage, broken on Dark Moon/Starscourge)
- Fourth Talisman Option: S Tier = Erdtree Favor +2 (extra HP/stamina), A Tier = Claw Talisman (jump attack damage boost if you use that playstyle), B Tier = Crimson Amber Medallion +2 (extra HP for safety)
- Physick Mix (Non-Negotiable): Crimsonwhorl Bubbletear (negates 50% damage for 15 seconds, will save you from Waterfowl Dance one-shots) + Opaline Bubbletear (another 20% damage reduction, stacks to 70% total. A full Waterfowl Dance will only take 30% of your 60 Vigor HP with this combo)
- Flask Allocation: 10 Flasks of Crimson Tears, 1 Flask of Wondrous Physick, 0 Cerulean. You don’t need extra FP for this fight – even Dark Moon only uses 2 FP per proc. If you’re running a low FP build, swap 1 crimson for cerulean, that’s it.
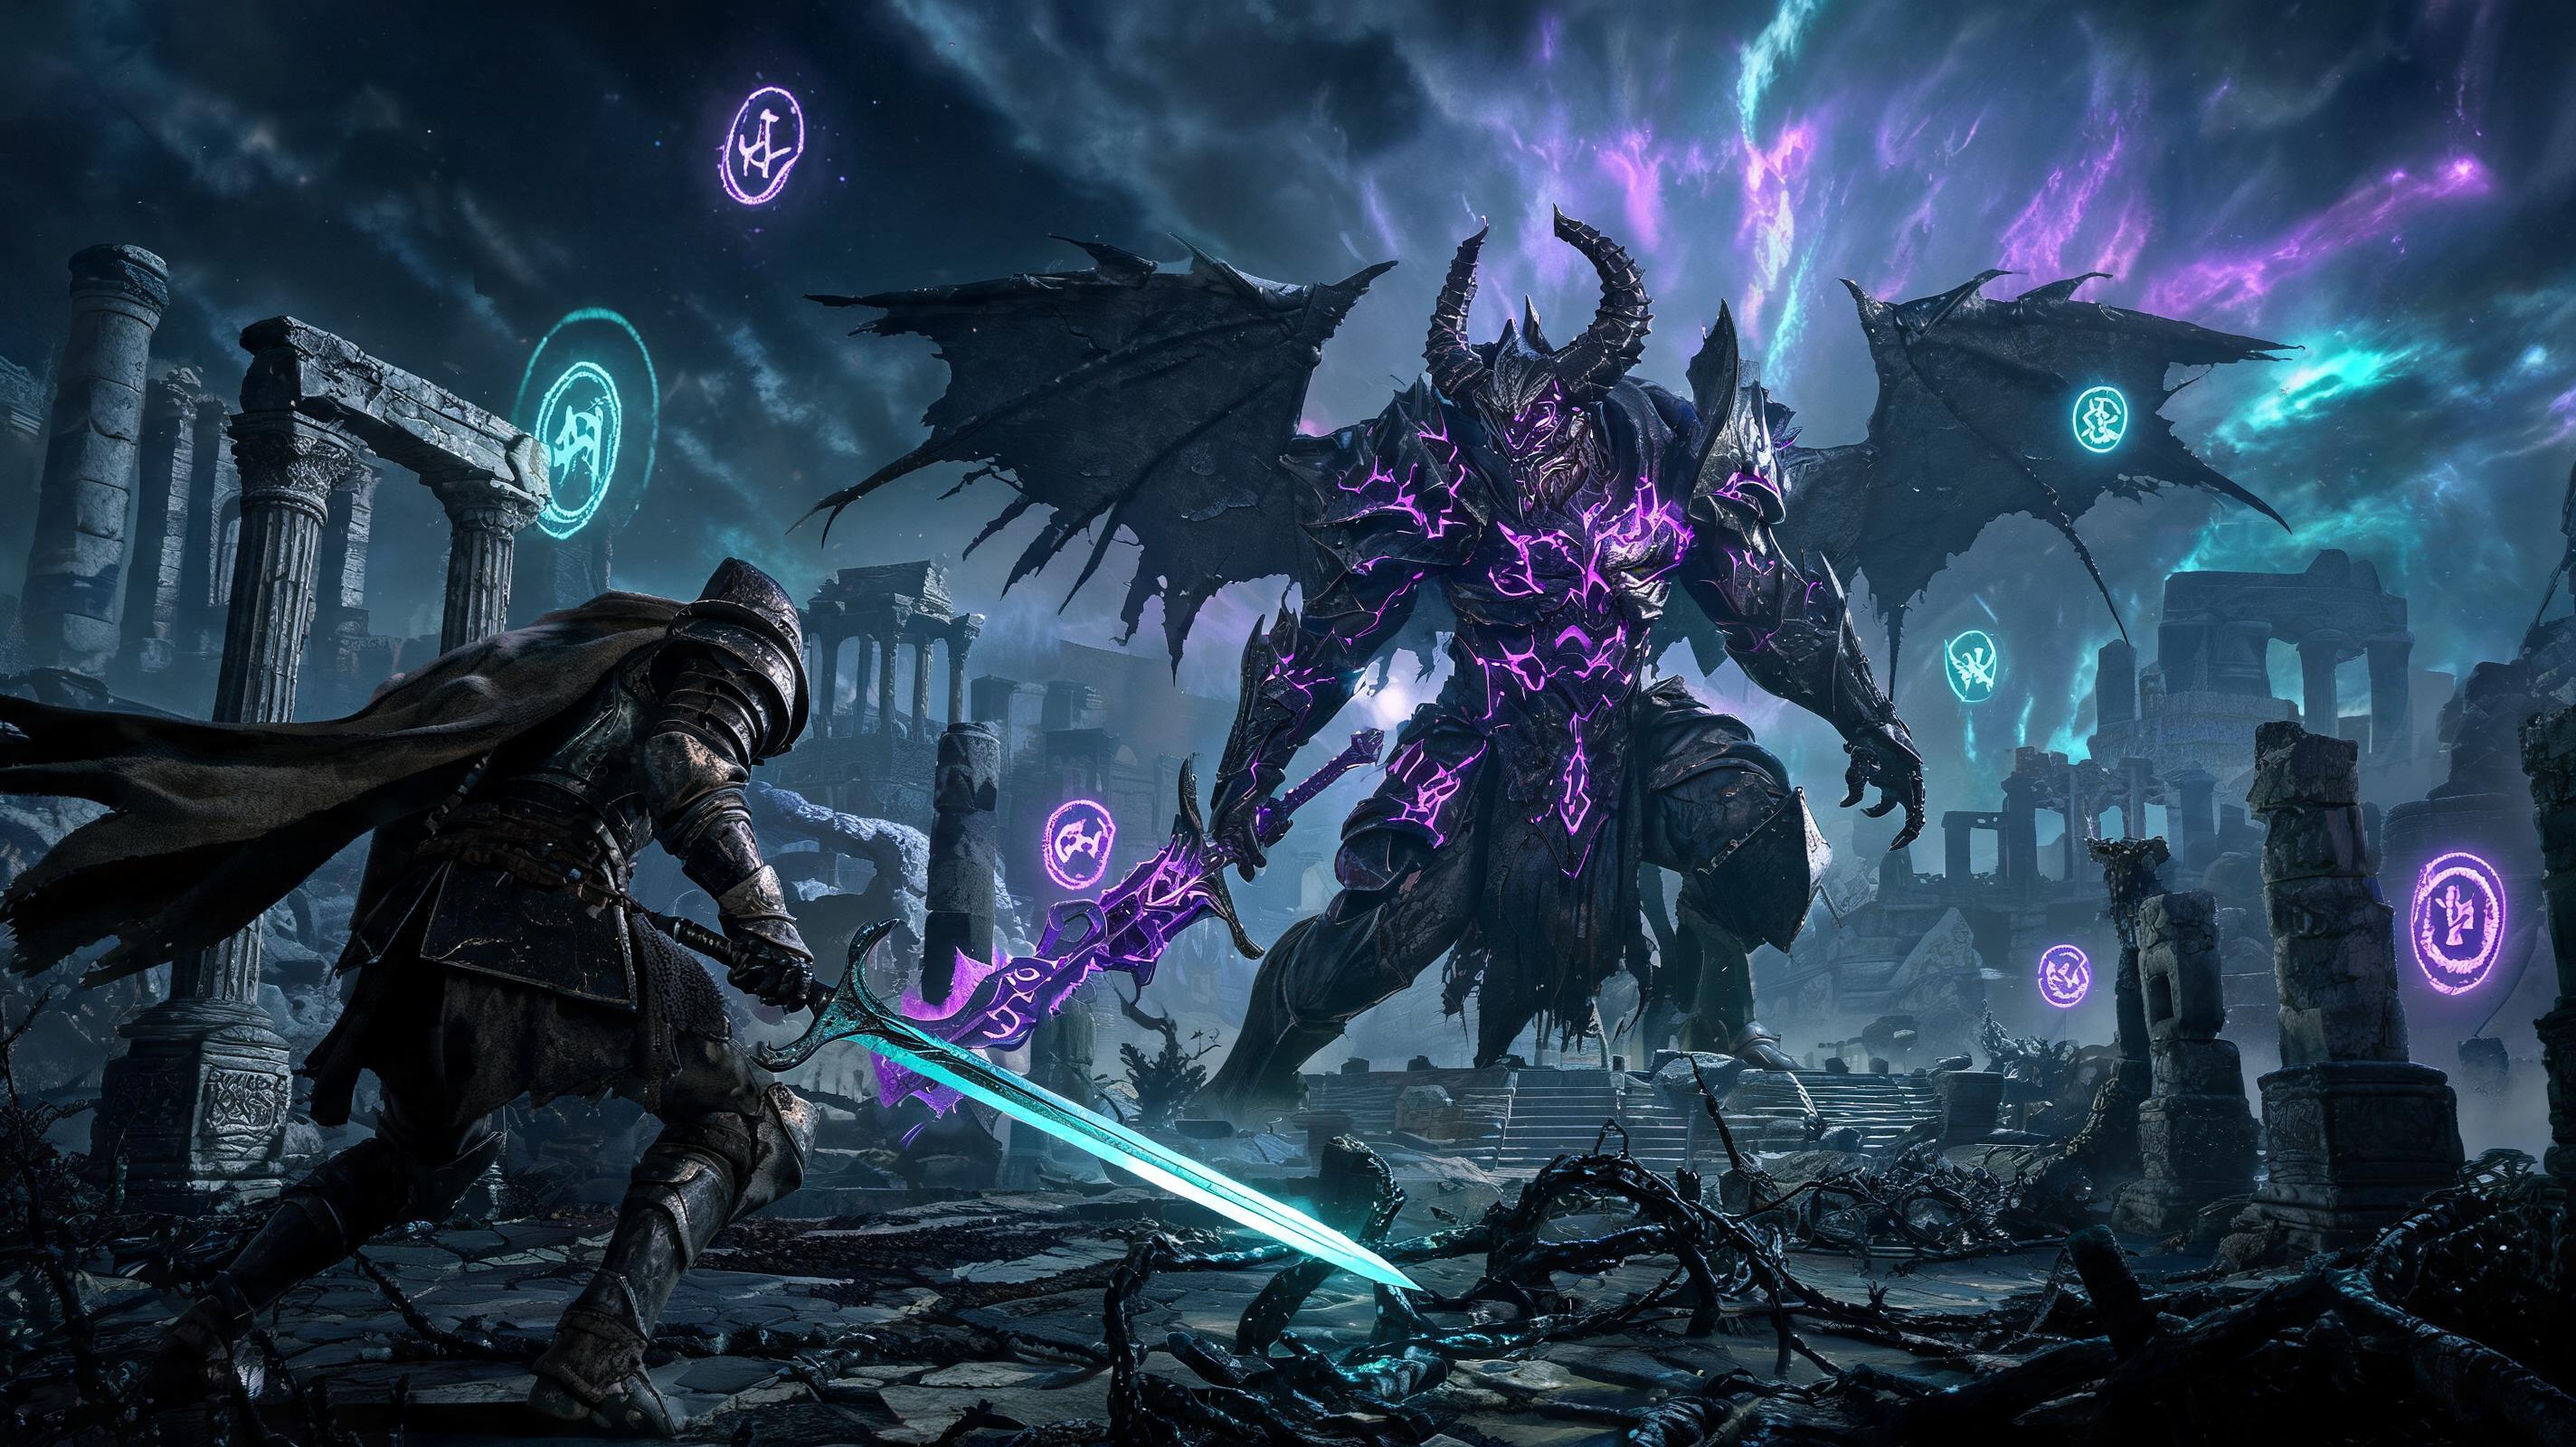
Phase-by-Phase Breakdown: How to Beat Malenia Step By Step
Phase 1: Malenia, Blade of Miquella (18750 HP NG, 37500 NG+)
Phase 1 ends when you drop her to 0 HP, which triggers the Phase 2 cutscene. Your goal here is to get through Phase 1 without taking any damage if possible – any heal she gets carries over to Phase 2, so even a single mistake here makes the second half that much harder.
Malenia always opens the fight with one of two attacks: a slow vertical slash, or a running thrust. If she opens with vertical slash, roll through it and punish with one charged heavy. If she opens with thrust, roll to the side and punish with one light attack – don’t get greedy. That’s your first free 400-500 damage right out the gate.
The big threat in Phase 1 is Waterfowl Dance, which she always triggers when you get her down to ~70% HP (13125 HP NG) unless you’re hugging the arena edge. Most players don’t know that there’s a consistent skip for this first Waterfowl Dance that works 9/10 times:
- When you hit the 70% HP threshold, immediately sprint full tilt to the back-left corner of the arena (from where you spawned)
- Hide behind the large root that sticks out of the ground there
- Malenia will jump into the air for Waterfowl Dance, but her pathfinding gets stuck on the root. She’ll either cancel the combo entirely, or only get off the first hit before dropping down.
That’s a 600+ HP heal skipped right there – I use this trick in every run, it never gets patched. If you don’t pull off the skip, don’t panic: the correct roll timings for Waterfowl Dance are:
- First flurry: Wait 1.2 seconds after she jumps, roll towards her (not away – rolling away gets you hit by the second flurry 100% of the time)
- Second flurry: Roll towards her again immediately after the first hit connects near you
- Third airborne slash: Wait 0.8 seconds, roll towards her, then roll away right after to avoid the final slam
After the third slam, you have a 2.5 second punish window – enough for one fully charged heavy attack, or two light attacks. Any more than that and she’ll hit you with a counter slash as soon as she recovers. Stick to the window.
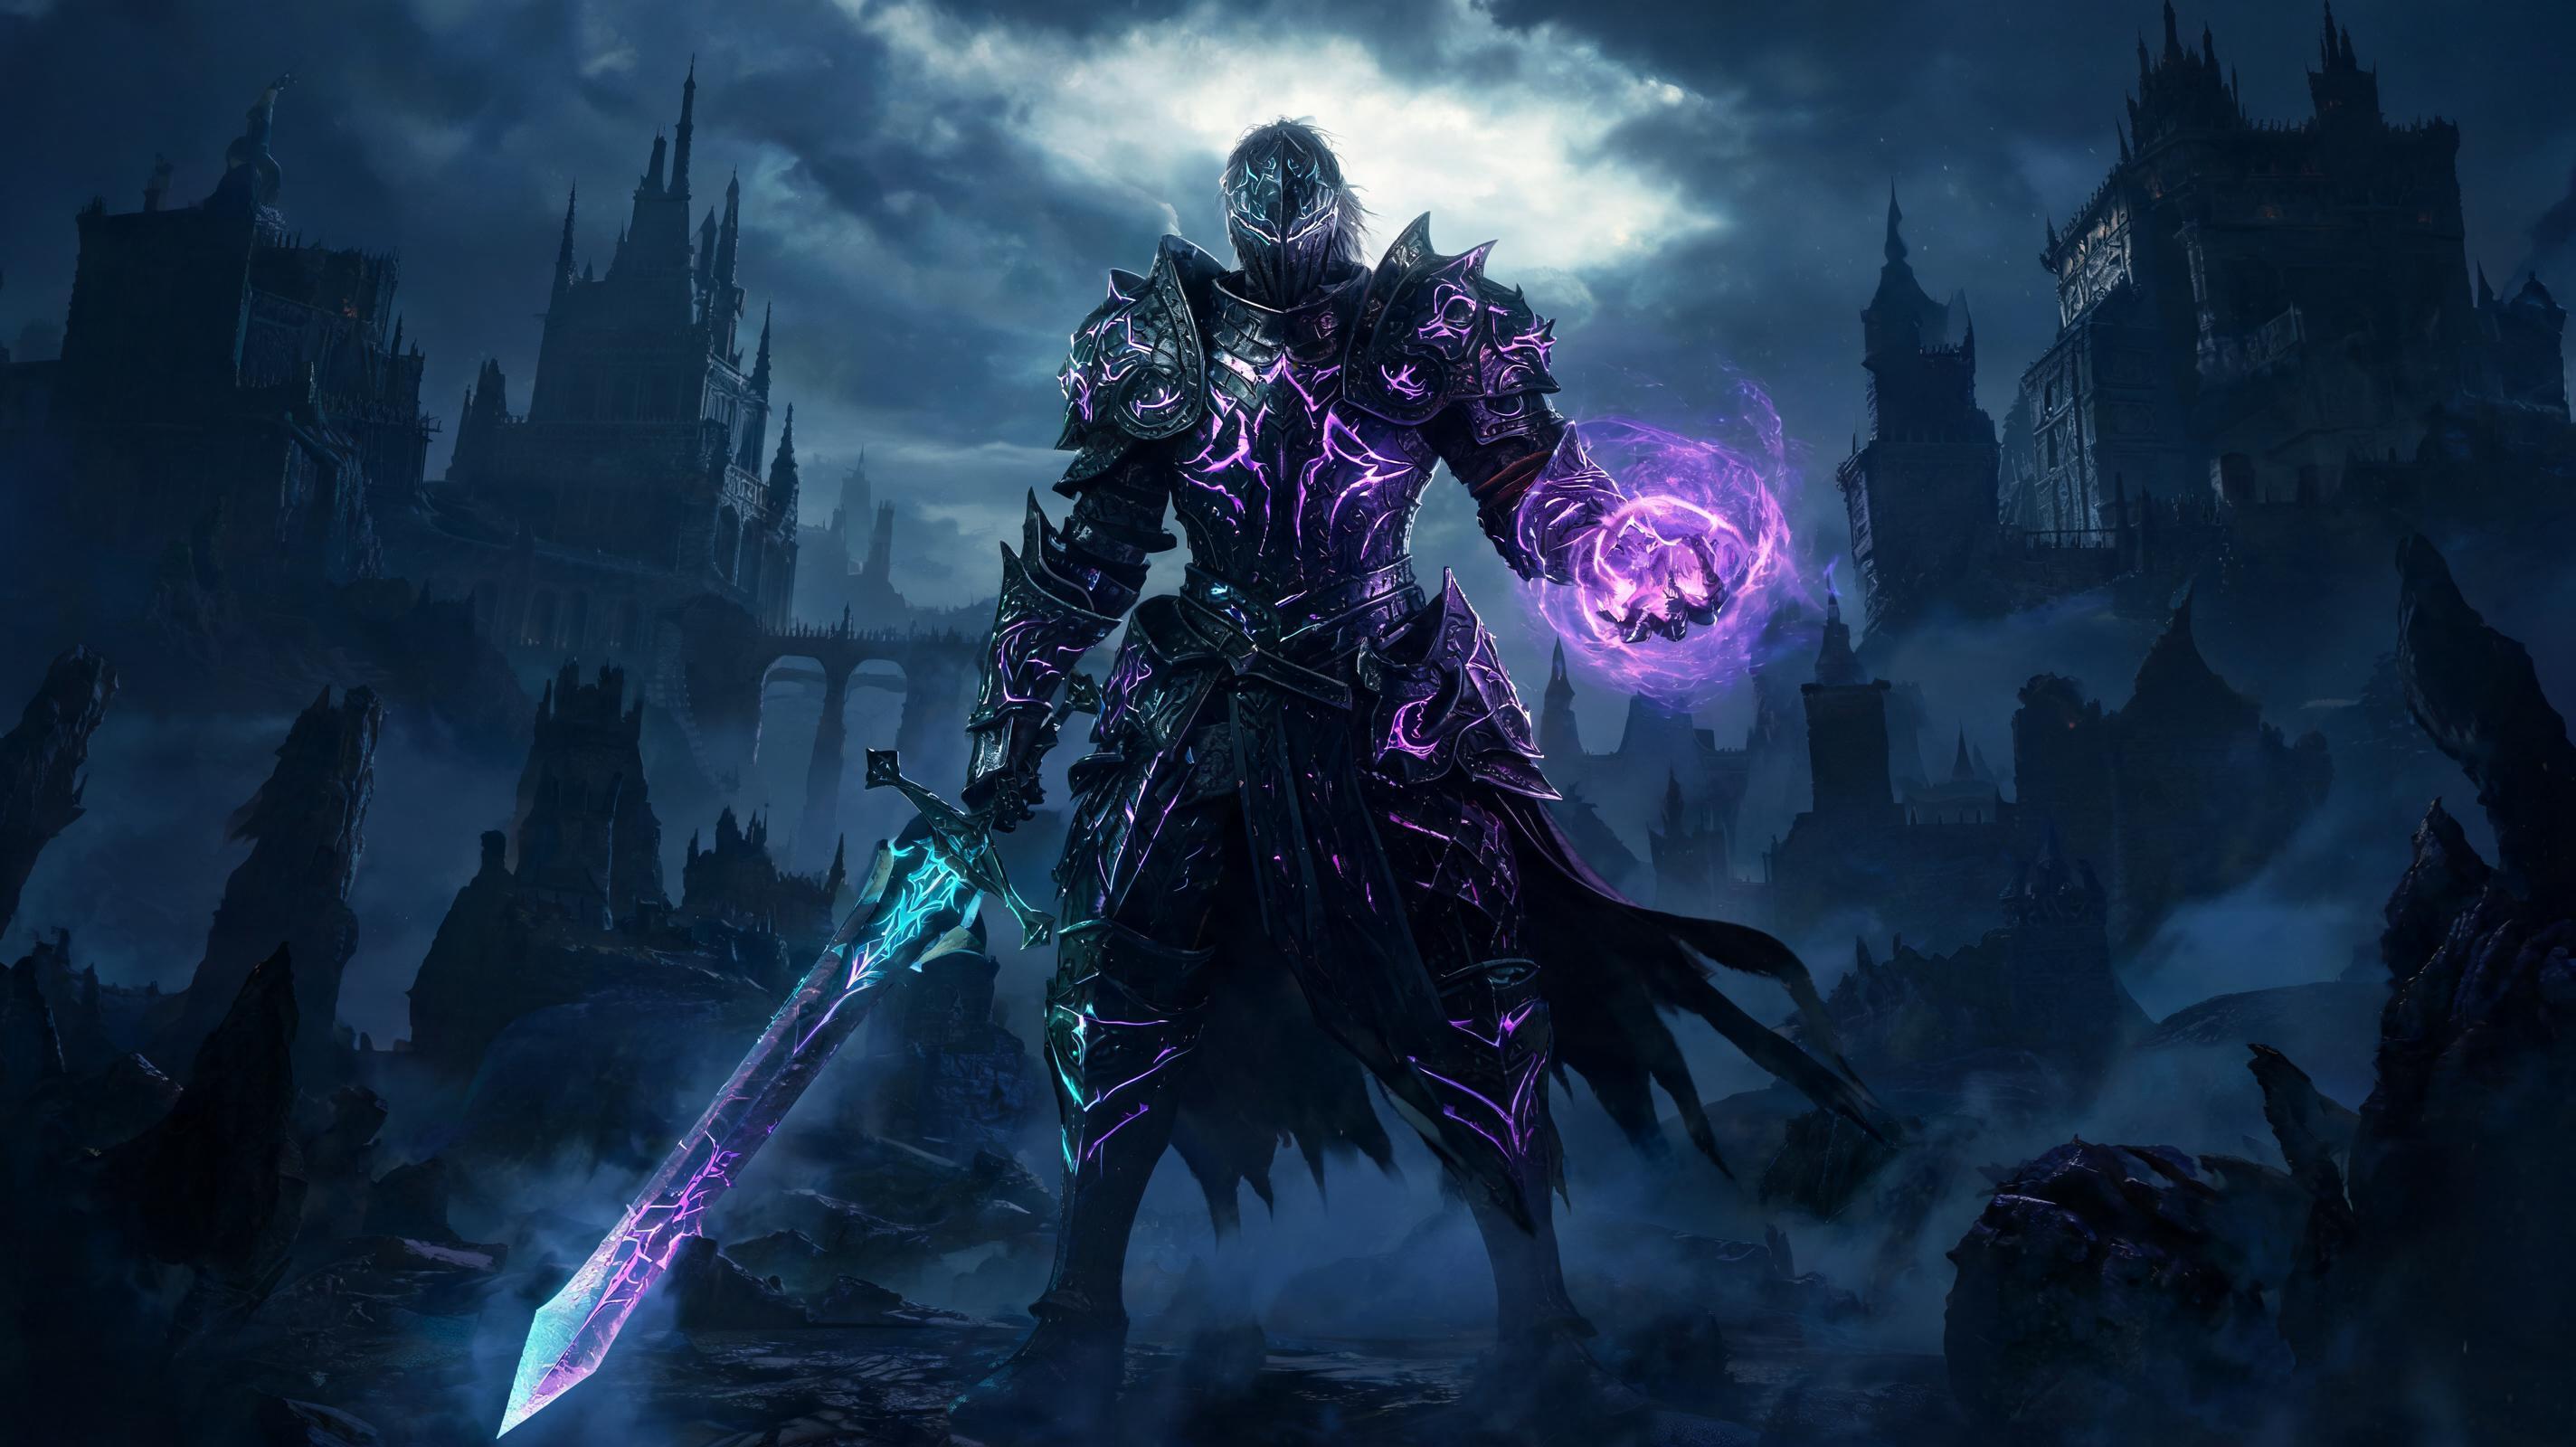
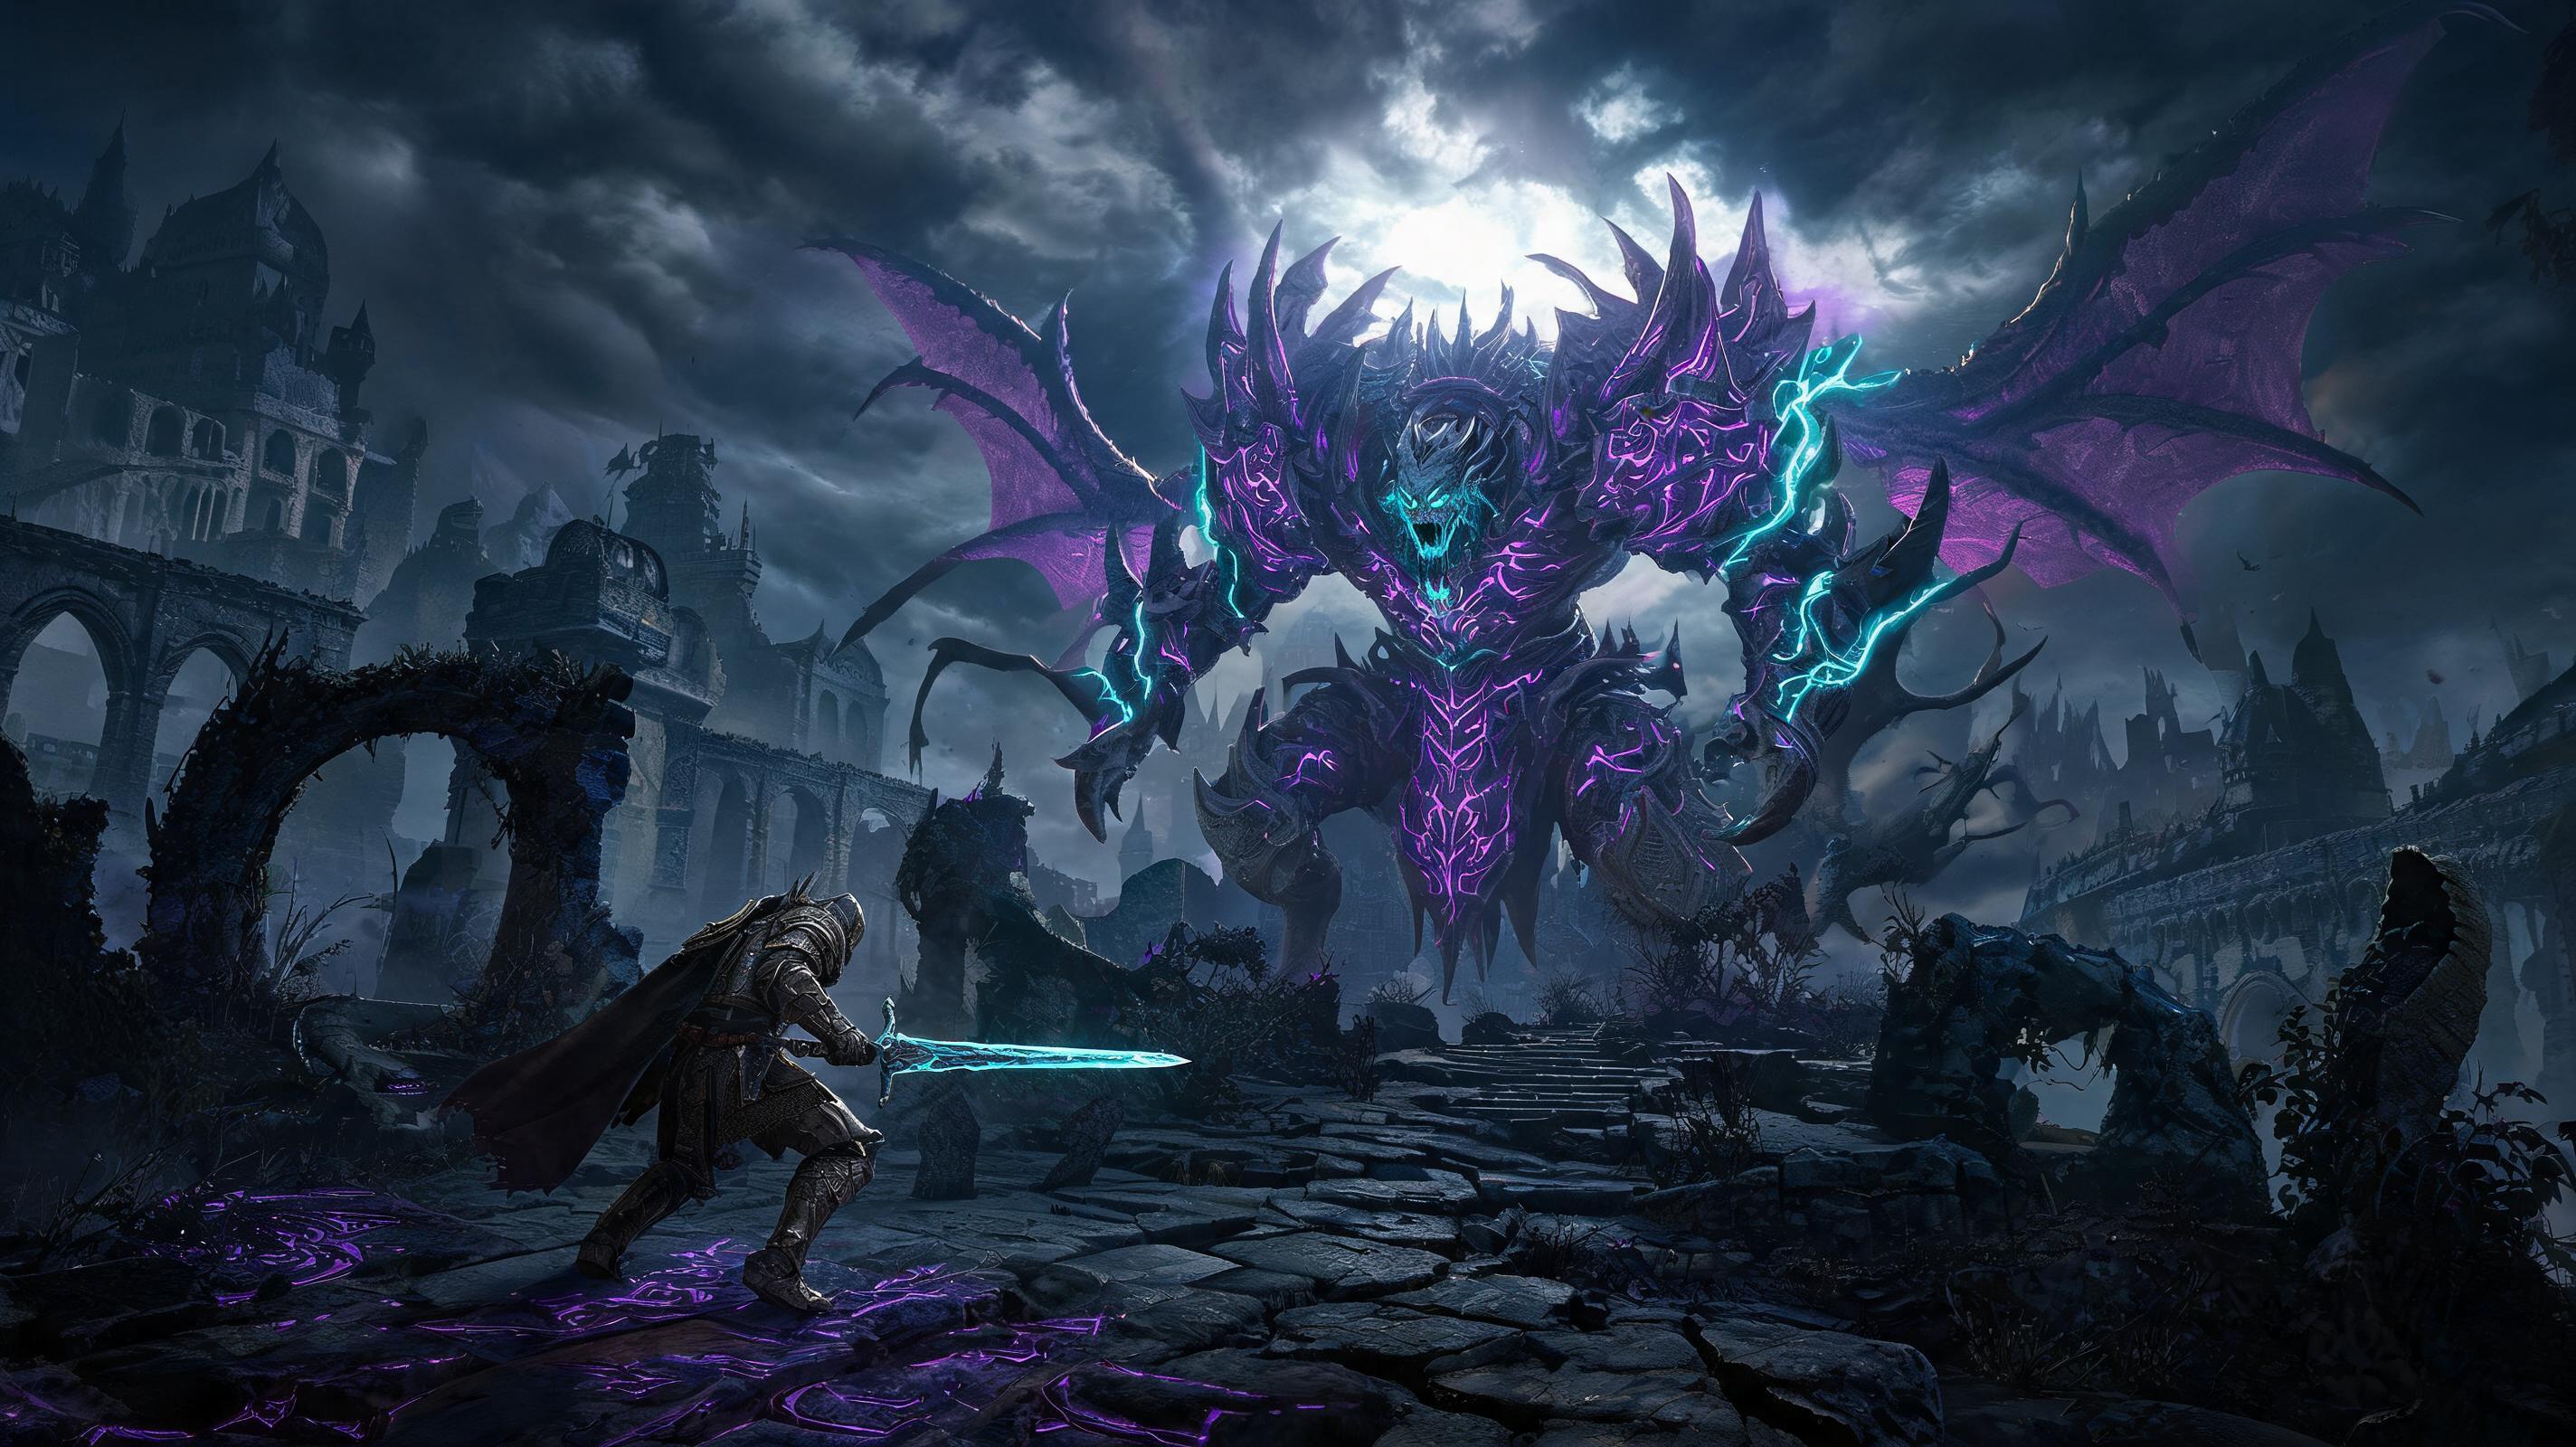
Pro Tip: If you popped your Crimsonwhorl + Opaline Bubbletear at the start of Waterfowl Dance, you can just block the entire combo if you mess up the rolls. You’ll take 30% damage instead of dying, and she only heals for 20% of that damage instead of 30%. It’s a get-out-of-jail-free card for this combo.Phase 2: Malenia, Goddess of Rot (26029 HP NG, 52058 NG+)
Phase 2 starts with a mandatory cutscene, and she always opens with a big AoE rot explosion that deals 500+ damage if you’re in melee range. As soon as the cutscene ends, sprint as far away from her as possible – you have 3 seconds to get out of the blast radius. When the explosion fades, you have a 1.5 second window to get one free hit in before she recovers.
New mechanics in Phase 2: All her attacks deal extra rot buildup (full rot proc is a DoT that deals 20% of your max HP per second for 10 seconds, and you can’t heal through it if you’re at 60 Vigor), she can fly across the arena, and she has a new ultimate attack: Waterfowl Dance Version 2, which adds a fourth flurry and deals 20% more damage than Phase 1’s version.
Her HP threshold for Waterfowl Dance Version 2 is ~50% of Phase 2 HP (13015 NG), so be ready for it as soon as you cross that line. The same roll timings apply, just add an extra roll towards her after the third flurry to dodge the fourth.
Another common new attack in Phase 2 is the floating AoE rot flower: she jumps back, summons a big flower that explodes after 4 seconds. Don’t roll away – roll towards her and get under the flower, it won’t hit you there, and you have a 3 second window to punish with a charged heavy. Most players roll away and waste the entire punish window for no reason.
Attack Pattern Analysis & Punish Windows: Every Attack Breakdown
This is the bread and butter of any good boss strategy – knowing exactly when you can hit her without getting punished. Below is every common attack, with damage values and exact punish windows:
| Attack | Phase(s) | NG Damage (Unblocked) | Correct Counter | Punish Window (Max Hits) |
|---|---|---|---|---|
| Vertical Single Slash | 1/2 | 420 | Roll through to her left side | 1 charged heavy / 2 lights |
| Running Thrust | 1/2 | 480 | Roll to the right | 1 light / 1 heavy if you’re fast |
| Double Slash Combo | 1/2 | 380 / 410 | Roll after second slash | 1 light |
| Jump Slam | 1/2 | 550 | Roll away, then close gap | 1 charged heavy / 2 lights |
| Spin Slash | 1/2 | 490 | Roll away from the spin | 1 light |
| Waterfowl Dance (V1) | 1 | ~2100 full combo | Roll towards on first two flurries, roll away on slam | 1 charged heavy |
| Rot Flower Summon | 2 | \