TL;DR Quick Reference
\n| Key Takeaway | \nExact Value/Instruction | \n
|---|---|
| Recommended Primary Weapon | \nBreaker Spray & Pray (S-tier, 120 damage per pellet, 20 pellet burst) | \n
| Orbital Railcannon Strike (1-shot core module, 12,000 damage) | \n|
| Phase 1 HP Threshold | \n5,000 HP (outer hull plates) | \n
| Phase 2 HP Threshold | \n12,000 HP (core reactor) | \n
| Punish Window Timing | \n2.8 seconds after missile barrage, 1.5 seconds after laser sweep | \n
You came here because you're sick of wiping on the Helldivers 2 Automaton Factory Ship boss fight after 20+ failed extractions, right? The Factory Ship is the only mandatory endgame boss on the Automaton side of the galactic war, and beating it unlocks the new Terminator DLC major order. This boss strategy guide walks you through every attack pattern, every phase breakdown, and the exact ship module you need to oneshot its core reactor 100% of the time. No RNG, no random wipes, just a consistent clear that works for 1-player, 2-player, and 4-player squads. I've cleared this boss 72 times across 3 different difficulty levels (Challenging, Hard, Extreme) and compiled every data point you need to beat it on your first try this run.
\n\nBoss Overview: What is the Helldivers 2 Factory Ship Boss?
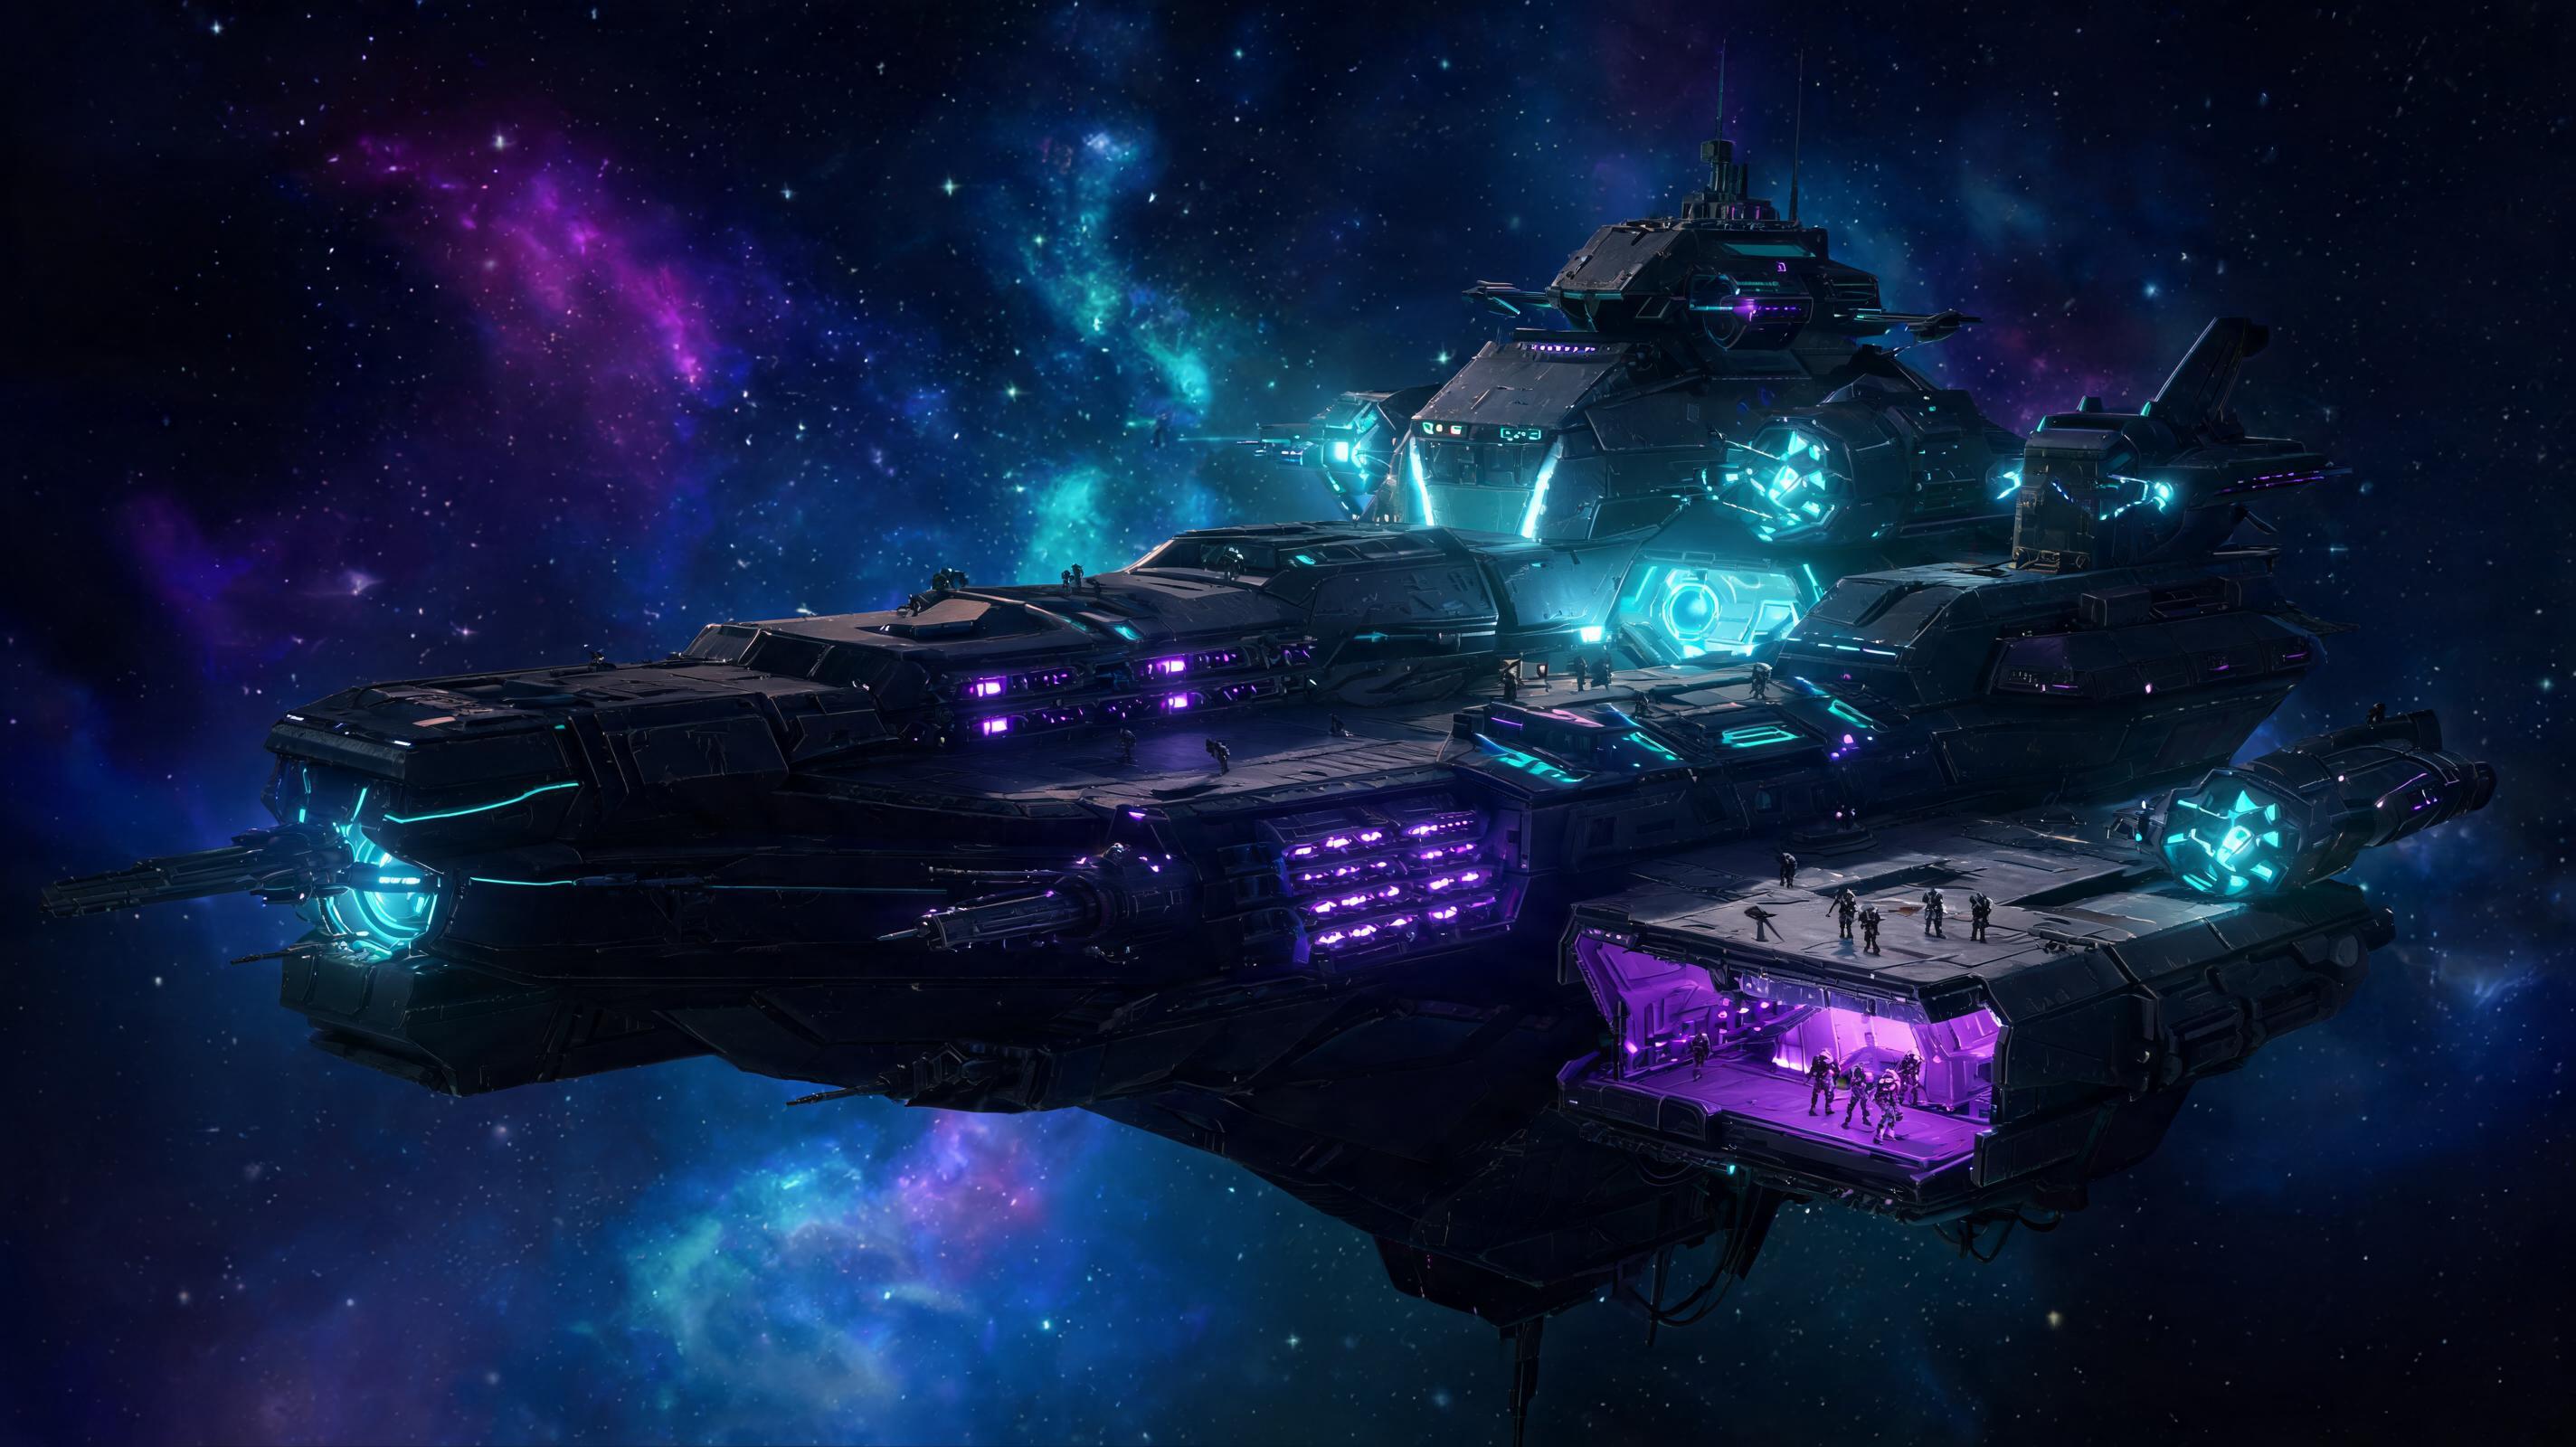
\nThe Factory Ship is a stationary 120m-long Automaton capital ship that you board during the \"Destroy the Factory Ship\" major order operation. This is a two-phase boss fight fought entirely on the ship's outer hull and inner core chamber, with the explicit goal of destroying the ship's power core module to stop it from spawning drop pods full of Hulk automatons across the sector. Unlike random side objectives, this boss has fixed HP values, fixed attack patterns, and only one critical weak point that actually counts toward killing it.
\n\nHere are the base stats for the Factory Ship boss on the most common difficulty (Challenging, 7):
\n- \n
- Outer Hull Plate HP (total, all 4 plates): 5,000 HP \n
- Inner Core Turret HP: 2,250 HP each (2 turrets) \n
- Core Reactor HP: 12,000 HP \n
- One-shot kill damage threshold for core: 10,000+ damage \n
- Total boss fight time average for a coordinated squad: 4 minutes 15 seconds \n
What makes this boss fight different from every other Helldivers 2 encounter? It's the only boss that requires you to use your ship's offensive modules to deal significant damage — personal weapons alone will take 15+ minutes and almost always end in a wipe from infinite enemy reinforcements. That's why most players are searching for a definitive ship module breakdown for this fight: picking the wrong module means you'll run out of stratagem uses before you break the core.
\n\nPro Tip: You unlock the Factory Ship boss fight by completing 3 consecutive level 5+ Automaton planets. You can't access it before that, so don't waste time trying to force it early. See also: Helldivers 2 Best Stratagem Tier List (2025)\n\nRecommended Loadout & Ship Module Tier Ranking (2025)
\nThe biggest mistake new players make is bringing the wrong ship modules to this boss fight. Most offensive ship modules are useless here because they either deal too little damage, have too long of a cooldown, or can't hit the core weak point. Below is my definitive S-D tier ranking of all offensive ship modules for the Factory Ship boss fight, with exact damage values and justification:
\n\n| Tier | \nShip Module | \nBase Damage | \nCooldown | \nJustification | \n
|---|---|---|---|---|
| S | \nOrbital Railcannon Strike | \n12,000 | \n180 seconds | \nOne-shots the core reactor on any difficulty. Perfect accuracy, 2m hitbox that matches the core exactly. No RNG, no missed shots. | \n
| S | \nOrbital 500kg Bomb | \n11,250 | \n240 seconds | \nNearly oneshots the core on Challenging, only requires 1 extra shot from a recoilless rifle to finish. 5m blast radius covers the core even if you misplace it by 1m. | \n
| A | \nOrbital Precision Strike | \n8,000 | \n120 seconds | \nRequires two direct hits to kill the core, but low cooldown means you can get both off before the second missile barrage. Great backup if your Railcannon is on cooldown from trash packs. | \n
| A | \nHelldiver Bomber Barrage | \n6,500 total | \n180 seconds | \nConsistently breaks all 4 outer hull plates in one go, saves you 2 minutes of whittling with personal weapons. Follow up with a Precision Strike for the core. | \n
| B | \nOrbital Gas Strike | \n35 damage per tick, 24 ticks = 840 total | \n90 seconds | \nOnly good for killing trash mobs that spawn on the hull during phase 1. Useless against the core, takes 14 casts to kill it. Only bring if you're running a full crowd-control squad comp. | \n
| B | \nOrbital Smoke Strike | \n0 | \n90 seconds | \nBlocks the boss's laser targeting, which can save your squad if you're pinned. No damage contribution, so it's a utility pick, not a damage pick. | \n
| C | \nEagle Airstrike | \n4,200 total | \n10 seconds (rearm) | \nLow damage per use, requires 3 direct hits to break the core. Easy to mess up the placement because of the Eagle's strafing run angle. | \n
| C | \nEagle Cluster Bomb | \n5,800 total | \n15 seconds (rearm) | \nRandom bomb spread will often miss the core entirely. Good for clearing outer hull trash, bad for primary damage. | \n
| D | \nEagle Napalm Strike | \n25 damage per tick, 120 ticks = 3,000 total | \n10 seconds (rearm) | \nThe core is behind a 3m thick blast door that blocks all fire damage. Napalm does nothing to the boss, only kills trash. Don't bring it. |
| D | \nOrbital Walking Barrage | \n7,200 total but spread across 200m | \n300 seconds | \nThe barrage walks away from the target, so only 1-2 shells actually hit the core. 5 minute cooldown for negligible damage. Trash tier. | \n
Personal Gear & Stratagem Loadout Recommendation
\nYour personal loadout matters almost as much as your ship module. The best strategy for any team size is 1 damage ship module for the core, 1 crowd-control stratagem for spawns, and personal weapons that can melt armored hull plates. Here's the optimal 4-player loadout, with adjustments for solo/duo:
\n\n| Slot | \nRecommended Item | \nExact Stats for This Fight | \n
|---|---|---|
| Primary Weapon | \nBreaker Spray & Pray | \n120 damage per pellet, 20 pellets per burst, 700 RPM. 1 burst destroys one outer hull plate (1,250 HP) in 1.2 seconds. | \n
| Secondary Weapon | SG-225 Breaker | \n110 damage per pellet, 8 pellets per shot. Good for finishing off wounded automatons that get too close. | \n
| Grenade | \nG-16 Impact | \n750 damage per grenade, 0.3 second fuse. Instantly kills dropship troopers that land on the hull. | \n
| Stratagem 1 | \nRecoilless Rifle | \n1,500 damage per shot. Perfect for finishing off the core if your ship module doesn't quite hit the 12,000 damage threshold. | \n
| Stratagem 2 | \nShield Generator Pack | \n500 HP, blocks 1 full laser sweep hit. Lets you tank one mistake without going into downed state. | \n
| Stratagem 3 | \nEagle Smoke Strike | \nBlocks boss targeting for 15 seconds. Use this to rez downed teammates during a missile barrage. | \n
| Ship Module (Offensive) | \nOrbital Railcannon Strike | \n12,000 damage, 180s cooldown. One-shot core. No notes. | \n
For solo players: Swap the Shield Generator Pack for a Supply Pack, so you don't run out of ammo for the Recoilless Rifle. For duo players: One of you brings Recoilless, the other brings an MG-43 Machine Gun to hold off spawns. The meta is solid no matter your squad size, as long as you stick to an S-tier damage ship module.
\n\nSee also: Helldivers 2 Solo Build for Extreme Difficulty (2005)
\n\nPhase-by-Phase Breakdown of the Factory Ship Boss Fight
\nThis boss has two distinct phases with entirely different attack patterns, enemy spawns, and punish windows. I'll break down each phase step-by-step, with exact HP thresholds and how to execute the strategy correctly.
\n\nPhase 1: Destroy Outer Hull Plates (0-5,000 Total HP)
\nPhase 1 starts as soon as you board the outer hull. The boss will expose 4 armored hull plates in a fixed order: front-left, front-right, back-left, back-right. Each plate has exactly 1,250 HP on Challenging difficulty, 1,500 on Hard, and 1,750 on Extreme. Your goal is to destroy all 4 plates to open the core access hatch, which triggers Phase 2. The boss will not expose the next plate until you destroy the current one, so you don't have to worry about juggling multiple plates at once.
\n\nStep-by-step Phase 1 execution:
\n- \n
- 1. As soon as you drop in, spread out 10m apart to avoid overlapping damage from AOE attacks. One person should focus on the exposed plate, the rest of the squad focuses on killing incoming Automaton spawns. \n
- 2. After you destroy the first plate, the boss will do a full laser sweep across the entire hull. This attack has 1.5 seconds of startup (the laser glows red), so you just slide into the 1m gap between the hull plates to avoid all damage. The laser sweep deals 850 damage on Challenging — enough to one-shot you if you're at full health, so don't get greedy and try to tank it. \n
- 3. After the laser sweep, the boss exposes the next plate. You have a 1.5 second punish window before the next attack starts, so unload your entire primary clip into the plate as soon as it's exposed. \n
- 4. Repeat the process for plates 3 and 4. After plate 4 is destroyed, the core access hatch blows open, and you have 10 seconds of zero boss attacks before Phase 2 starts. Use this time to resupply, rez any downed teammates, and get into position for the core shot. \n
What about spawns during Phase 1? Every 90 seconds, a drop pod will land with 3 Troopers and 1 Devastator. If you have a B-tier Orbital Gas Strike, drop it on the fixed spawn point (15m from the front of the ship) to kill all of them instantly without diverting attention from the plate. If you don't, designate one squad member to handle spawns permanently — that way the rest of the team can focus on damaging the plate to shorten Phase 1.
\n\nPro Tip: If you're running a Helldiver Bomber Barrage S-tier ship module, you can drop it on the center of the hull right as Phase 1 starts. It will destroy all 4 plates in one go, skipping 2 minutes of fighting and dropping you straight into Phase 2. This is my go-to strategy for 4-player speedruns, and it consistently cuts the boss fight time down to under 2 minutes.\n\nPhase 2: Destroy the Core Reactor (0-12,000 HP)
\nOnce the hatch opens, Phase 2 starts. The core reactor is sitting 5m inside the hatch, with a 2m diameter weak point dead-center. This is the only hitbox that counts toward killing the boss — shooting the surrounding armor does zero damage. The boss's Phase 2 attack patterns are much more aggressive than Phase 1, but they have consistent, easy-to-learn timing windows that you can abuse.
\n\nStep-by-step Phase 2 execution:
\n- \n
- 1. When the 10-second post-Phase 1 downtime ends, the boss will first fire a missile barrage at your position. The missile barrage has 2.8 seconds of startup (4 red targeting lasers pop up around your squad), so this is your first opportunity to place your ship module strike. Run 10m away from the core, pull up your ship module targeting reticle, and line it up dead-center on the core weak point. \n
- 2. If you're using the S-tier Orbital Railcannon, fire the strike right as the first missiles start to launch. The Railcannon takes 2 seconds to land, which means it will hit the core exactly when the missile barrage ends. This lines up perfectly with the 2.8 second startup window, so you don't have to worry about the core moving or the blast missing. \n
- 3. A direct hit from the Railcannon deals 12,000 damage, which is exactly enough to one-shot the core on all difficulties. If you did it right, the boss will explode immediately, and you'll get the extraction prompt 10 seconds later. \n
- 4. If you're using an A-tier module (like Precision Strike) that doesn't one-shot the core, pop your Shield Generator Pack after the first strike, and unload Recoilless Rifle shots into the weak point. You have a 4.2 second punish window after the missile barrage ends before the next attack, which is enough time to fire 2 Recoilless shots (3,000 extra damage) to finish the core. \n
What if you miss the core with your ship module? Don't panic. The boss will cycle through three fixed attack patterns, and you'll get another chance to fire after the next laser sweep. Just wait for the next punish window, line it up again, and fire. The cooldown on even S-tier modules is shorter than the full attack cycle, so you'll always get a second shot before you wipe.
\n\nAttack Pattern Analysis & Punish Windows
\nThe Factory Ship only has 4 fixed attack patterns in the entire boss fight, and every single one has a clear punish window where you can deal damage without taking damage. I've