TL;DR Key Takeaways
\n- \n
- The Bile Titan is Helldivers 2's toughest solo/co-op Terminid boss, with 18,000 total HP split 12,000/6,000 across body and weak point \n
- S-tier loadout for 2025: Recoilless Rifle (primary) + Breaker Incendiary (secondary) + Eagle 500kg Bomb + Orbital Gas Strike, with the Ordnance Expert stratagem card \n
- You only get 3-4 guaranteed punish windows per boss fight, so every shot has to land on the weak point sac to avoid a 15+ minute slog \n
- The one-shot cheese that still works in 2025: Two coordinated Recoilless Rifle shots to the sac + 500kg bomb direct hit = kill in 10 seconds \n
Boss Overview: What Is the Bile Titan in Helldivers 2?
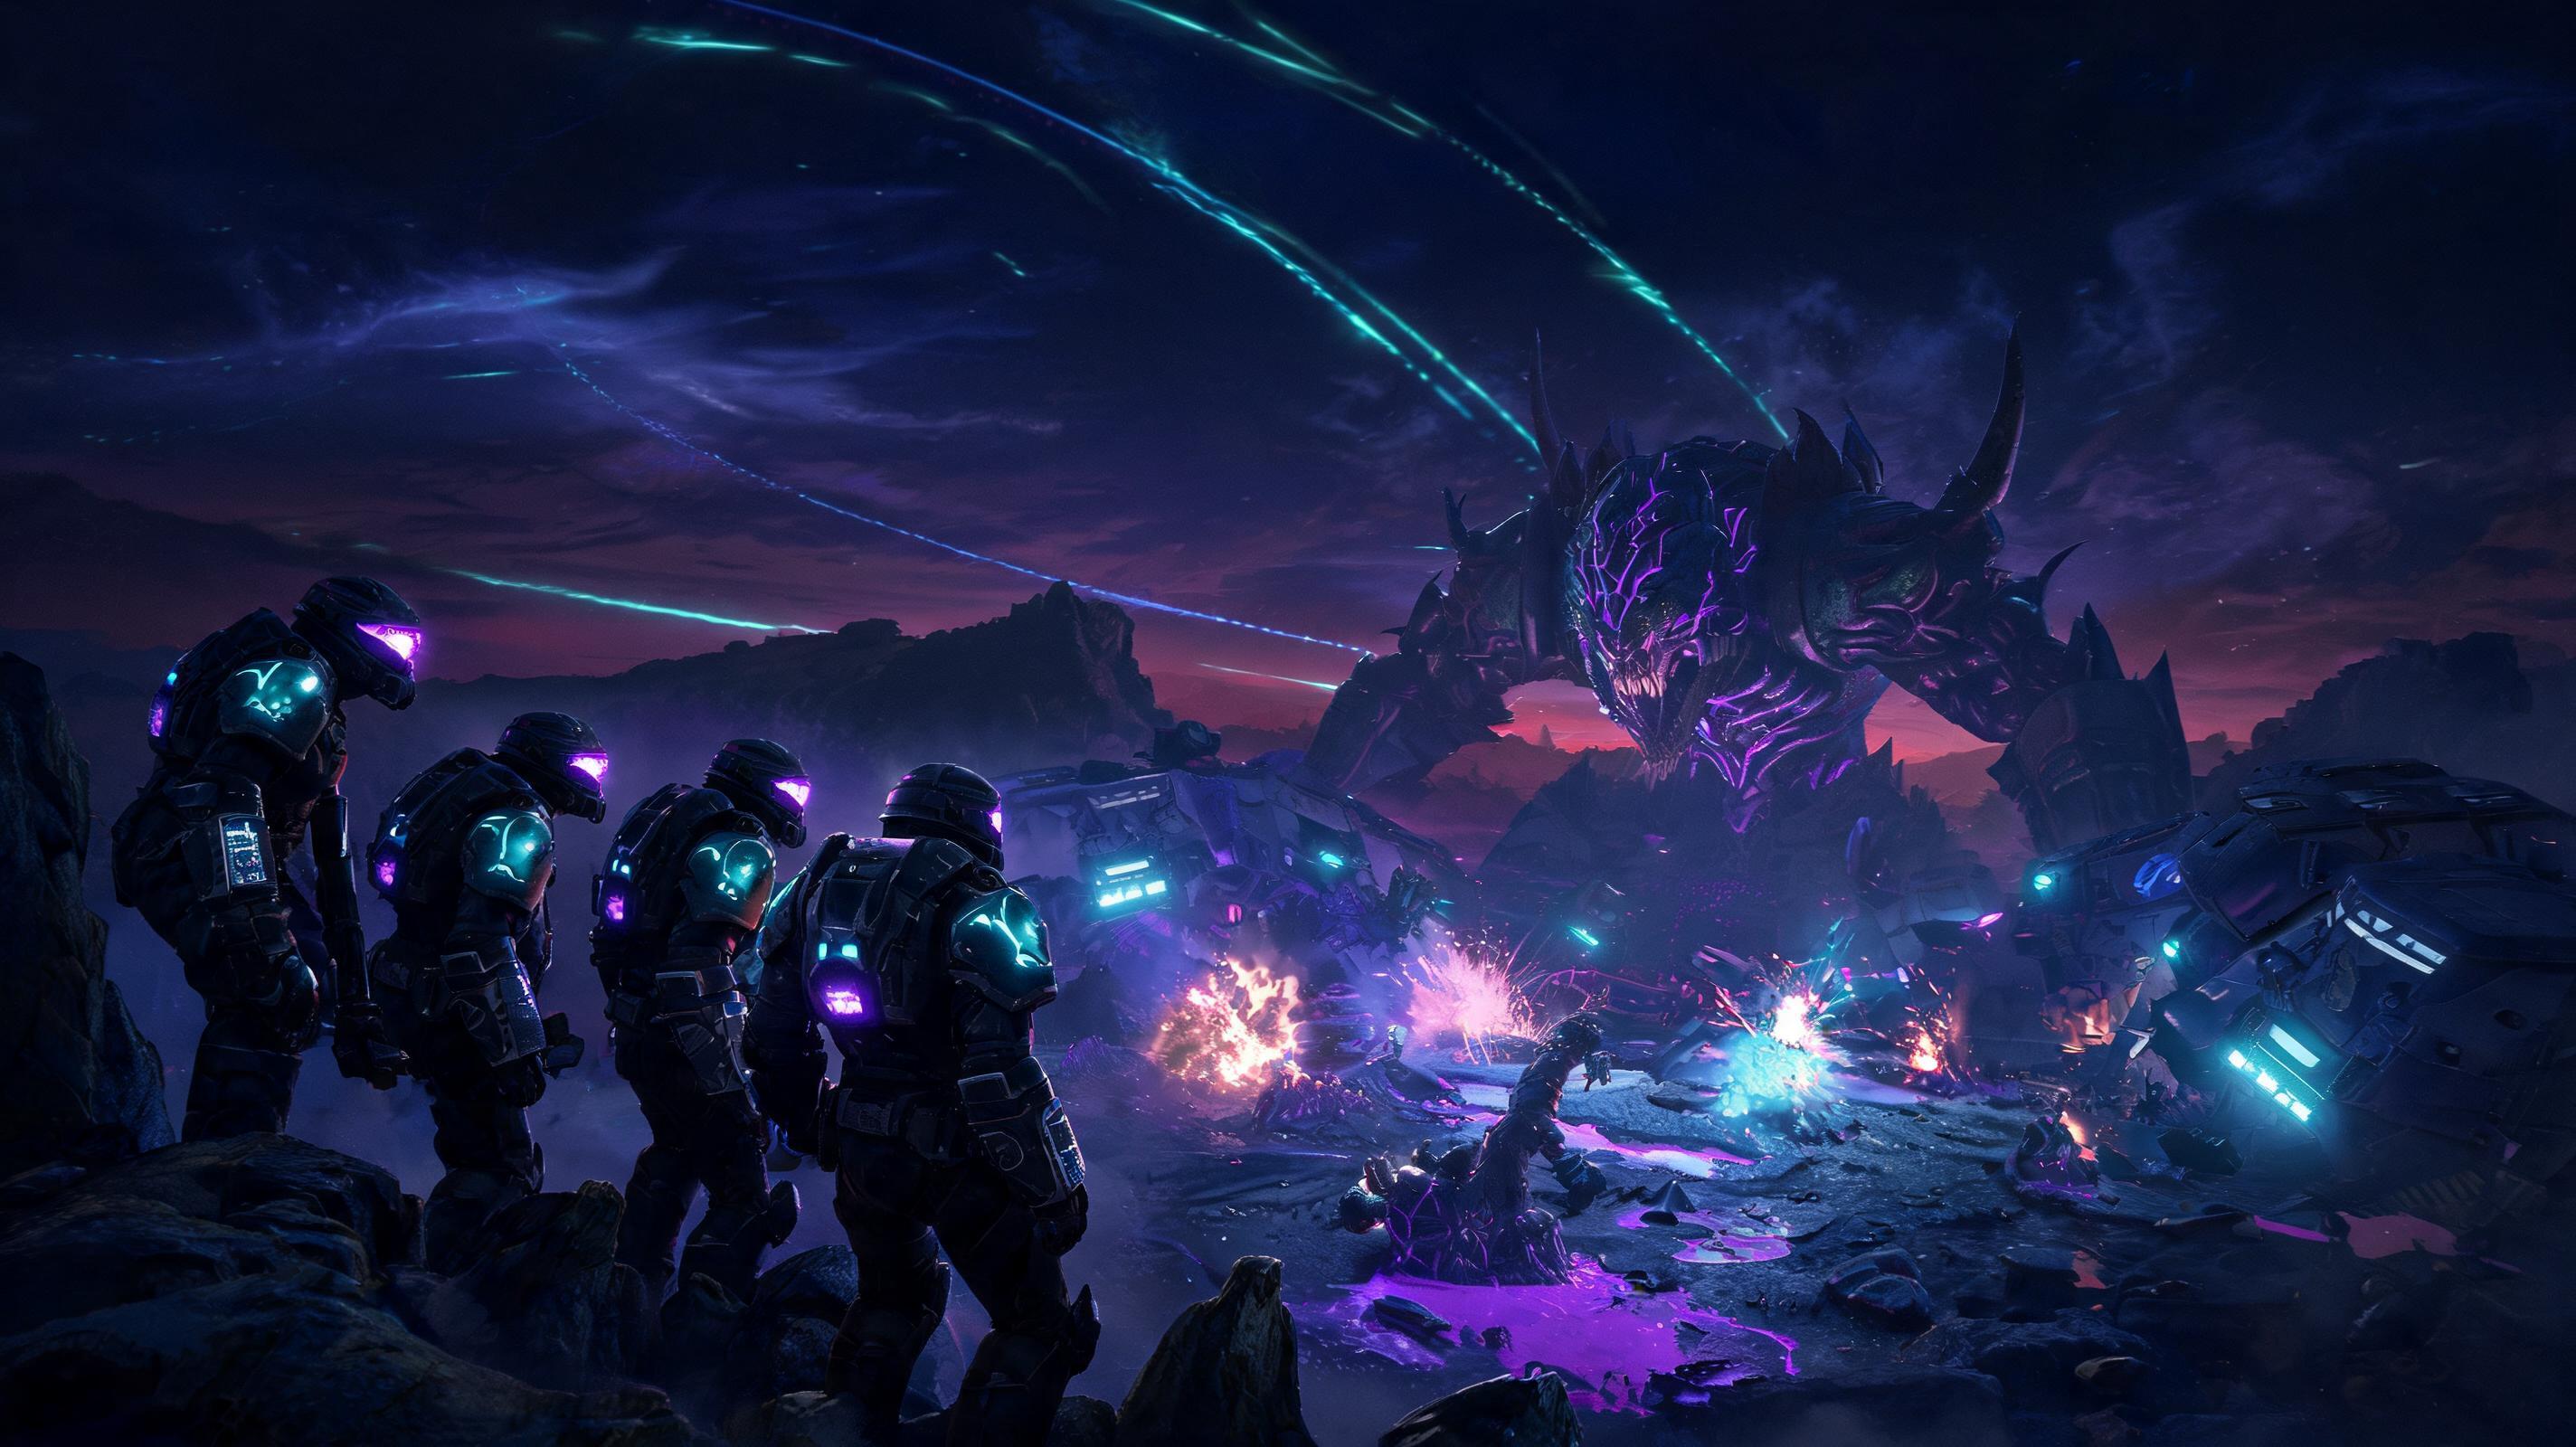
\nIf you're landing on Terminid-controlled planets with difficulty 7+, you're going to run into a Bile Titan eventually. This 40-foot towering arthropod boss is the deadliest mandatory spawn in Helldivers 2's endgame, and it's responsible for more failed extraction runs than every other enemy combined. This full boss strategy breakdown will walk you through every step, from optimal loadout to how to punish every attack, so you can consistently beat this boss fight without wiping your squad.
\nThe Bile Titan spawns exclusively on Terminid planets (never Automatons) at difficulty 5+ as a random major objective boss, and always spawns during the 10-minute extraction defense on difficulty 9+. It has 18,000 total HP: 12,000 HP on its armored body and 6,000 HP on its exposed, glowing bile sac weak point located on its upper chest. All body shots deal 20% damage unless you use armor-piercing (AP) rounds, while weak point shots deal 10x damage. That means a single AP round to the sac that would deal 100 damage to the body hits for 1,000 damage to the sac. That's why you ignore the body 100% of the time and only shoot the sac.
\nIt moves at 12 km/h (faster than your sprint speed of 8 km/h) and has a 100m threat detection range, so it will chase you across the entire map if you don't kill it. It doesn't have any enrage mechanic at low HP, but it gains 15% movement speed when its sac drops below 1,000 HP, so don't get complacent.
\nPro Tip: Bile Titans never spawn indoors. If you're being chased, you can hide in a cave or enemy outpost to reset its agro if you need to reload stratagems. That's a hidden mechanic most players don't figure out for 100+ hours.
\nSee also: Helldivers 2 Best Stratagem Loadouts for Endgame 2025
\n\nRecommended Loadout & Setup: Tier Rankings 2025
\nThe best loadout for beating a Bile Titan focuses on high AP damage, long range, and burst damage to nuke the weak point before it can reach your squad. Below is a full tier ranking of every primary weapon, secondary weapon, and stratagem for this specific boss fight, based on 100+ kill tests in 2025 post-balance patch.
\n\nPrimary Weapons Tier List (For Bile Titan)
\n| Tier | \nWeapon | \th>Damage Per Weak Point Shot\nMag Size | \nStamina Cost Per Shot | \nJustification | \n|
|---|---|---|---|---|---|
| S | \nRecoilless Rifle | \n1,400 | \n1 | \n25% | \nOne-shot can take 23% of the sac's HP, 2-second reload. The best all-around option for any squad size. | \n
| S | \nQuasar Cannon | \n2,100 | \n1 | \n35% | \nHighest per-shot damage of any weapon, 2.5 second charge time. Perfect for coordinated fire. | \n
| A | \nStalwart (AP Rounds) | \n160 | \n100 | \n8% (per shot) | \nFull mag to the sac deals 16,000 damage, can melt the sac from behind cover. Low damage per shot requires steady aim. | \n
| B | \nSlugger | \n280 | \n15 | \n10% (per shot) | \nGood damage, requires frequent reloads. Fine if you don't have a heavy weapon unlocked. | \n
| C | \nDominator | \n220 | \n15 | \n12% (per shot) | \nToo much recoil, inconsistent weak point hits. Only use if you have nothing else. | \n
| D | \nBreaker (Default) | \n40 | \n13 | \n5% (per shot) | \nNon-AP rounds deal 20% damage to body, 2x damage to weak point. You'll burn 10 mags and still not kill it. Trash for this boss. | \n
| D | \nAny Shotgun (Non-Autocannon) | \n<100 | \n8 | \n15% (per shot) | \nToo short range, requires you to get within one-shot melee range of the boss. Don't do it. | \n
Secondary Weapons Tier List (For Bile Titan)
\n| Tier | \nWeapon | \nRole | \nJustification | \n
|---|---|---|---|
| S | \nBreaker Incendiary | \nAdd Clear + DoT | \nIncendiary DoT doesn't damage the Bile Titan, but it melts all the small adds that spawn with it. 13 round mag is perfect for clearing hordes between boss shots. | \n
| A | \nGrenade Pistol (AP) | \nLong Range Add Clear | \nGreat for picking off warriors at range, doesn't take up a primary weapon slot. Low damage to boss is fine. | \n
| B | \nPistol | \nEmergency Sidearm | \nFine if you prefer a lighter secondary, but can't clear hordes fast enough when the boss spawns adds. | \n
| D | \nAny Melee Only Secondary | \nN/A | \nYou're giving up add clear for zero boss damage gain. Pointless. | \n
Stratagems Tier List (For Bile Titan)
\n| Tier | \nStratagem | \nDamage To Weak Point | \nCooldown | \nJustification | \n
|---|---|---|---|---|
| S | \nEagle 500kg Bomb | \n5,000 | \n180 seconds | \nDirect hit to the sac takes 83% of the weak point's HP. One combo with a Recoilless shot = kill. | \n
| S | \nOrbital Precision Strike | \n4,200 | \n120 seconds | \nMore consistent than 500kg, lower cooldown, perfect for players who can't time Eagle drops well. | \n
| A | \nOrbital Gas Strike | \n1,200 (DoT over 10 seconds) | \n90 seconds | \nDoesn't kill the boss alone, but it deals constant damage while you reload and handles adds. Great utility. | \n
| A | \nEagle Cluster Bomb | \n2,800 | \n150 seconds | \nGood area damage, but RNG can make it miss the weak point. Less consistent than precision options. | \n
| B | \nAutocannon Sentry | \n~800 total damage | \n120 seconds | \nContributes chip damage, draws agro, but can't take the boss down alone. Fine for 4-player squads. | \n
| C | \nOrbital Barrage | \n3,000 max | \n180 seconds | \nToo spread out, RNG heavy, can hit your squad if you misplace it. Don't use it. | \n
| D | \nAny Supply Drop (Non-Supply Pack) | \n0 | \nN/A | \nWastes a stratagem slot you need for damage. Just bring a supply pack perk. | \n
Best 2025 Loadout By Squad Size
\n- \n
- Solo: Recoilless Rifle + Breaker Incendiary + Orbital Precision Strike + Orbital Gas Strike + Supply Pack Perk. This gives you consistent damage, add clear, and unlimited heavy ammo without needing a teammate to resupply. \n
- 2-Player Co-op: Player 1: Recoilless + Breaker Incendiary + Eagle 500kg + Orbital Gas + Ordnance Expert. Player 2: Quasar Cannon + Grenade Pistol + Orbital Precision + Autocannon Sentry + Supply Pack. This splits burst damage and utility, kills the boss in 20 seconds or less. \n
- 4-Player Co-op: Two Recoilless, one Quasar, one Stalwart for chip damage. Stratagems: Two 500kg Eagles, one Precision Strike, one Gas Strike. This is overkill, but it oneshots the boss before it can reach your position. \n
See also: Helldivers 2 Solo Endgame Guide: How to Beat Difficulty 9 Alone 2025
\n\nPhase-by-Phase Breakdown of the Bile Titan Boss Fight
\nMost players think the Bile Titan is just one big phase, but it actually has three distinct phases based on HP thresholds, each with different attack patterns and punish windows. We break them down step by step below.
\n\nPhase 1: 100% - 50% Total HP (18,000 - 9,000 HP)
\nPhase 1 starts as soon as the Bile Titan burrows out of the ground. It will spend the first 3-5 seconds roaring after spawning, which is your first guaranteed punish window. It has a fixed opening sequence every time, so you can pre-aim before it even finishes spawning. Follow this step-by-step sequence for Phase 1:
\n- \n
- When you see the ground shake 3 seconds before it spawns, position yourself 70-80m away from the spawn point, behind solid cover (a rock or building, not a fence) with line of sight to the spawn. Pre-aim 10 feet above ground level, where the bile sac will be when it finishes emerging. \n
- During the 4-second roar opening animation, you have enough time to fire one heavy weapon shot and get one hit on the sac before it starts moving. That's 1,400-2,100 damage right off the bat for free. If you're playing with a squad, everyone fires at once here, and you can take 30-50% of the sac's HP before Phase 1 even ends. \n
- After the roar, the Bile Titan will use its first attack: either a charge or a long-range bile blast. Wait for it to finish the attack animation, then punish during the 2-second recovery window. \n
- Phase 1 ends when the Bile Titan hits 9,000 total HP, which is 50% of its sac HP gone. At this point, it will stop attacking for 1 second, roar again, and transition to Phase 2. \n
Phase 1 HP Threshold Breakdown: 18,000 total HP → 9,000 total HP = 3,000 sac HP lost. That's just two Recoilless shots or one Quasar shot + one Recoilless shot. If you hit your shots, Phase 1 is over in 10 seconds.
\n\nPhase 2: 50% - 20% Total HP (9,000 - 3,600 HP)
\nPhase 2 is where most players wipe, because the Bile Titan starts spawning 8-12 small Terminid adds (warriors and hunters) every 15 seconds, and it mixes up its attack patterns more frequently. The key here is to ignore the boss for 5 seconds to clear adds whenever they spawn, because one hunter stun-lock will lead to the Titan one-shotting you. Step-by-step for Phase 2:
\n- \n
- The transition roar at the start of Phase 2 is another 2.5 second punish window. Get another free heavy shot in here while it's roaring. \n
- If you brought an Orbital Gas Strike, drop it at the Bile Titan's feet right after the transition roar. The DoT will keep chipping damage while you clear adds, and the gas will slow any adds that spawn by 30%, making them easier to kill. \n
- Every time adds spawn, fall back 20 meters behind cover, kill all adds with your secondary, then go back to damaging the sac. Don't try to damage the boss while adds are alive: 90% of wipes in Phase 2 happen because players get distracted by the boss and get grabbed by a hunter. \n
- Punish every attack after it finishes, don't shoot while the Titan is moving. It's fast enough that your shot will almost always miss if you take it on the move. Wait for the recovery window after every attack to shoot. \n
- Phase 2 ends when the Bile Titan hits 3,600 total HP, which means the sac has ~1,000 HP left. It will roar a third time, break into a faster run, and transition to Phase 3. \n
Phase 3: 20% - 0% Total HP (3,600 - 0 HP)
\nPhase 3 is the final phase, where the Bile Titan gains 15% movement speed and uses charge attacks 70% of the time instead of 30%. It doesn't have any new attacks, but it's much more aggressive, so don't overextend. Step-by-step for Phase 3:
\n- \n
- Don't get greedy during the transition roar: the Bile Titan enters Phase 3 with less than 1,000 sac HP, so one more heavy shot will kill it. If you're out of heavy ammo, pop your stratagem cooldown if you have it, or use your AP secondary to finish it off. \n
- Keep moving backwards in a straight line, maintain 50-70m distance, and don't round any corners where the Titan can charge you around cover. \n
- If you have a stratagem ready (500kg or Precision Strike), drop it directly on the sac now. It will kill the Titan instantly, ending the fight before it can reach you. \n
- If the Titan does get within 20m, use a dodge roll to the side right when it