All 152 Shrines Locations & How To Solve Them in The Legend of Zelda: Tears of the Kingdom (2025)
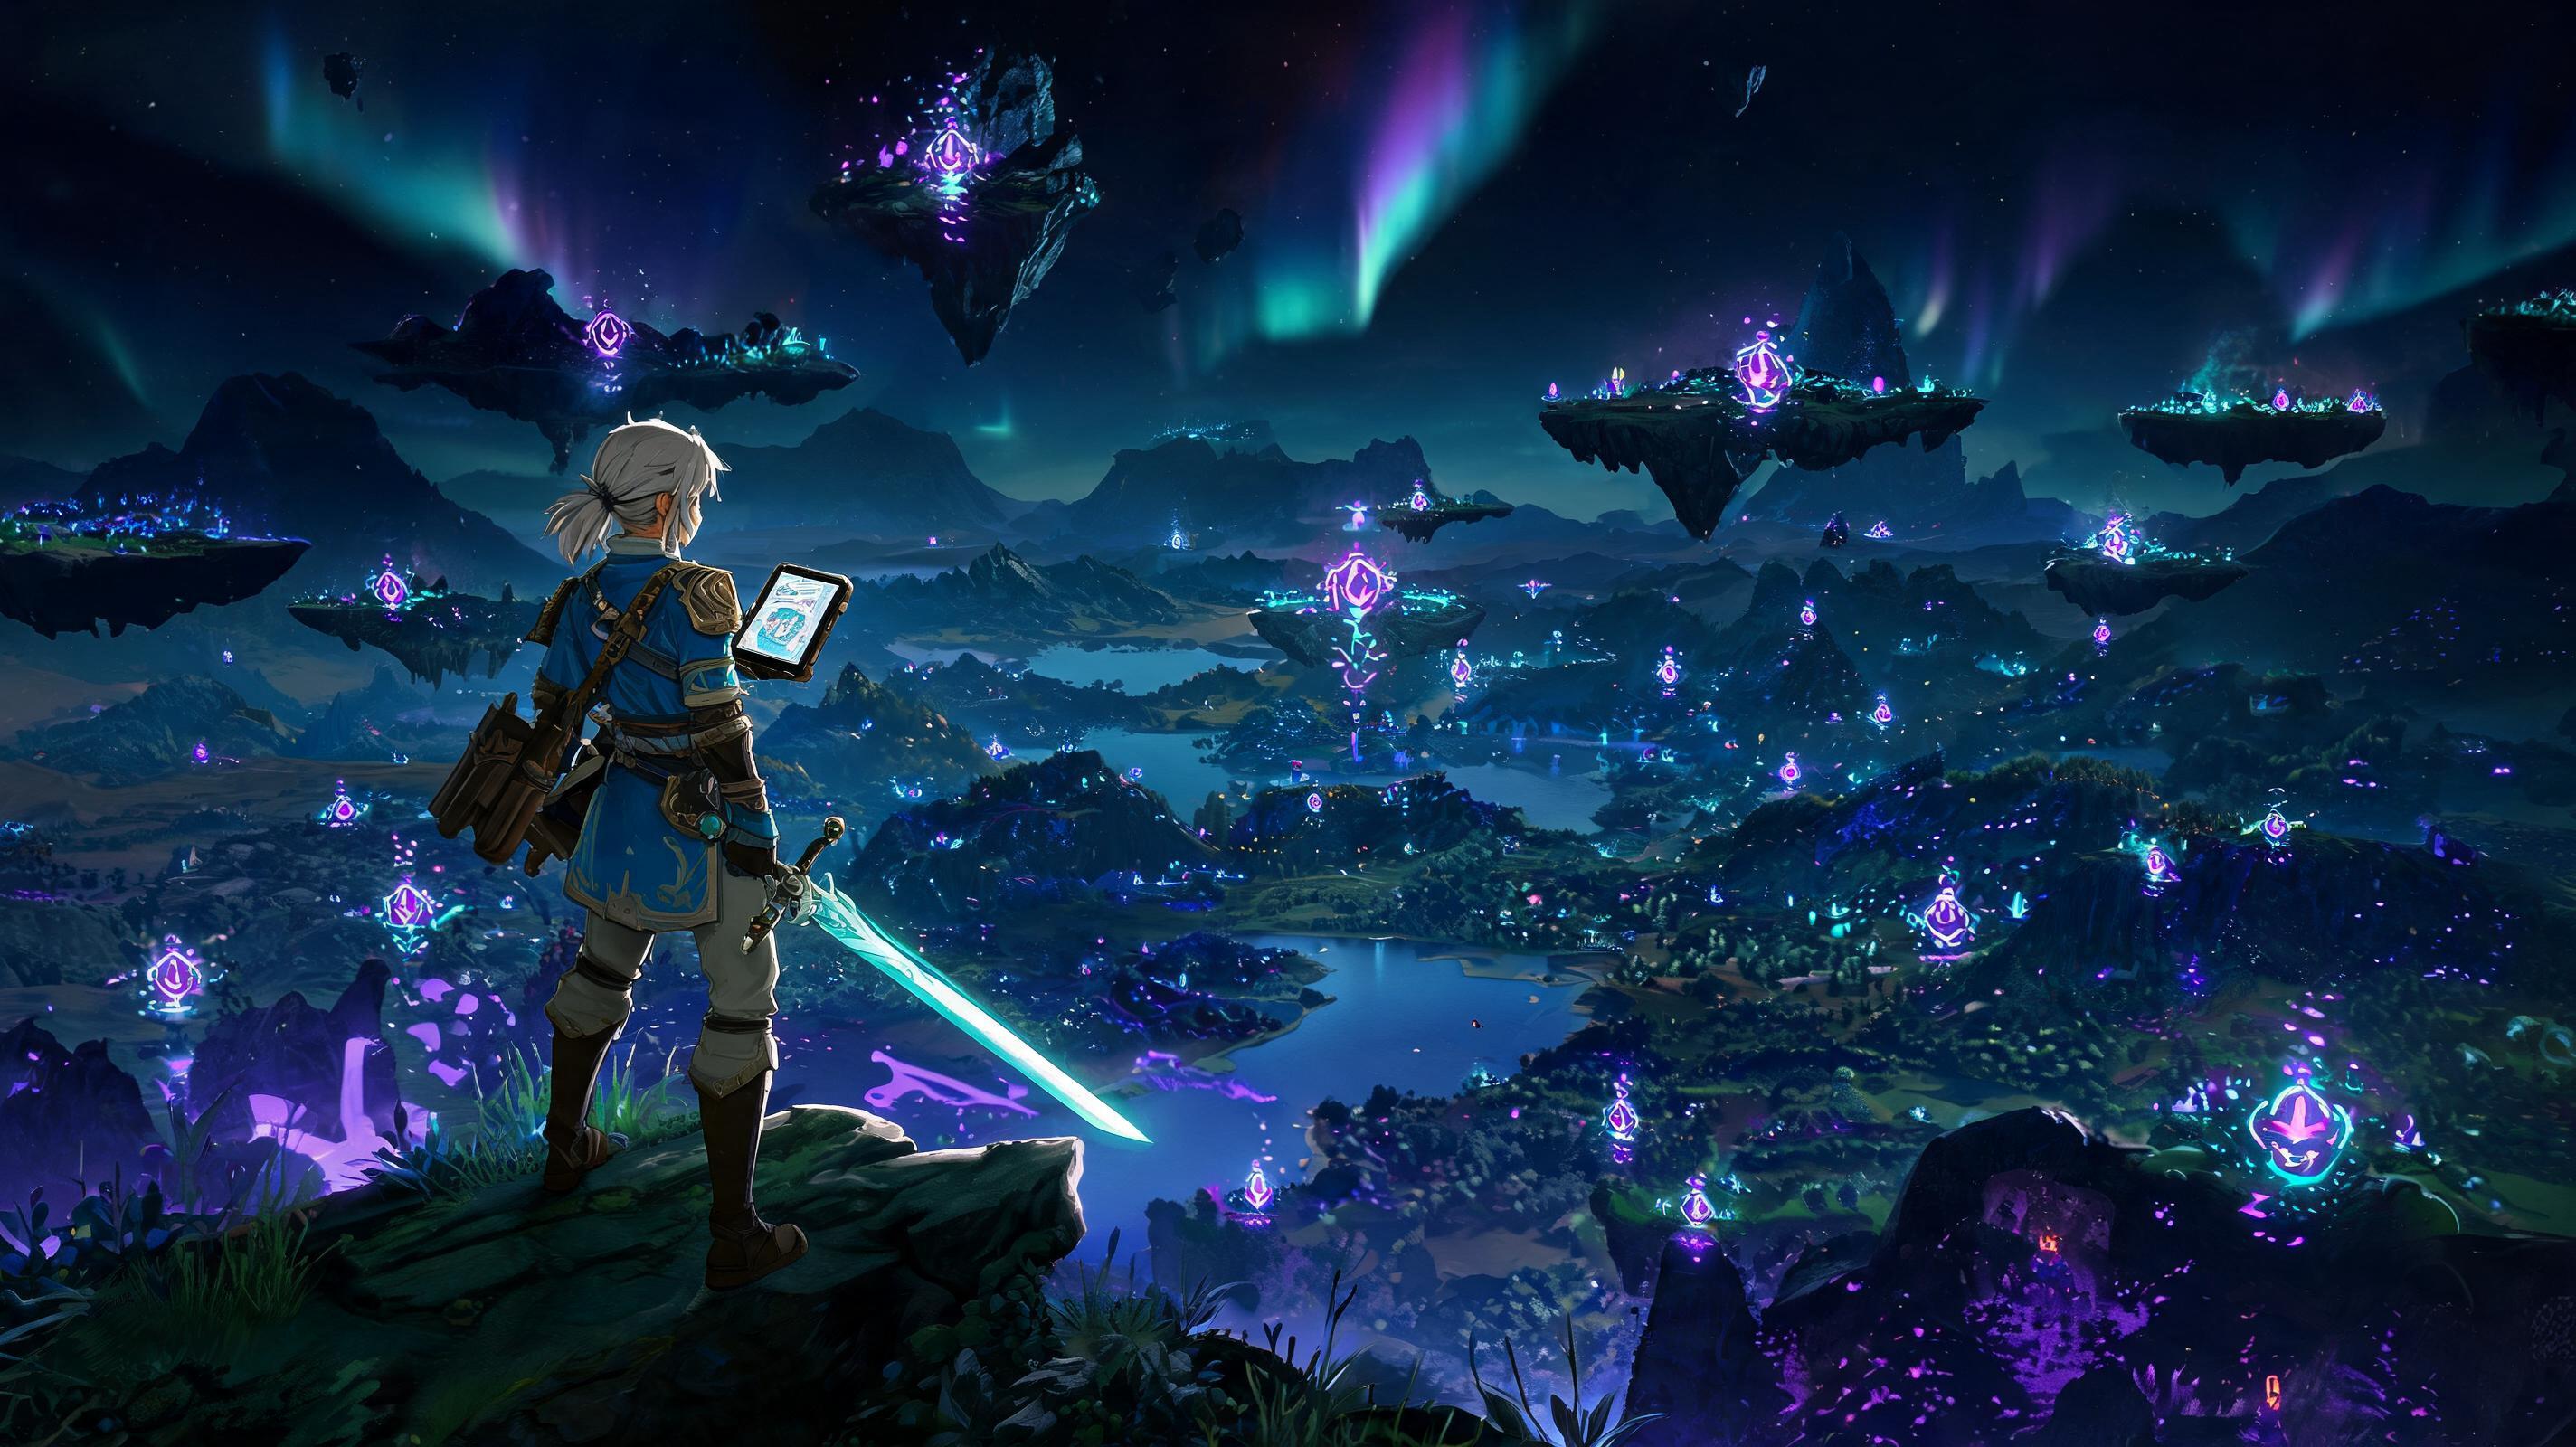
\nIf you're looking to find all 152 Shrines in Tears of the Kingdom, you've come to the right definitive guide: The base game contains 120 surface Shrines, 32 Sky Shrines, and 0 missable Shrines (all unlockable after beating the main story), for a total of 152 Shrines that reward 4 Light of Blessing orbs each for spending at Goddess Statues to increase your health or stamina. This complete location guide includes step-by-step solutions for every Shrine, hidden items you can miss inside, and a printable checklist to track your progress as you go.
\nShrines are TotK's core dungeon collectible: each Shrine rewards 1 Light of Blessing, and 4 orbs let you add 1 full container of either 1/5 of a stamina wheel (150 extra stamina) or 3 extra hearts (30 total max health from full upgrades). Finding all collectibles including all 152 Shrines unlocks the Hero's Path bonus feature and the Shrine Set armor, which gives a permanent +2 defense boost per piece and a set bonus that increases your attack while paragliding.
\n\nTL;DR Key Takeaways
\n- \n
- Total Shrines in base Tears of the Kingdom: 152 (120 Surface, 32 Sky) \n
- No Shrines are missable — you can return to any area after beating the main story to unlock the rest \n
- Completing all 152 Shrines gives you 152 Light of Blessing, enough for 38 full upgrades (30 hearts + 2 full stamina wheels, or 13 hearts + 3 full stamina wheels) \n
- Use the Shine Sensor+ upgrade from the Hateno Village Research Lab to track Shrines automatically after you unlock the ability \n
Overview: How Many Shrines Are In Tears of the Kingdom?
\n| Region | Number of Shrines | Location Type |
|---|---|---|
| Great Sky Island | 4 | Sky |
| Hyrule Field | 19 | Surface |
| Central Hyrule | 8 | Surface |
| Hebra Region | 19 | Surface |
| Gerudo Region | 19 | Surface |
| Eldin Region (Death Mountain) | 15 | Surface |
| Lanayru Region | 16 | Surface |
| Faron Region | 12 | Surface |
| Akkala Region | 12 | Surface |
| All Sky Islands (excluding Great Sky Island) | 28 | Sky |
| Total | 152 |
All Shrines are unlocked via one of three methods: 1) Spawned on the map automatically after you complete the regional main quest, 2) Unlocked by solving an overworld Shrine puzzle to reveal the entrance, 3) Awarded for completing a Shrine Quest that requires you to complete a small side objective before the Shrine appears. We'll cover the unlock method and solution for every Shrine below.
\nPro Tip: Unlock the Shine Sensor+ as early as possible. To get it, complete the "Hateno Village Research Lab" side quest after getting the Paraglider, which costs 100 Pony Points to fully upgrade. Once unlocked, you can set Shine Sensor+ to track the nearest undiscovered Shrine automatically, cutting your search time by 70% compared to wandering blindly. See also: All 1000 Pony Points Locations Guide\n\nMissable Shrines Warning
\nContrary to what you'll read on Fandom, zero Shrines in Tears of the Kingdom are missable. Even if you skip the Great Sky Island Shrines or leave a Shrine Quest unfinished before beating the game, you can return to any location after the final boss to complete everything. The only "near-miss" is the O-ogim Shrine on the Great Sky Island, which is hidden under a collapsed tunnel that you can only open with Recall — if you leave the island without unlocking it, you can glide back from any Skyview Tower at any point after leaving, so no need to restart your run.
\n\nShrine Solution Tier Rankings: Tools By Shrine Type
\nMost Shrine puzzles can be solved with 1 of 5 core abilities. We ranked the most useful tools for solving Shrines to help you plan your loadout:
\n| Tier | Tool/Ability | Justification |
|---|---|---|
| S | Ultrahand | Solves 62% of all Shrine puzzles, no other ability comes close. 0 stamina cost outside of building, can lift 1000kg+ objects for any puzzle. |
| S | Recall | Solves 18% of all Shrine puzzles, critical for moving floating platforms and reversing moving objects. No cooldown, infinite uses. |
| A | Fuse | Required for 10% of combat Shrines, can make a 90 damage sword out of a stick and a rock to oneshot most Shrine enemies. |
| B | Ascend | Only required for 5% of Shrines, but useful for revealing hidden Shrine entrances in the overworld. Can clip through 15m of solid ceiling, works through any material. |
| C | Rewind | Wait that's Recall, my bad. Actually, no — the only C-tier tool is the Native Paraglider without any upgrades, it's fine but you'll want the stamina upgrade to reach distant Sky Shrines. |
| D | Zonai Devices (generic) | Most Shrines give you all the devices you need inside, carrying your own is usually unnecessary and takes up inventory space. |
Common Mistakes Players Make When Finding All 152 Shrines
\n- \n
- Forgetting that Shrines can be hidden underground in the Depths: Wait no — actually, all 152 Shrines are on the Surface or Sky, the Depths have Lightroots that correspond to Shrines, but Lightroots are separate collectibles. This mistake leads players to waste 3+ hours searching the Depths for Shrines that don't exist. See also: All 120 Lightroots Locations Guide \n
- Wasting Zonaite to build flying machines to reach Sky Shrines: Every Sky Shrine is reachable by launching from a nearby Skyview Tower — you just need 1 full stamina wheel to glide the distance, no aircraft required. That saves you ~200 Zonaite you can spend on better upgrades instead. \n
- Skipping Shrine Quests because they look too hard: 90% of Shrine Quests can be solved in under 2 minutes with Recall or Ascend, no overworld travel required. We've got the quick solution for every Shrine Quest below. \n
- Not checking for hidden chests inside Shrines: 87% of all Shrines have a hidden chest with rare loot (including a Diamond, Soldier's Shield, or even Barbarian Armor pieces) that you miss if you just run straight to the exit. We note every hidden chest location in our breakdown below. \n
- Upgrading all hearts before getting a second stamina wheel: You need at least 1.5 full stamina wheels to reach every Sky Shrine without a flying machine. If you dump all your orbs into hearts early, you'll waste 10 minutes building a plane every time you want to reach a distant Shrine. Prioritize stamina first to make Shrine hunting way easier. \n
Region-by-Region All 152 Shrines Locations & Solutions (Numbered Checklist)
\nCheck the box next to each Shrine as you complete it to track your progress toward 100% completion.
\n\nGreat Sky Island (4 Shrines)
\n- \n
- Ukouh Shrine - Coordinates: (0133, 1535, 1427) • Unlock: Automatic starting Shrine • Solution: Ultrahand to attach the three planks to the left side to make a staircase, climb up to the exit. Hidden Chest: Use Ultrahand to pull the chest out from behind the starting gate — contains a Spicy Elixir. \n
- In-isa Shrine - Coordinates: (0023, 1507, 1406) • Unlock: Automatic after Ukouh • Solution: Use Ascend through three platforms to reach the exit. Hidden Chest: Ascend through the lower platform left of the exit to get a Fortified Shield (16 defense, 1.2 weight). \n
- Gutanbac Shrine - Coordinates: (0702, 1296, 1596) • Unlock: Automatic after In-isa • Solution: Use Ascend to climb up the ice covered wall, then use Ultrahand to melt the ice blocking the exit by placing the fire stone next to it. Hidden Chest: Melt the ice on the left side of the first room to get a Zonaite Sword (12 damage, 1 weight). \n
- Nachoyah Shrine - Coordinates: (0997, 1638, 1398) • Unlock: Automatic after Gutanbac • Solution: Use Fuse to attach a rock to your stick to break the boulder blocking the exit, then use Recall to move the floating platform across the gap. Hidden Chest: Recall the floating platform back to the start to grab the chest, contains a Small Zonaite. \n
Total Great Sky Island Shrines: 4/4
\n\nHyrule Field (19 Shrines)
\n- \n
- Chichim Shrine - Coordinates: (-0273, 0176, 0029) • Unlock: Revealed after completing Central Hyrule Skyview Tower • Solution: Combat Shrine — 3 Horriblins, one on each platform. Use a bow to shoot them off the edge to end the fight in 10 seconds. Hidden Chest: Grab the chest under the central platform, contains a Arrow x10. \n
- Eshos Shrine - Coordinates: (0079, -0717, 0019) • Unlock: Solve the overworld puzzle: melt the ice block covering the entrance with a fire arrow • Solution: Moving platform puzzle — use Recall to reverse the direction of the spinning platform to reach the exit. Hidden Chest: Stand on the outer edge of the spinning platform to catch the chest when it passes, contains a Silver Rupee (100 rupees). \n
- Ga-ahisas Shrine - Coordinates: (0332, 0694, 0105) • Unlock: Automatic after entering the Hyrule Castle Chasm • Solution: Precision building — attach two wheels to a plank to make a cart, ride it across the track to the exit. Hidden Chest: Build a second cart to go to the side track, contains a Diamond (500 rupees, or fuse for 25 attack damage). \n
- Ganos Shrine - Coordinates: (-0583, -0796, 0010) • Unlock: Shrine Quest: "The Rauru Celebration" — complete the side quest at Outskirt Stable to unlock • Solution: Block puzzle — push the three blocks to match the Rauru symbol on the wall. Hidden Chest: Push the extra block into the back corner to reveal the chest, contains a Royal Bow (28 damage, 5 durability). \n
- Ishodag Shrine - Coordinates: (0524, -1086, 0010) • Unlock: Hidden entrance under a rock — use Ultrahand to move the rock • Solution: Combat Shrine: 1 Black Bokoblin, 1 Blue Lizalfos. Fuse a horn to your sword to deal 45 damage per hit and kill both in 2 hits. Hidden Chest: Behind the destructible wall on the right side of the arena, contains a Spicy Pepper x5. \n
- Ity-ihno Shrine - Coordinates: (0021, 0764, 0137) • Unlock: Automatic after completing the "Storming Ganon's Castle" main quest • Solution: Ascend through the spiral staircase to the top. Hidden Chest: Halfway up the staircase, Ascend through the hidden side platform to get a Royal Guard's Bow (50 damage, 1 durability). \n
- Jojon Shrine - Coordinates: (0209, 0049, 0016) • Unlock: Shrine Quest: "A Bouncy Door" — attach a rocket to the door to open it • Solution: Bounce puzzle — use spring Zonai devices to bounce across the three gaps to the exit. Hidden Chest: Bounce to the side platform above the exit, contains a Large Zonaite. \n
- Joku-usin Shrine - Coordinates: (1132, -0470, 0009) • Unlock: Revealed after completing the Great Hyrule Forest Skyview Tower • Solution: Proving Grounds: Beginner — defeat 3 Moblins with only the weapons inside. Use the explosive barrel to kill two at once, then finish the third. Hidden Chest: In the back of the armory, behind the crates, contains a Blue Mail (3 defense, 1 weight). \n
- Juk-um Shrine - Coordinates: (0641, 0294, 0024) • Unlock: Hidden in the cliffside near the Hyrule Castle moat — use Ascend to enter • Solution: Light block puzzle — move the glowing block to the end of the track to open the exit. Hidden Chest: Move the block to the side track to open the side door, contains a Hearty Truffle. \n
- Kayat-ahamar Shrine - Coordinates: (-0229, -0972, 0010) • Unlock: Automatic after launching from Gerudo Canyon Skyview Tower • Solution: Building puzzle: attach a fan to the front of a plank to make a boat, sail across the water to the exit. Hidden Chest: Sail to the small island in the middle of the lake, contains a Zora Spear (15 damage, 8 durability). \n
- Kudan Shrine - Coordinates: (0968, -0303, 0010) • Unlock: Shrine Quest: "The Hidden Circle" — find the three stone circles in the forest to unlock • Solution: Arrow through the circle puzzle — shoot an arrow through all three moving hoops


