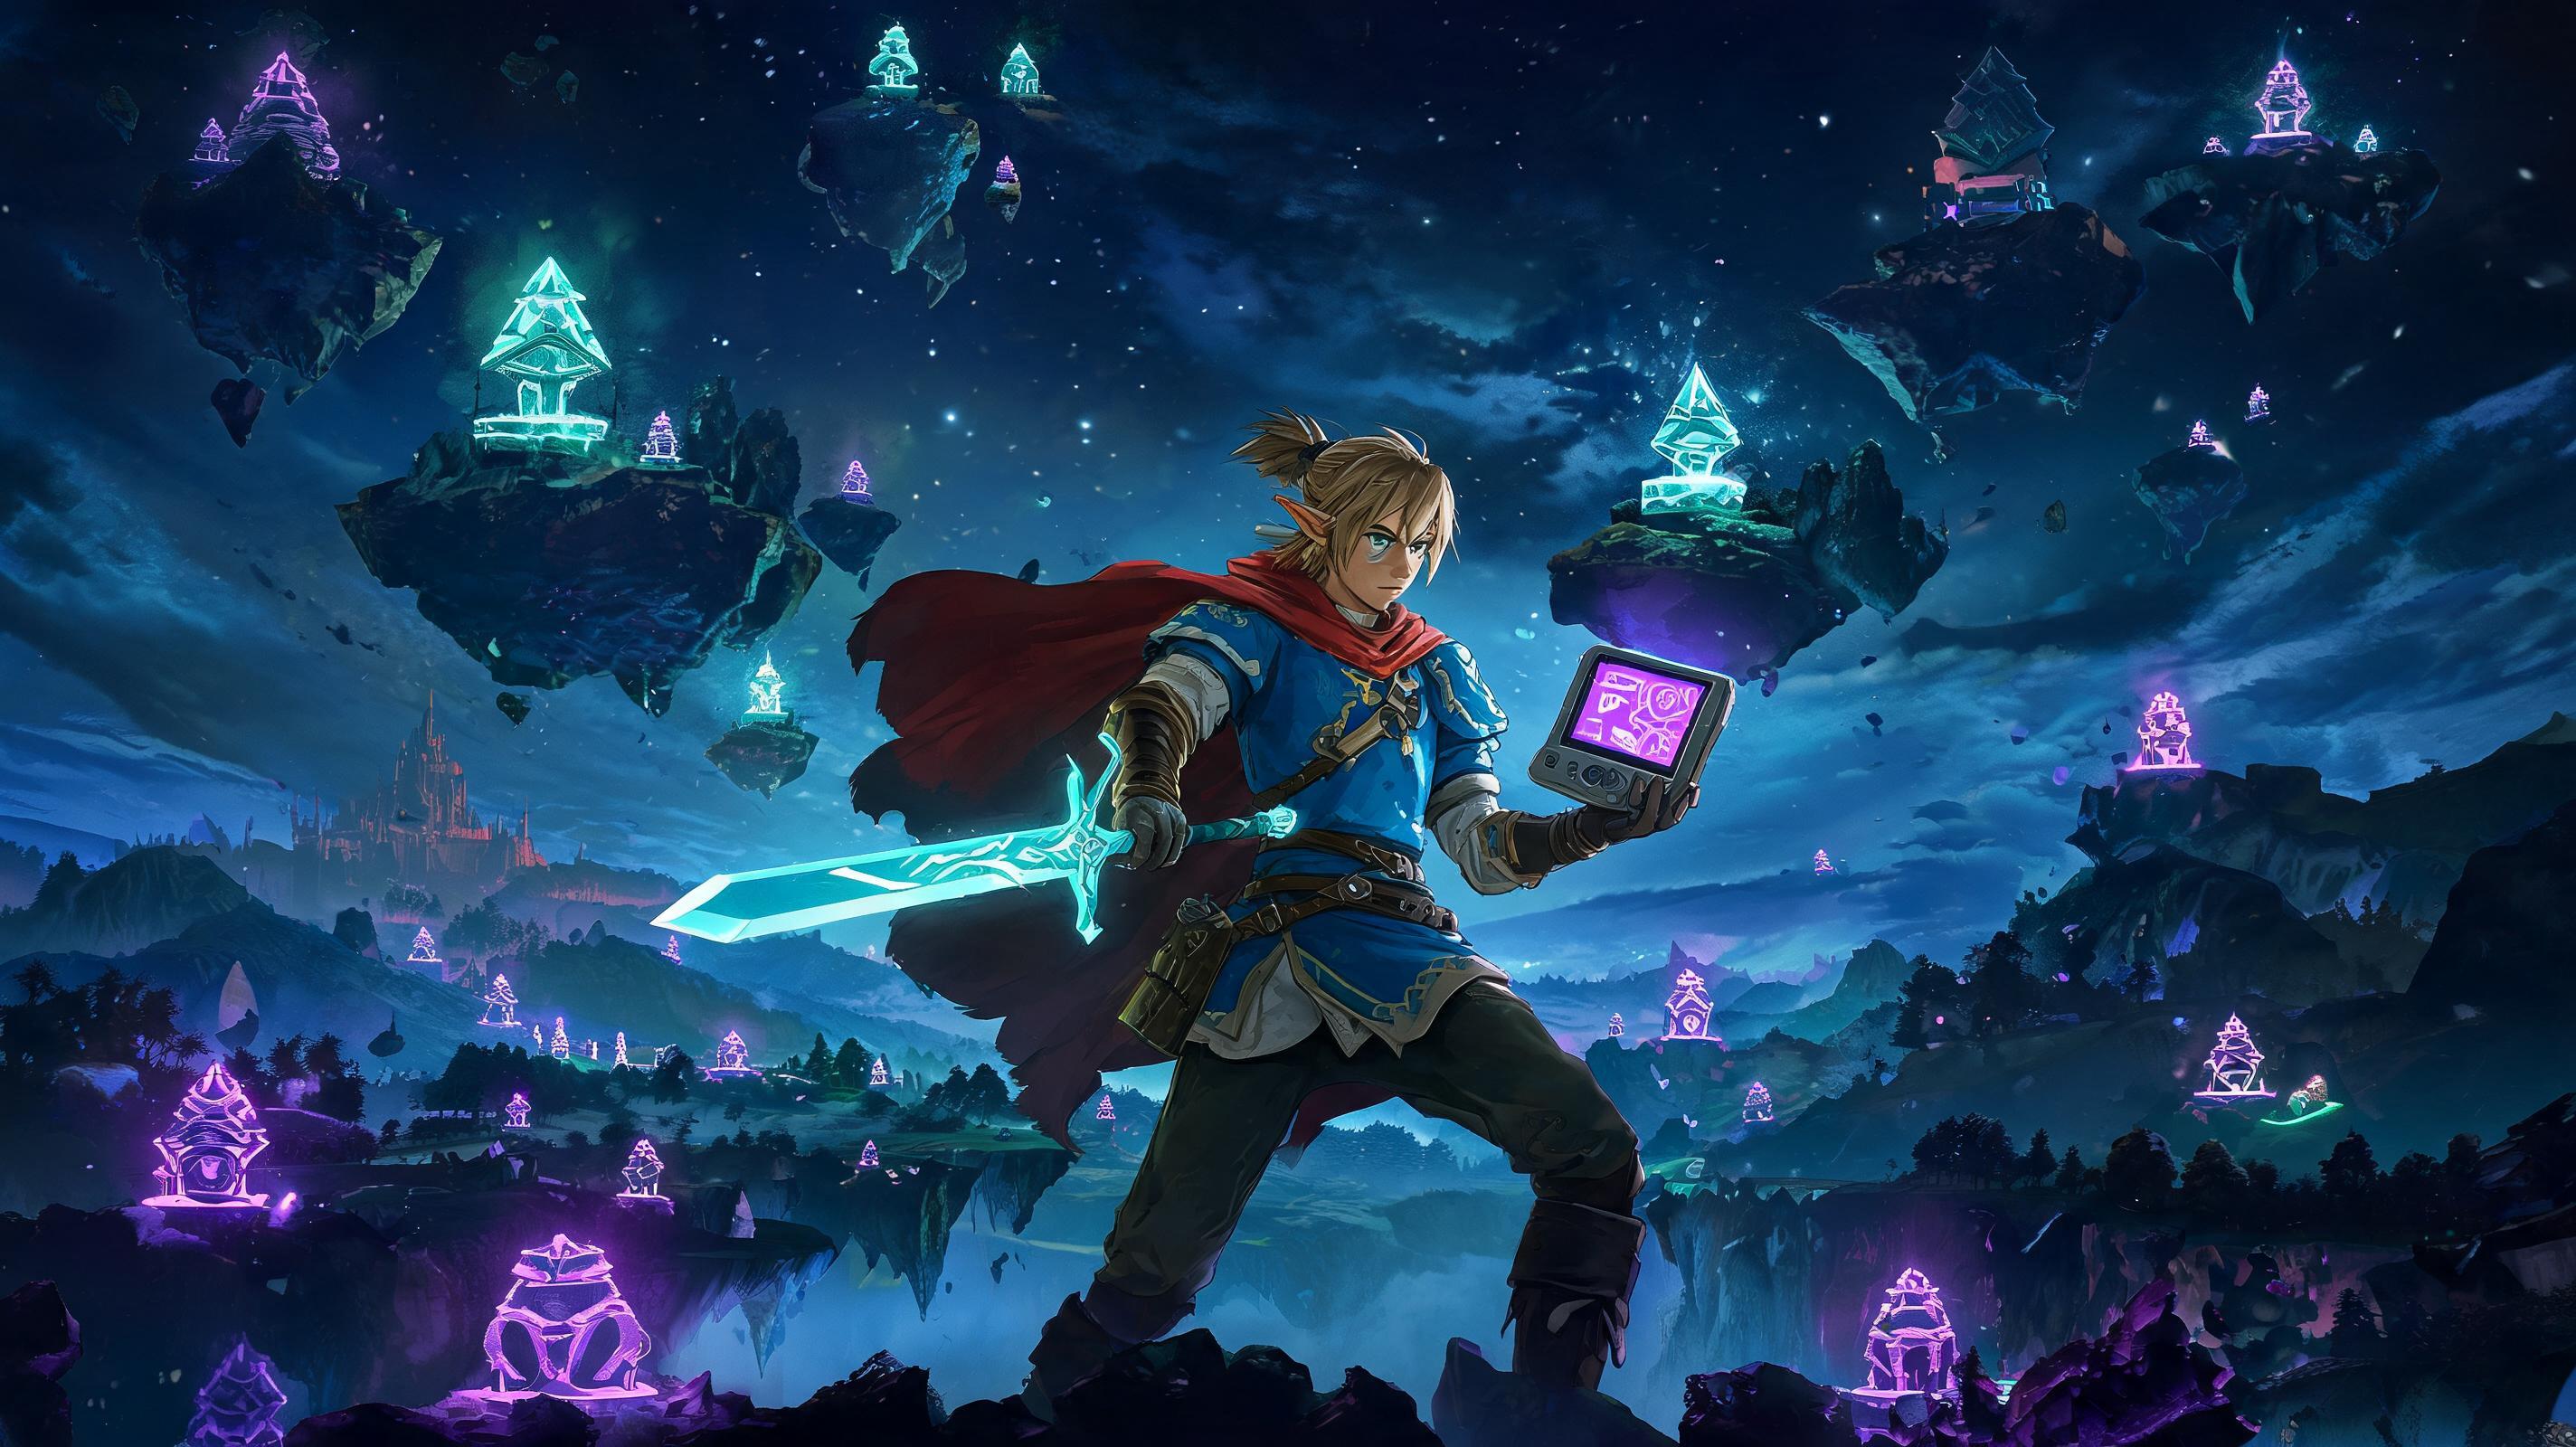
All 152 Shrines Locations & How To Solve Them In Zelda: Tears of the Kingdom (2025)
\nThe short answer: There are exactly 152 Shrines in The Legend of Zelda: Tears of the Kingdom (120 surface Shrines + 32 Sky Shrines, no Shrines in the Depths beyond Lightroot bonuses). Below, we break down every Shrine by region, give step-by-step solutions for all tricky puzzles, include a printable checklist, and call out missable Shrines you can accidentally lock out of until late-game. This guide is updated for 2025 with all post-release glitch fixes and confirms no hidden Shrines exist beyond the 152 total confirmed by Nintendo.
\nIf you're hunting for 100% completion, this is the only location guide you need to find all all collectibles and unlock all Shrine rewards. See also: All 1000 Lightroot Locations In The Depths (Complete Map Guide)
\n\nOverview: Total Shrine Count & Base Game Rewards
\nTotK's base game includes exactly 152 Shrines: 120 on the Hyrule surface, 32 in the Sky Islands. No Shrines spawn in the Depths — the Depths only contains Shrine corresponding Lightroots, which are separate collectibles. Each Shrine rewards you with one Light of Blessing, and 4 Lights of Blessing let you exchange for either 1 extra Heart Container or 1 extra Stamina Wheel segment at any Goddess Statue.
\n| Completion Milestone | \nReward | \nEffect | \n
|---|---|---|
| 1 Shrine | \n1 Light of Blessing | \n1/4 of a Heart Container or Stamina Vessel | \n
| All 152 Shrines | \n38 Lights of Blessing | \nMaximum 30 Hearts + 2 full Stamina Wheels (or 3 full Wheels + 10 Hearts, depending on your progression) | \n
| All 152 Shrines + All Temple Bosses | \nHero's Path Mode 2 (Map Recorder) | \nUnlocks 250+ hours of path tracking on your Hyrule map | \n
The question is it worth completing all 152 Shrines? Absolutely. Even if you don't care about 100% completion, hitting the max 30 Hearts lets you tank one hit from any endgame boss (including the Demon King Ganondorf final phase, which deals 28 damage per unblocked hit at base defense), and 3 full Stamina Wheels let you climb any mountain without stopping. There's no other source of extra Hearts or Stamina in the game outside of Shrines, so this is non-negotiable for endgame.
\n\nMissable Shrines Warning: What Can Lock You Out Of A Shrine
\nThere are 5 semi-missable Shrines in TotK that will not spawn if you complete certain main story quests out of order, but none are permanently missable. You can always return and unlock them after beating the main quest, as the Shrine will spawn once you backtrack to the quest trigger. The most common lockout happens with the Shrines tied to the Main Quest: Dragon's Tears — if you complete all Dragon's Tears before triggering the Shrine quest, it will still spawn after you finish the main story. The only permanent soft lock is if you glitch a Shrine out of existence via ultrahand manipulation, which is extremely rare and fixed by reloading your save.
\n\nRegion-by-Region Shrine Breakdown: All Locations & Step-by-Step Solutions
\nWe've organized all 152 Shrines by region to match the in-game map. Check off each one as you go, and click the solution for any puzzle you get stuck on.
\n\nGreat Sky Island (Starting Region) — 5 Shrines Total
\n- \n
- 1. In-isa Shrine Location: Coordinates (0133, 1430, 2100)
Solution: 1. Use Ultrahand to grab the two planks and connect them into a bridge across the gap. 2. Lift the large boulder off the pressure plate to open the exit gate. Treasure chest: 10 Arrows. This is the tutorial Shrine, so it's impossible to miss. \n - 2. Gutanbac Shrine Location: Coordinates (0689, 1496, 1533)
Solution: 1. Climb the icy wall by pausing to let your stamina recharge on the outcroppings. 2. Use Ascend through the hollow platform to reach the upper level. 3. Glide across the gap to the altar. Treasure chest: Light Armor. \n - 3. Owlan Shrine Location: Coordinates (0121, 1393, 1537)
Solution: 1. Use Recall on the falling platform to reverse its movement and ride it up to the upper level. 2. Avoid the falling rocks by standing between the spawn points. 3. Exit to the altar. Treasure chest: 5 Bomb Flowers. \n - 4. Ukouh Shrine Location: Coordinates (0283, 1404, 1860)
Solution: 1. Build a vertical stack of 3 planks to reach the higher platform. 2. Build a wheeled cart to cross the gap to the exit. Treasure chest: 5 Keese Eyeballs. \n - 5. Nachoyah Shrine Location: Coordinates (0335, 1355, 1308)
Solution: Unlocked after completing the Great Sky Island tutorial. Just walk to the altar — no puzzle required. Treasure chest: 100 Rupees. \n
Hyrule Field (Central Hyrule) — 14 Shrines Total
\n- \n
- 6. Ekochiu Shrine Location: Coordinates (0171, 0845, 0074), Central Hyrule Caves
Solution: 1. Use Ascend through the moving platform to bypass the first gap. 2. Attach a rocket to a large metal cube to launch it at the exit gate switch. Treasure chest: Sapphire. \n - 7. Igoshon Shrine Location: Coordinates (0484, 0728, 0051)
Solution: Orbs of Water puzzle: 1. Drop an orb into the left channel to trigger the lower switch. 2. Use Ultrahand to move the second orb to the right channel and drop it to trigger the upper switch. Treasure chest: 10 Fire Arrows. \n - 8. Jiosin Shrine Location: Coordinates (0343, 0546, 0077)
Solution: Shape Fitting puzzle: 1. Attach the two small L-shaped blocks to make a rectangle that fits into the gate slot. 2. Walk through to the altar. Treasure chest: Small Key. \n - 9. Kaamm Ytak Shrine Location: Coordinates (0785, 0817, 0165)
Solution: Proving Grounds: Traverse. 1. Kill all 3 Moblins using the environment (drop the hanging stone on the first Moblin for a onehit kill). 2. Use Ascend to reach the exit. Treasure chest: Soldier's Shield. \n - 10. Katah Chuki Shrine Location: Coordinates (0086, 0878, 0131)
Solution: A Minor Test of Strength. 1. Parry the Guardian Scout's first 3 attacks to break its 400 poise and stagger it. 2. Deal 250 damage to kill it. Treasure chest: Knight's Claymore. \n - 11. Kyokugon Shrine Location: Coordinates (0246, 0247, 0037), inside Hyrule Castle
Solution: Aligning the Crystals puzzle: 1. Rotate the 3 floating crystals until all three beams align with the altar receiver. 2. Stand back and let the beams do the work — no need to connect anything. Treasure chest: Royal Bow. \n - 12. Mayachin Shrine Location: Coordinates (0366, 0537, 0088)
Solution: A Door is Opening puzzle: 1. Use Recall on the left door to open it, then run through before it closes. 2. Use Ultrahand to attach the door to the right track to permanently hold the right door open. Treasure chest: Mighty Bananas (5). \n - 13. Mayoidao Shrine Location: Coordinates (0197, 0749, 0006)
Solution: The Carver's Sword puzzle: 1. Cut the ice block into a shape that matches the pedestal indent (a 2x1 rectangle). 2. Place the cut block on the pedestal to unlock the altar. Treasure chest: Ice Rod. \n - 14. Morok Shrine Location: Coordinates (0566, 0993, 0104)
Solution: In the Treeline. 1. Use the giant pine cone as a wheel attached to a plank to roll across the gap. 2. Launch off the ramp to hit the exit switch. Treasure chest: Ruby. \n - 15. Ninjis Shrine Location: Coordinates (0314, 0491, 0030), Hyrule Castle Moat
Solution: Ninjis's Blessing. Unlocked after completing the Hyrule Castle main quest step. Just collect your reward. Treasure chest: Royal Guard's Sword. \n - 16. O-ogim Shrine Location: Coordinates (0474, 0808, 0162)
Solution: A Bouncy Device puzzle: 1. Attach a spring to the end of a plank to bounce up to the exit platform. 2. Don't overshoot — adjust the spring angle to 45 degrees for perfect height. Treasure chest: 50 Rupees. \n - 17. Ren-iz Shrine Location: Coordinates (0034, 0630, 0083), Great Hyrule Forest Edge
Solution: Pass Through the Gates puzzle: 1. Use Ascend through the first gate, then recall the moving platform to ride across the second gate. 2. Align the two gates to create a straight path. Treasure chest: Forest Spear. \n - 18. Runakit Shrine Location: Coordinates (0276, 0902, 0055)
Solution: Power of Electricity puzzle: 1. Connect the battery to the fan to move the floating platform across the gap. 2. Use a shock fruit on the final switch if the battery runs out. Treasure chest: 10 Shock Arrows. \n - 19. Serutabomac Shrine Location: Coordinates (0179, 0181, 0079), inside Hyrule Castle
Solution: A Major Test of Strength. Guardian Scout has 600 HP and 500 poise. 1. Use flurry rush after every parry to kill it in 3 cycles. Treasure chest: Royal Claymore. \n
Necluda Region (East-South Hyrule) — 12 Shrines Total
\n- \n
- 20. Dahi'shey Shrine Location: Coordinates (1856, -0858, 0139), Hateno Hill
Solution: The Power of Water puzzle: 1. Fill the basin with water using a water bubble from the nearby spring to lift the orb up to the pressure plate. Treasure chest: 50 Rupees. \n - 21. Domizuin Shrine Location: Coordinates (1660, -1212, 0108), Necluda Sea
Solution: A Prone Pathway puzzle: 1. Crawl under the first laser barrier, then use Ultrahand to move the stone pillar over the second barrier to block the laser. 2. Crawl to the exit. Treasure chest: Soldier's Bow. \n - 22. Jonsau Shrine Location: Coordinates (1442, -0986, 0116), Blue Mountains
Solution: Jonsau's Blessing. Unlocked after completing the Ancient Tree to get the Green Climber Shirt. Treasure chest: Climbing Gear Shirt. \n - 23. Kamizum Shrine Location: Coordinates (1460, -0666, 0030), Kamizum Cave
Solution: Hidden Horizons. 1. Use Ascend through the cave ceiling to reach the Shrine entrance. 2. Solve the moving platform puzzle by attaching a wheel to the platform to move it to the exit. Treasure chest: Diamond. \n - 24. Kitawak Shrine Location: Coordinates (1592, -1114, 0094), Hateno Village
Solution: Up and Down puzzle: 1. Use Ascend to reach the upper level, then place a rock on the lower pressure plate to open the exit. 2. Drop back down through the gap to exit. Treasure chest: Hateno Cow Cheese (3). \n - 25. Marakudach Shrine Location: Coordinates (1770, -1438, 0130), Cape Cales
Solution: The Path Up puzzle: 1. Attach rockets to the wall to create climbable platforms. 2. Launch yourself up the wall with three rockets in sequence. Treasure chest: Ruby. \n - 26. Miontas Shrine Location: Coordinates (1818, -0752, 0202), Mount Lanayru
Solution: A Weighty Decision puzzle: 1. Place 3 large rocks on the pressure plate to weigh it down enough to open the gate. 2. Don't use metal rocks — they're not heavy enough. Treasure chest: Sapphire. \n - 27. Oakin Shrine Location: Coordinates (1202, -1014, 0155), Dueling Peaks
Solution: A Row of Five Lights puzzle: 1. Light the torches in order from left to right (the order marked by the carvings on the wall). 2. Don't light the wrong one — it resets the puzzle. Treasure chest: Dueling Peaks Claymore. \n - 28. Sifumim Shrine Location: Coordinates (1904, -1080, 0096), Lanayru Wetlands
Solution: The Bridge Between puzzle: 1. Use the two stone planks to connect the two pillars, then place the orb on top to trigger the switch. 2. Don't make the bridge too long — it will fall if it's unbalanced. Treasure chest: 100 Rupees. \n - 29. Tadarok Shrine Location: Coordinates (1184, -0874, 0118), Dueling Peaks South Cave
Solution: Water and Fire puzzle: 1. Melt the ice blocking the first switch with fire, then freeze the water blocking the second switch with ice. 2. Open both gates to reach the altar. Treasure chest: Flameblade. \n - 30. Tsuk-ok Shrine Location: Co


