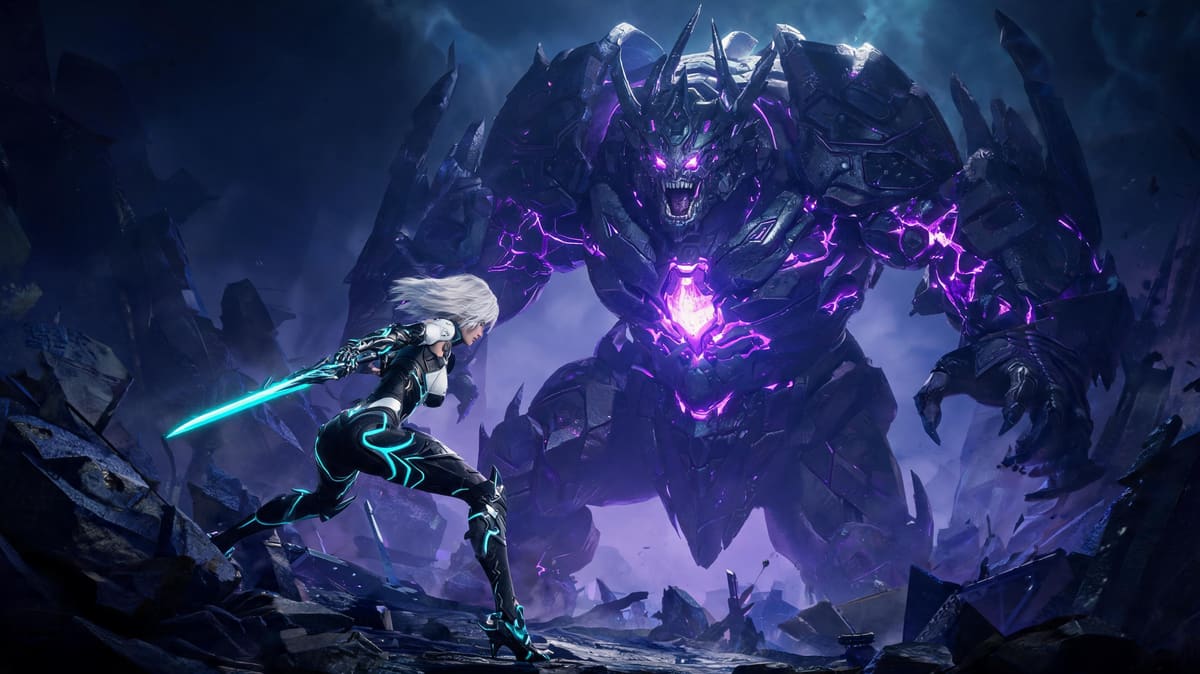
TL;DR Summary
- There are 38 total cans to collect across 6 regions in Stellar Blade — 16 are mandatory, 22 are missable hidden items
- Full 100% completion unlocks the Special Cold Drink that permanently boosts your max HP by 5% and gives 10% poison resistance — a huge win for late-game boss fights
- Only 2 cans are permanently missable if you beat the final boss: Matis Soda Can and Ocean Blue Can
- Use our region-by-region walkthrough and interactive checklist below to knock this out in 2-3 hours of total playtime
Overview: How Many Cans Are There In Stellar Blade?
Cans are the only permanent missable collectible type in Stellar Blade, and the full drinks collection reward is actually useful for endgame, not just a cosmetic trophy. Let's break down the basics before we dive into locations:
- Total Cans: 38
- Missable Cans: 2 (lost after final boss)
- Hidden Cans: 17 (not marked on any in-game map)
- Required for Trophy: 38 (100% collection to unlock 'Mixologist' silver trophy)
When you collect a can, you turn it in to the vending machine at Xion's Bar to unlock a permanent drink effect. Most effects are minor, but the final reward for full collection is game-changing for NG+ and hard mode runs. Let's rank the drink effects by power to show why this grind is worth your time:
| Tier | Drink Effect | Value | Verdict |
|---|---|---|---|
| S | Special Cold Drink (full collection reward) | +5% Max HP, +10% Poison Resistance | Must-have — this permanently buffs Eve across all playthroughs. 5% extra HP is enough to survive one-shot mechanics from the final two bosses on hard mode. |
| A | Sparkling Citrus Drink | +2% Parry Window | Massive QoL improvement for hardcore players. 2% extra parry window (~3 frames on PS5) cuts down on parry misses against fast attack strings. |
| A | Energy Bitter Drink | +3% Skill Damage | 3% extra skill damage adds ~120-150 extra damage per Beta Skill burst — that shaves 2-3 seconds off every late-game DPS check. |
| B | Red Tango Drink | +2% Crit Chance | Solid minor buff, nothing game-changing. Adds roughly 1 crit every 10 hits on average. |
| B | Green Garden Drink | +2% Stagger Damage | Great for crowd control, but only matters for large groups of trash mobs. |
| C | All other common drinks | +1% Crit Damage / +1% Defense | Minor stats, but required for full completion anyway. |
Missable Cans Warning: Don't Lock These Out Before Beating The Game
Only two cans are permanently missable in Stellar Blade, but if you miss them, you have to start a whole new playthrough to get them. Mark these down first:
- Matis Soda Can: Found in the Matrix 11 Back Alleys before you defeat the Tachy boss. After beating Tachy, the Back Alleys lock permanently, so you can't go back.
- Ocean Blue Can: Found on the Abandoned Pier before you enter the final boss fight against the Arch Enemy. Once you beat the Arch Enemy, the entire Wasteland coastal region locks, and you can't return.
If you're in endgame and haven't grabbed these two, stop reading this guide and go get them right now before you beat the final boss.
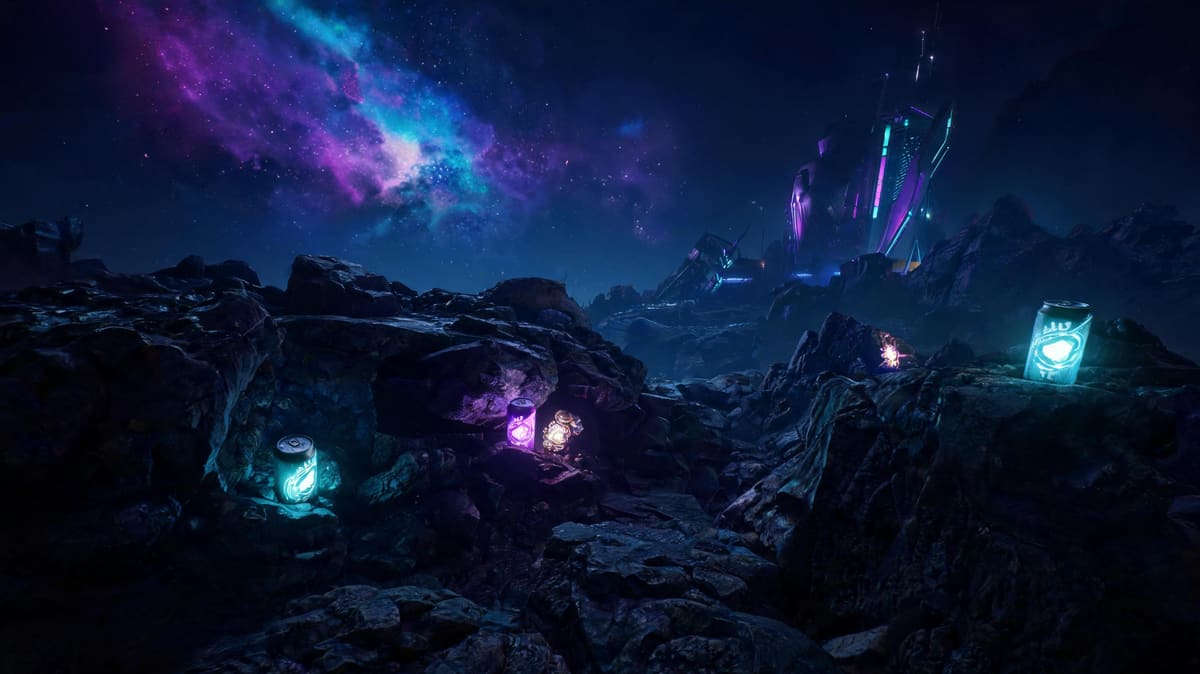
Region-By-Region All Can Locations Walkthrough (Numbered Checklist)
We're going in order of progression, so you can follow this guide along with your first playthrough no problem. Each entry has exact location, map reference, and a note if it's missable or hidden.
1. Matrix 11 (10 Total Cans: 3 Missable, 6 Hidden)
Matrix 11 is the first open region you unlock, and it has more missable cans than any other zone. Use this checklist:
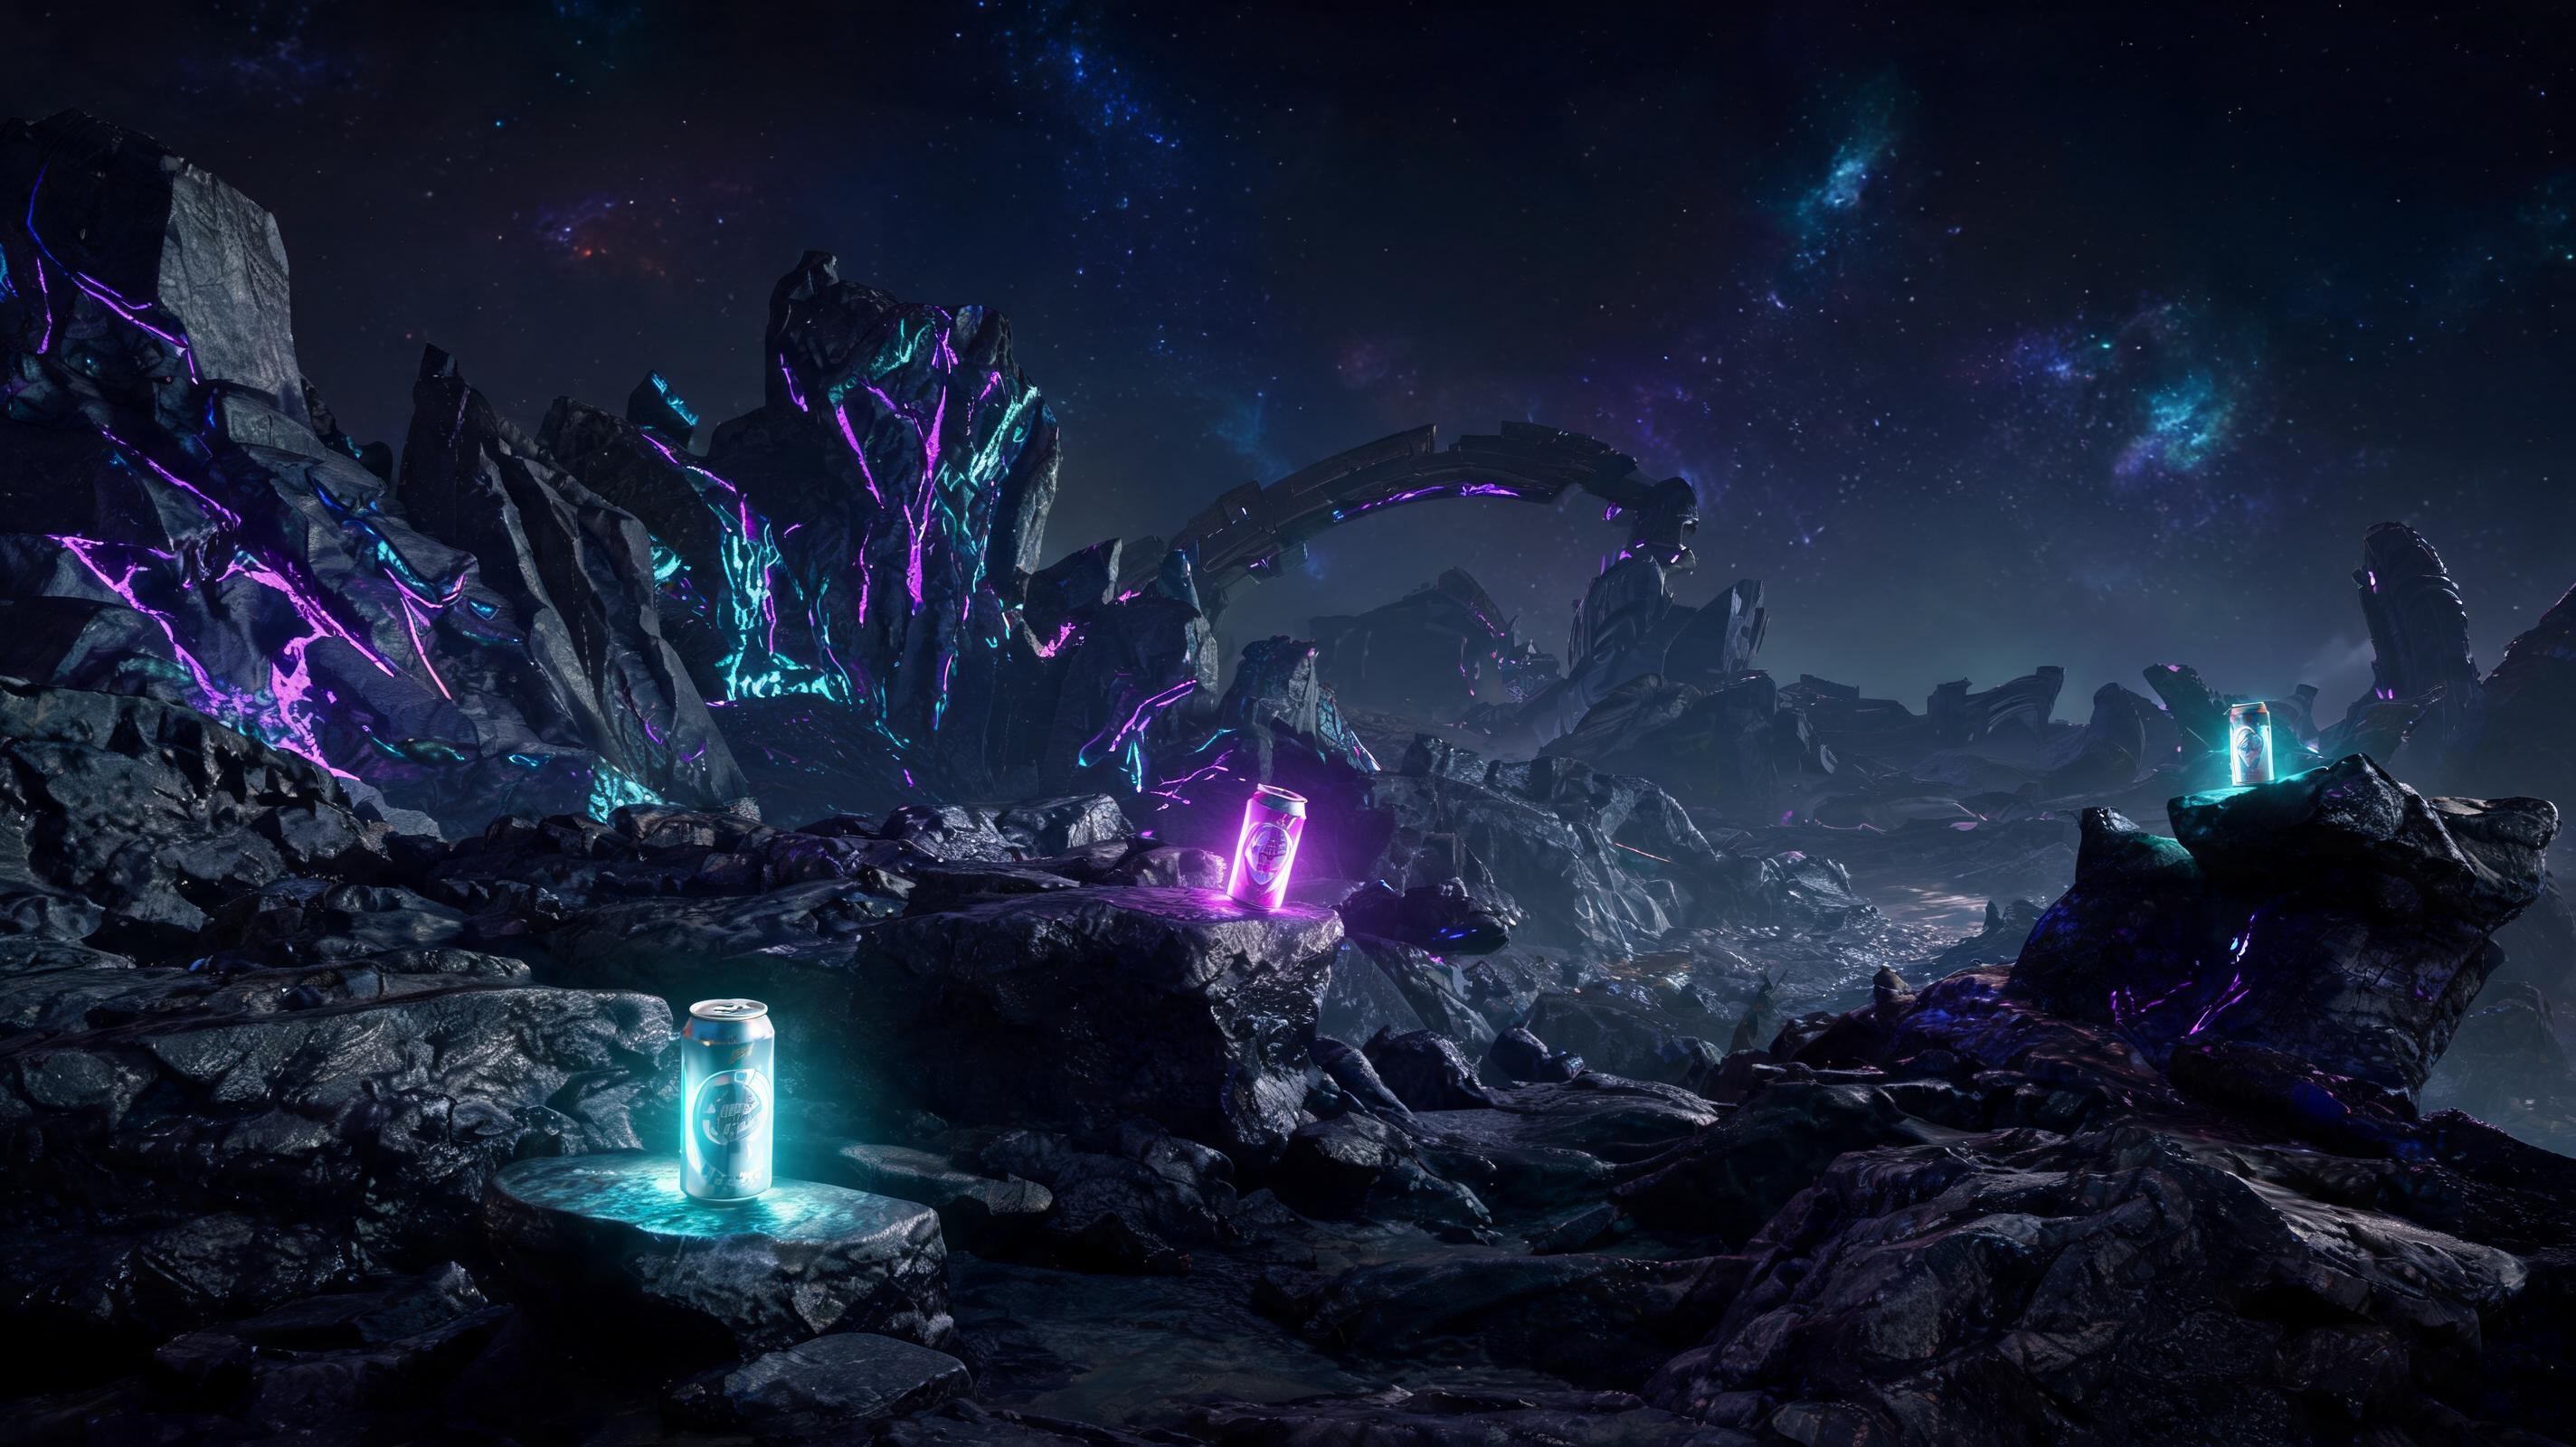
- Golden Wheat Can — Location: Spawns right next to the first supply camp after you exit the starting train. Can't miss it, it's on top of a crate 10 feet from the camp entrance. Map Reference: Grid A1, X: 124, Y: 287
- Clear Dew Can — Location: In the large parking garage on the west side of the zone, behind the locked gated entrance on the first floor. You need level 2 lockpicking to get this one. Map Reference: Grid B2, X: 98, Y: 241
- Sweet Berry Can — Location: On the roof of the parking garage, behind the broken billboard. Drop down from the main roof path to grab it. Map Reference: Grid B2, X: 101, Y: 239
- Matis Soda Can — MISSABLE — Location: Back Alleys section, inside the destroyed convenience store on the left side of the main path. Before the Tachy boss fight. After beating Tachy, the Back Alleys lock forever. Map Reference: Grid C3, X: 152, Y: 198
- Forest Mint Can — HIDDEN — Location: In the alley behind the convenience store where you found Matis Soda. Crawl through the broken vent to reach the hidden back room. Map Reference: Grid C3, X: 154, Y: 197
- Royal Cola Can — Location: After exiting the Back Alleys, before the boss arena, check the broken bus stop on the right side of the road. It's sitting on the bench. Map Reference: Grid C4, X: 158, Y: 189
- Mountain Rain Can — HIDDEN — Location: After beating Tachy, you exit Matrix 11 through the sewer system. Halfway through the sewers, there's a hidden side path to the left that leads to a submerged chest. The can is inside the chest. Map Reference: Grid D5, X: 172, Y: 176
- Silver Spark Can — HIDDEN — Location: At the sewer exit, climb the broken ladder to the upper ledge. It's behind the crates on the ledge. Map Reference: Grid D5, X: 178, Y: 171
- Fire Cherry Can — HIDDEN — Location: Outside the sewer exit, check the destroyed food truck on the right side of the road. It's in the back of the truck. Map Reference: Grid E4, X: 182, Y: 179
- Twilight Berry Can — HIDDEN — Location: On the overpass leading to the Wasteland entrance, jump down to the lower maintenance platform. It's on a toolbox. Map Reference: Grid E3, X: 189, Y: 192
2. Wasteland (12 Total Cans: 1 Missable, 7 Hidden)
Wasteland is the second big open zone, and most of the cans are hidden off the main path. Only one is permanently missable, right at the end of the zone:
- Desert Wind Can — Location: Right at the Wasteland entrance, next to the first supply camp. On top of the broken guard tower. Map Reference: Grid A1, X: 45, Y: 312
- Crimson Isle Can — HIDDEN — Location: In the broken oil refinery, on the second floor, behind the locked storage door. Level 2 lockpicking required. Map Reference: Grid B2, X: 78, Y: 298
- Northern Ale Can — HIDDEN — Location: Under the refinery, in the underground pipeline. Crawl through the 100-foot pipe to reach the hidden dead end where the can spawns. Map Reference: Grid B3, X: 82, Y: 289
- Blue Sky Can — Location: In the abandoned truck stop, on the counter of the diner. It's right out in the open on the main path. Map Reference: Grid C4, X: 112, Y: 276
- Black Gold Can — HIDDEN — Location: Behind the diner, in the broken septic tank. Drop down into the tank to find it on a ledge. Map Reference: Grid C4, X: 114, Y: 274
- Sunset Cola Can — Location: At the Great Divide canyon, on the southern overlook. It's next to the corpse of a dead scavenger. Map Reference: Grid D5, X: 145, Y: 261
- Sandy Breeze Can — HIDDEN — Location: At the bottom of the Great Divide canyon, in the cave behind the waterfall. It's in the left back corner of the cave. Map Reference: Grid D6, X: 148, Y: 255
- Purple Haze Can — HIDDEN — Location: In the scrap yard, inside the crushed blue school bus on the north side of the yard. Map Reference: Grid E4, X: 172, Y: 268
- Storm Chaser Can — Location: On the boss arena approach for the Gigas boss, next to the broken ammo crate. It's on the main path, can't miss it. Map Reference: Grid F5, X: 198, Y: 259
- Coastal Fog Can — HIDDEN — Location: After beating Gigas, take the side path north to the abandoned lighthouse. Climb to the top of the lighthouse to find the can on the observation deck. Map Reference: Grid F2, X: 201, Y: 287
- Ocean Blue Can — MISSABLE — Location: Abandoned Pier, before the final cutscene that takes you to the final boss. Check the end of the pier, behind the broken concession stand. Once you beat the Arch Enemy, the entire coastal region locks, so grab this before you enter the boss arena. Map Reference: Grid G1, X: 224, Y: 298
- Tidal Wave Can — HIDDEN — Location: Under the Abandoned Pier, on the lower rock outcropping. Jump down from the pier to reach it. Map Reference: Grid G1, X: 222, Y: 296
3. Xion (4 Total Cans: 0 Missable, 2 Hidden)
All Xion cans are available after you unlock the city, no missables here. You can come back to grab these any time before the final boss:
- City Lights Can — Location: On the bar counter inside the main Xion Bar. Right where you turn in all your cans, can't miss it. Map Reference: Central District, Grid B2, X: 89, Y: 145
- Night Market Can — HIDDEN — Location: In the residential district, behind the locked door of the abandoned apartment. Level 3 lockpicking required. It's on the kitchen counter. Map Reference: Residential District, Grid C3, X: 102, Y: 132
- Capital Cola Can — Location: On the roof of the main Xion market building, next to the sky observation deck. Map Reference: Central District, Grid B3, X: 91, Y: 138
- Neon Glow Can — HIDDEN — Location: In the underground sewer access below the market. Crawl through the broken pipe to reach the hidden storage room. Map Reference: Central District, Grid B4, X: 93, Y: 131
4. Great Desert (6 Total Cans: 0 Missable, 2 Hidden)
Great Desert is the optional late-game open zone, and all cans here stay accessible after you beat the main story. No missables:
- Dune Drifter Can — Location: Right next to the Great Desert entrance supply camp. On top of the broken dune buggy. Map Reference: Grid A1, X: 22, Y: 108
- Sand Storm Can — Location: In the first oases you find, on the picnic table next to the ruined campground. Map Reference: Grid B2,