TL;DR Quick Hit Boss Tips
- Gigas has 2 full phases with a 10% HP enrage transition at 4125 total HP — parry his double overhead slam for a 3.5s punish window that deals 40% extra damage
- Best meta loadout is +5 Ninja Blade, level 8 Perfect Parry skill, and the Shock Grenade accessory for staggered 300 extra shock damage
- Perfect parries on Gigas’ unblockable red attacks fill 18% of your Beta Gauge per parry — chain two for an immediate Beta Skill nuke
- Only roll towards his charge attack to avoid the post-charge slam AoE; rolling away guarantees you take 120 damage that ignores 30% of your defense
Gigas Boss Fight Overview
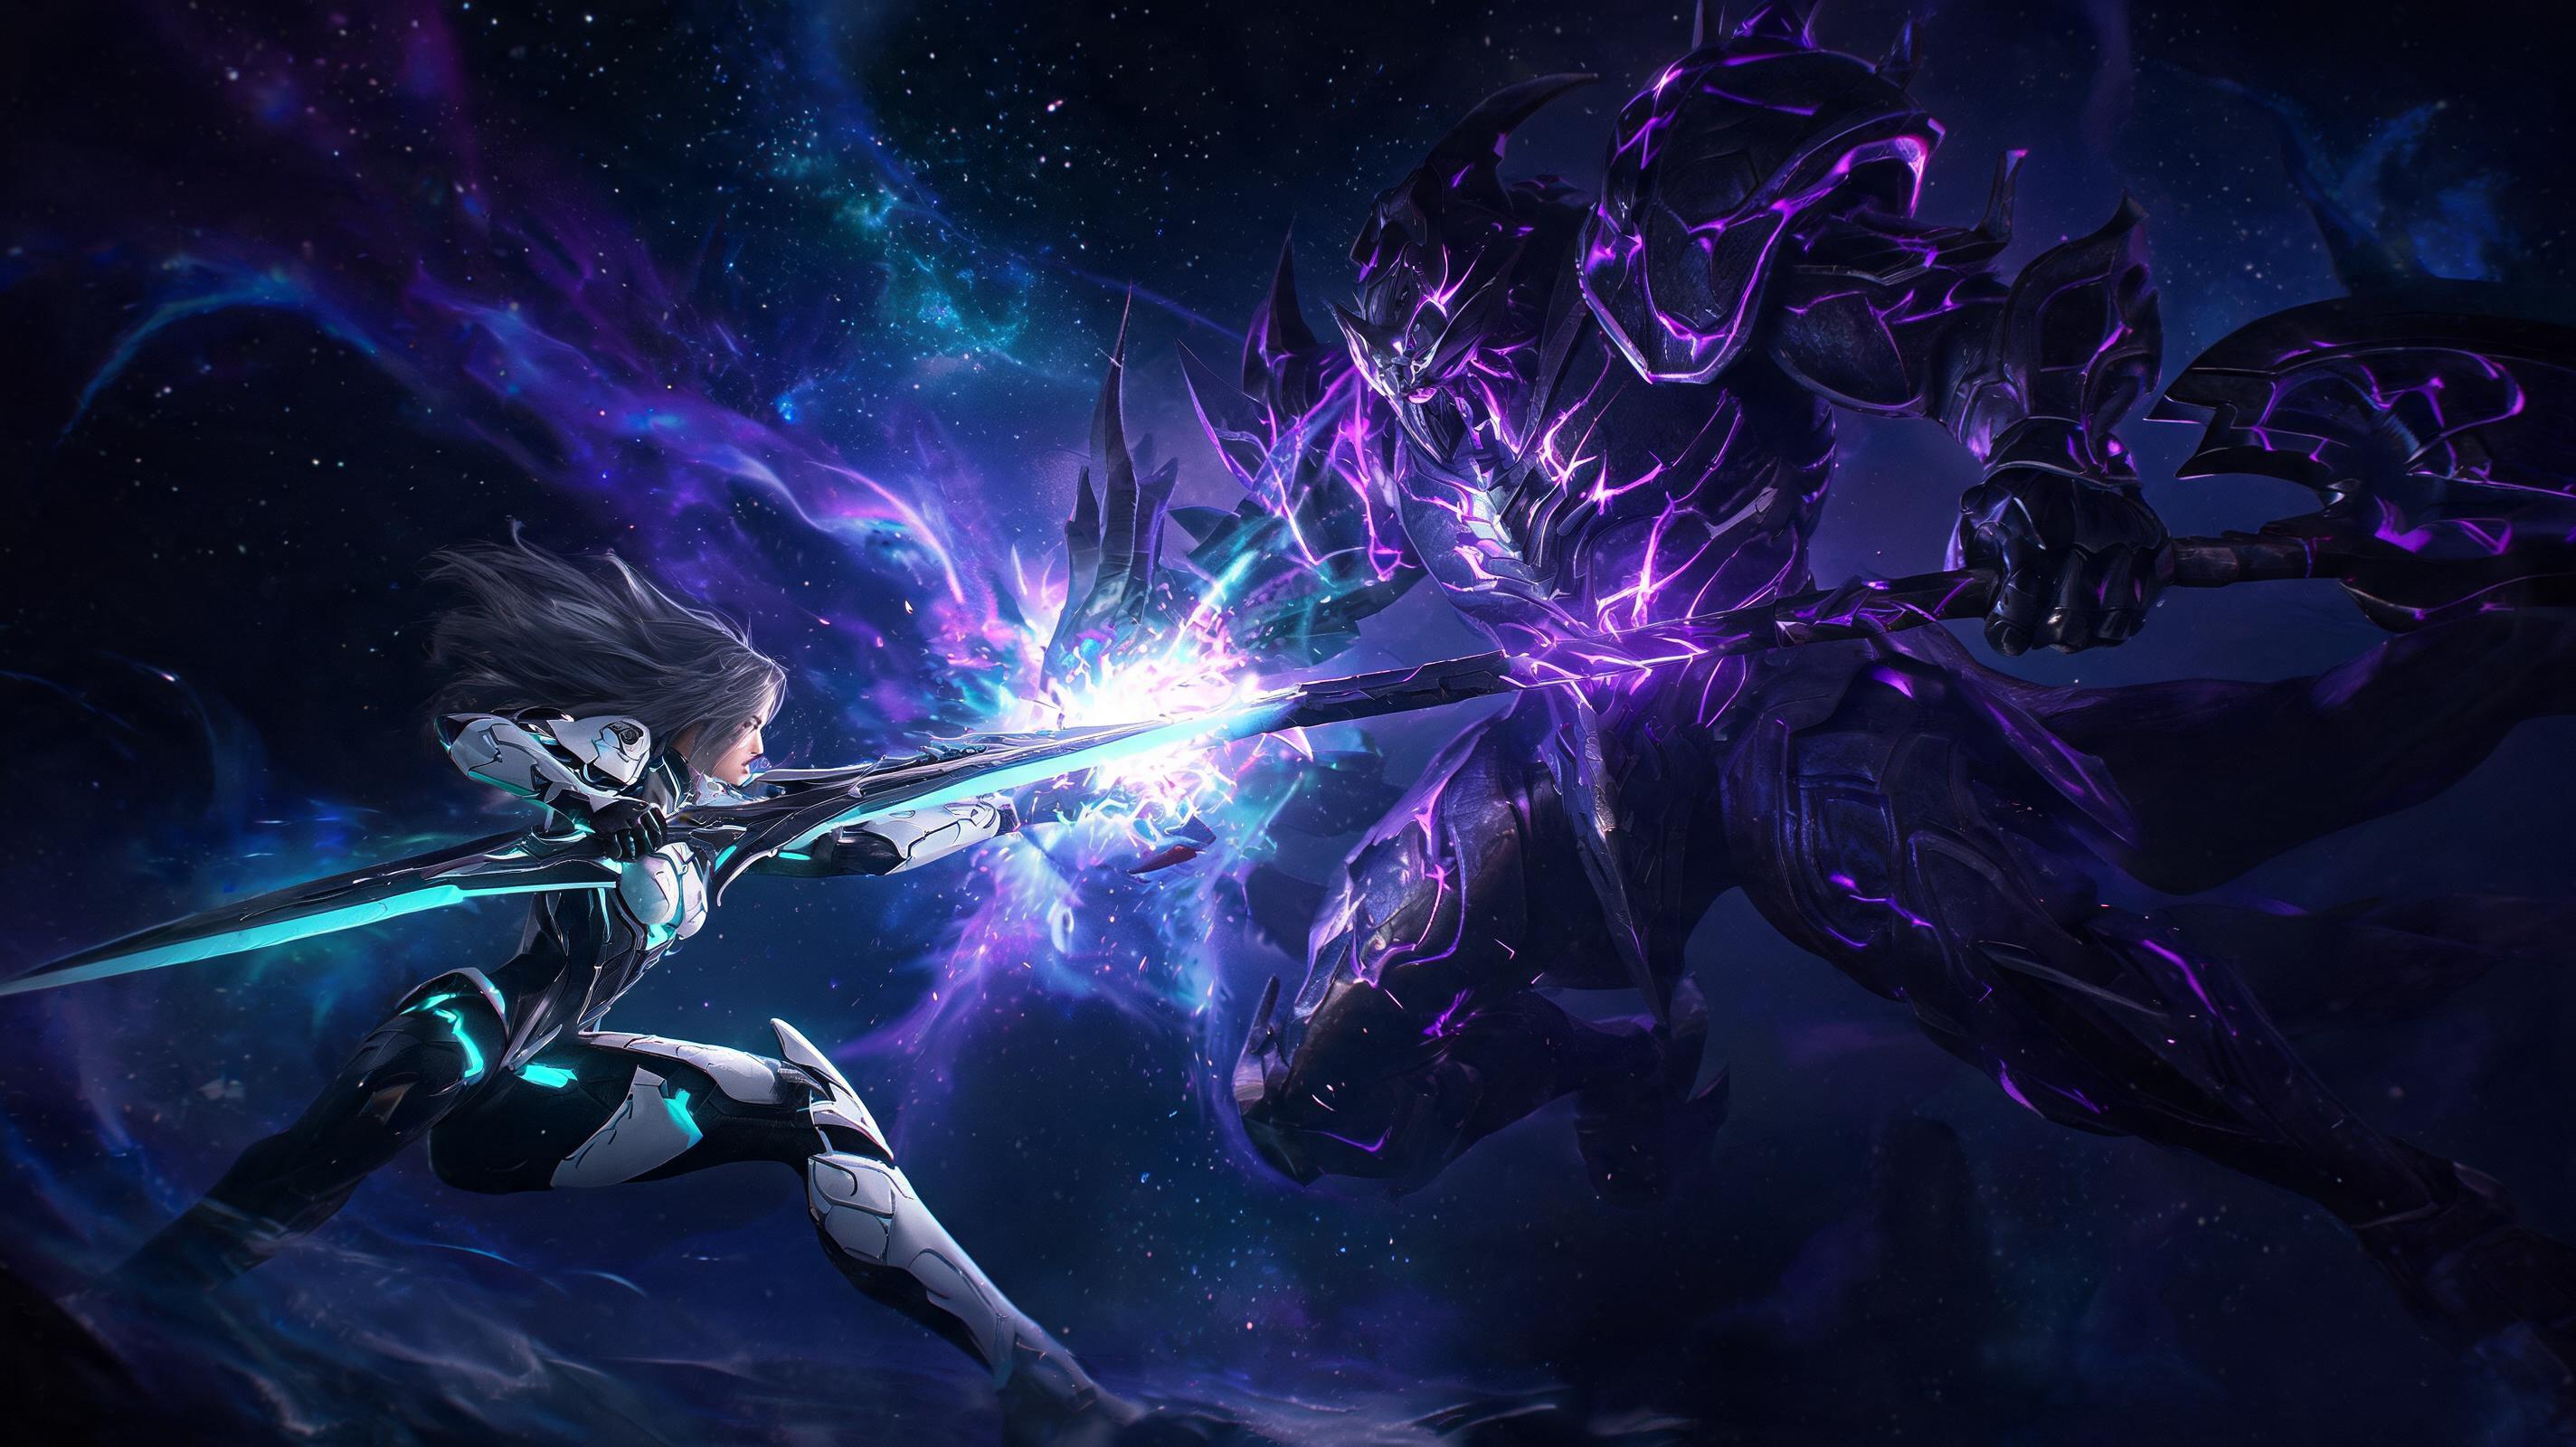
Gigas is the first big wall you hit in Stellar Blade, the massive brute Naytib that guards the entrance to Xion in the early game. Most players blow their cooldowns and healing items here before phase 2 even starts, because they don’t recognize his attack tells and mess up parry timing. This isn’t a DPS check — it’s a parry skill check, and mastering this fight sets you up for every harder boss later in the game.
Gigas has a total of 4125 HP split across two phases, with a forced transition at 1500 HP (roughly 36% total HP) that triggers his enrage. All of his melee attacks can be parried, except for two unblockable red-tint attacks that require either a perfect parry or a well-timed roll. Mess up a parry and he’ll deal 85-150 damage per hit — that’s half your max HP at this point in the game, so one wrong combo and you’re dead.
The goal of this guide isn’t just to tell you how to defeat Gigas — it’s to teach you how to beat him no damage consistently, so you can earn the S-Rank clear and the exclusive Tactical Vest accessory that gives +10% parry damage for the rest of your playthrough.
Recommended Loadout & Setup (Pre-Boss)
You fight Gigas right after you get the Beta Gauge skill, so you have access to all core combat mechanics at this point. Below is the tiered ranking of best gear and skills for this fight, based on min-max testing:
| Slot | S Tier (Best) | A Tier (Solid Alternative) | B Tier (Skip Unless You Have Nothing Else) |
|---|---|---|---|
| Primary Weapon | +5 Ninja Blade (120 base damage, 15% faster attack speed) | +3 Plasma Blade (135 base damage, 10% extra stagger damage) | +1 Standard Blade (90 base damage, no bonuses) |
| Accessory 1 | Shock Grenade Pouch (3 charges, 100 shock damage per grenade, 50% stagger boost) | Shock Absorber (reduces chip damage by 20% after failed parry) | Extra Healing Vial (+1 vial, no damage bonus) |
| Accessory 2 | Beta Gauge Booster (+15% gauge fill on parry) | Critical Damage Up (+10% crit damage on counterattacks) | Move Speed Up (only useful if you’re bad at rolling) |
| Core Skills | Level 8 Perfect Parry (15% extra counter damage, +18% Beta Gauge per parry) | Level 5 Reflex Roll (0.2s longer i-frame window for rolls) | Level 3 Healing Boost (+20 HP per vial) |
Required Stat Breakpoints
At this point in the game, you should hit these stats before pulling Gigas:
- Minimum HP: 280+ (lets you take one bad hit and still counter, instead of getting one-shot)
- Minimum Attack: 110+ (lets you get the phase transition before he enrages early if you miss 2+ parries)
- Perfect Parry I-Frame Window: At least 0.3s. If you haven’t upgraded the skill yet, go farm 500 gold and 10 Monster Parts from the starting area to get it to level 3 minimum. The 0.1s extra window is non-negotiable for new players.
Phase-By-Phase Breakdown (HP Thresholds & Transition)
Gigas’ fight is split cleanly into two phases, with a scripted transition that you can abuse for extra damage. Here’s the full breakdown:
Phase 1: 4125 HP → 1500 HP (2625 total HP to burn)
Phase 1 Gigas uses 6 core attack patterns, all with slow, obvious tells that are easy to parry once you learn the timing. He only has one unblockable attack in this phase, so you can spend most of this phase building your Beta Gauge for a phase 2 nuke. Do not burn your Beta Skill in phase 1 unless you get a full 100% gauge and a 4s punish window — save it for phase 2 enrage.
Phase 1 is also where you practice all the parry timing you’ll need for the rest of the fight. Let’s break down every attack pattern, parry window, and punish window below:
Full Attack Pattern & Parry Timing Breakdown
| Attack Name | Tell | Parry Window | Punish Window | Damage (If Hit) | Best Punish |
|---|---|---|---|---|---|
| Single Overhand Slam | Arcs right arm back, glints blue for 0.8s before slamming | 0.3s before impact (0.1s after the blue glint fades) | 1.2s | 85 damage | 2 light combo hits → back off |
| Left-Right Double Swipe | Staggers left, then right, arms glow blue before each swipe | First parry 0.2s before first swipe lands, second parry 0.4s after first parry | 1.8s after second parry | 75 per swipe (150 total) | 3 light hits + 1 heavy hit → back off |
| Double Overhead Slam (Unblockable Red) | Arcs both arms back, entire axe glows red for 1s before slamming | 0.2s before first slam connects (right when the red glow gets brightest) | 3.5s after parry | 140 damage, 30% defense ignore | Full 4-hit light combo + heavy finisher → if you have a Beta Skill, dump it here |
| Running Charge | Lower his head, tucks axe behind his back, sprints toward you | Not parryable — roll toward his right side 0.3s before he reaches you | 2.2s after he misses the charge | 120 damage, AoE splash if you roll away | 2 heavy hits to his back |
| Stomp Combo | Lifts left leg up, shakes for 0.5s before stomping | 0.2s before foot hits the ground; repeat for 3 stomps | 1.5s after third stomp | 60 per stomp | 1 hit per stomp if you parry, 2 hits after final parry |
| Horizontal Axe Spin | Spins axe over his head 2 times, glows blue before the spin | Parry on the third rotation (0.1s before it hits your torso) | 1.0s after parry | 95 damage | 1 light hit, don’t get greedy |
When you hit 1500 HP, Gigas will trigger a scripted transition: he jumps back 20m, roars, and covers his axe in red enrage energy. This transition lasts 5 full seconds — you have enough time to throw a Shock Grenade, heal if you need to, and get 2 free heavy hits in before phase 2 starts. Don’t waste this window standing back waiting for him to attack.
Phase 2: 1500 HP → 0 HP (Enrage Mode)
Phase 2 Gigas gets 30% faster attack speed, adds one new unblockable attack, and every attack deals 20% extra damage. He also gains 20% poise, so you can’t stagger him with light combo hits anymore unless you stun him with a grenade or Beta Skill. The good news? All his existing attack patterns keep the same parry timing — you just have to react faster.
His new phase 2 exclusive attack is the Leaping Slam AoE, an unblockable red attack that covers 70% of the arena. Let’s break it down:
- Tell: Gigas jumps 10m back, crouches, and his entire body glows red for 1.2s before leaping
- Parry Timing: 0.2s before he lands on top of you. The hitbox is active the second his feet touch the ground, so don’t parry early.
- Punish Window: 4 full seconds after a perfect parry — this is the biggest punish window in the entire fight.
- Damage If Hit: 180 damage — that’s a one-shot for most players going into this fight with sub-200 HP.
- Backup Roll: If you miss the parry timing, roll directly toward the edge of the arena as soon as he leaves the ground — the AoE damage drops off sharply outside the center 10m, so you’ll only take 40 chip damage instead of getting one-shot.
The other big change in phase 2 is that he chains attacks together faster. After you punish a single slam, he’ll often immediately follow up with a double swipe 0.5s faster than he did in phase 1. Don’t overcommit to punish hits — always stay within parry range after your 2-3 hits, don’t do a full 4-hit combo unless you have a 3s+ window.
When you get him down to 400 HP (10% total HP), he’ll enter a mini-enrage where he spams Double Overhead Slam 2-3 times in a row. This is where you burn your remaining grenades and Beta Skill to finish him off before he can get a lucky one-shot off on you.
How to Consistent Perfect Parry Gigas (No Damage Strategy)
The biggest mistake hardcore and new players alike make is mashing the parry button too early. Gigas’ attacks have long windups, and the parry window is always right before impact, not when he starts the attack. Here’s the 3-step rule I use to get 90%+ perfect parries on Gigas every time:
- Hold your lock-on at all times. Don’t chase him around the arena — let him come to you. Staying centered gives you more room to roll out of AoE attacks.
- As soon as you see the attack tell (glow, arm movement), start counting the windup time in your head. For blue regular attacks, parry when 80% of the windup is done. For red unblockable attacks, parry when 90% of the windup is done.
- After a successful parry, only hit as many times as the punish window allows. If the window is 1.2s, that’s 2 light hits max. Don’t get greedy for a third — you’ll get hit by a counterattack.
For a no damage run, the core rule is: only attack during punish windows. If you’re just whacking him after he blocks or misses, you’re opening yourself up to a counter. Wait for him to attack, parry it, then punish. That’s it. Gigas doesn’t have a time limit, so you can take it slow and wait for the right attacks. A no damage clear only takes 3-4 minutes once you get the timing down.
Common Mistakes That Get You Killed
I’ve fought Gigas over 20 times testing different strategies, and these are the most common mistakes I see players making that cost them the fight:
- Rolling away from Gigas’ charge attack: Rolling away puts you right in the path of the post-charge slam AoE, which deals 120 damage with 30% defense ignore. Rolling toward his right side gets you behind him, gives you a 2.2s punish window, and you take zero damage. This is the #1 mistake I see new players make.
- Burning Beta Skill in phase 1: If you dump your Beta Skill in phase 1 when you fill the gauge, you’re wasting a 600+ damage nuke that can skip half of phase 2 enrage. Save it for a 3s+ punish window in phase 2, or for the end of phase 1 transition when Gigas is vulnerable for 5s.
- Overcommitting to punish hits: A 1.2s punish window only has enough time for 2 light hits. If you try to fit a third hit or a heavy finisher, Gigas will already be out of his stun and hit you for half your HP. Remember: extra damage isn’t worth getting one-shot. Play the long game.
- Standing in the center of the arena during the phase 2 Leaping Slam: The Leaping Slam’s one-shot damage is only guaranteed if you’re in the center. If you strafe to the edge of the arena as he jumps, you can avoid the full damage even if you miss the parry. Most players just stand still waiting to parry, and get one-shot if they mess up the timing.
- Not parrying the stomp combo, rolling instead: Every stomp in the 3-stomp combo can be parried, and each parry gives you 5% Beta Gauge. Rolling gets you out of damage, but you give up free gauge fill, and you can’t punish. Parry each stomp, then punish after the third. It’s way higher reward with only slightly more risk.
- Forgetting to pick up the pre-arena supply crate: The supply crate just outside the boss door has 3 Shock Grenades and a full heal. Most players run right past it, and then have